
Start With Safety Before Any Button Is Pressed
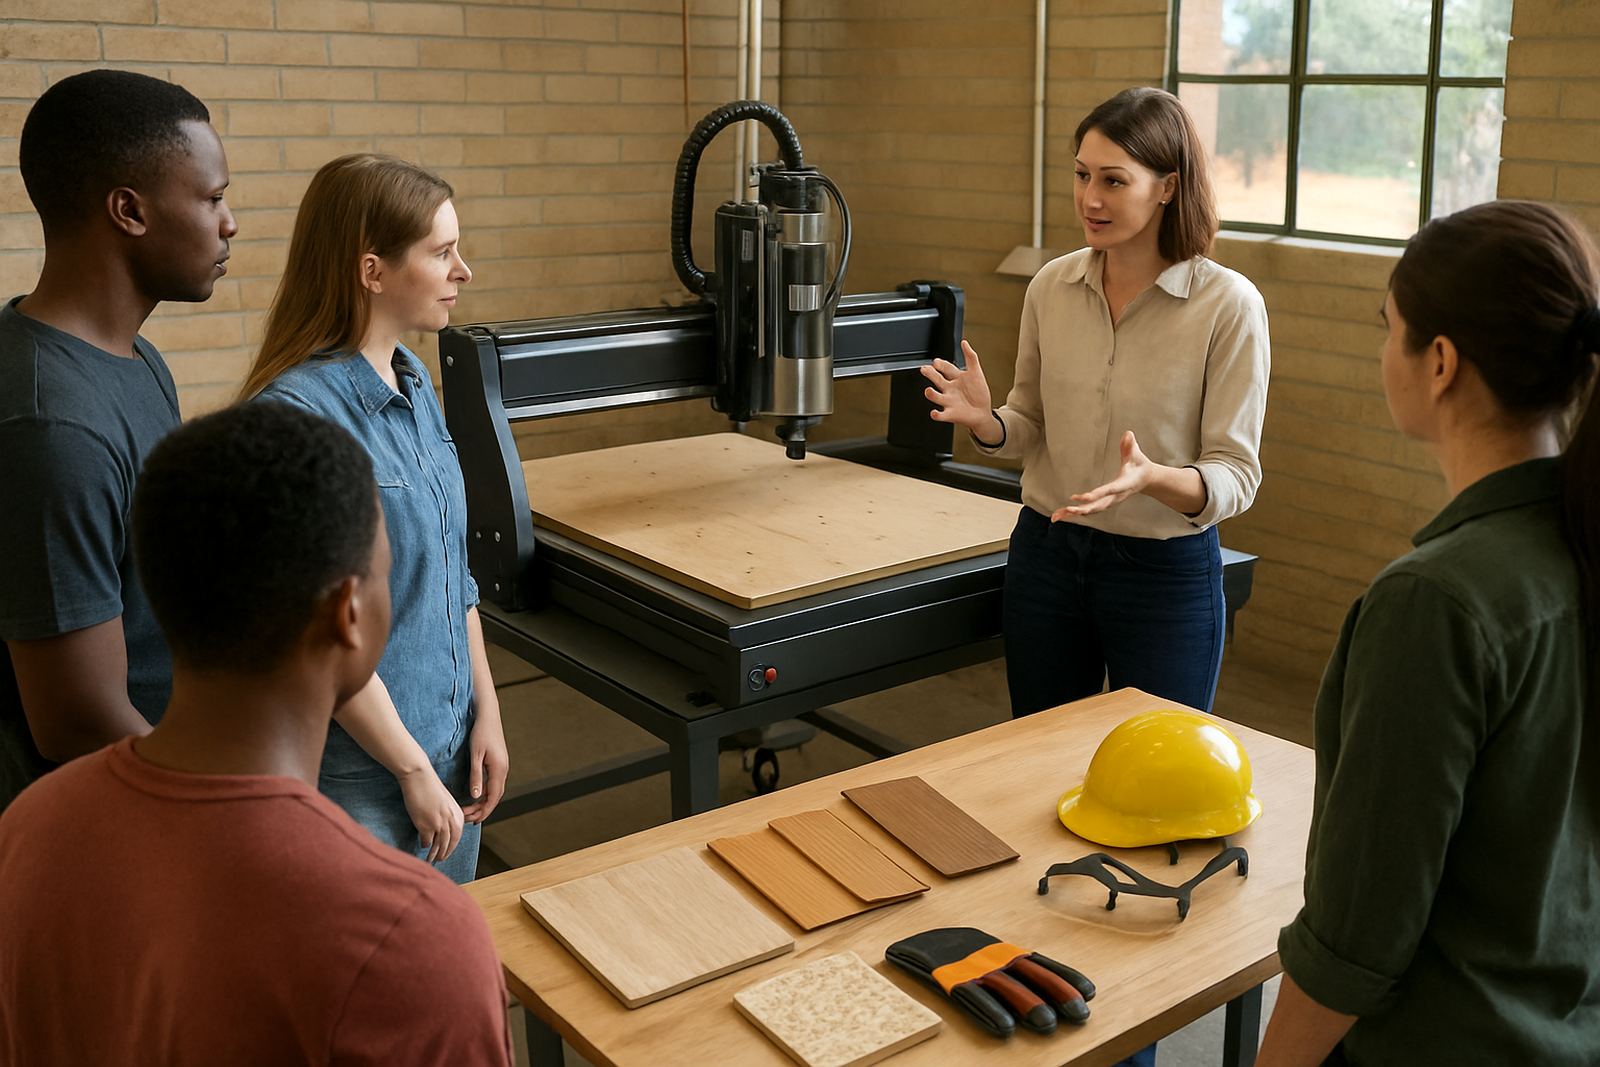
Student training should begin at the machine, not at the software screen. The first lesson is simple: understand clamps, dust extraction, tool holding, emergency stop use, and why loose sleeves, jewellery, and open footwear are a bad idea around a moving router. In a small workshop in Silverton or Pretoria East, that first ten minutes can prevent a broken cutter or a damaged table later.
For schools, colleges, maker spaces, and home workshops, safety must be repeated each time a new learner starts. Young operators often copy what they see, so the trainer needs to show the correct method slowly and then make the student repeat it back. It sounds basic, but this is where good habits are formed.
- Check that the emergency stop is known and easy to reach
- Confirm dust extraction is on before cutting MDF
- Keep offcuts, keys, and spanners clear of the bed
- Make sure the workpiece is clamped or fixed correctly
Teach The Workflow In The Same Order Every Time
A structured lesson flow makes CNC easier to teach because students know what comes next. Instead of jumping between software, tooling, and cutting, the trainer can build one repeatable routine. That routine should stay the same whether the job is a nameplate, a small box part, or a plastic component for a model project.
One useful method is to follow the same sequence for every lesson: check the material, set the tool, load the file, zero the machine, run a dry test, then cut. Once the student sees the pattern, they stop guessing. This is especially helpful for hobby users who only get to practice after school, on weekends, or after load-shedding has passed.
- Confirm the material size and thickness
- Select the correct cutter for MDF, wood, or plastics
- Set the origin point carefully
- Run a short test path above the material first
- Begin with a simple job before moving to detailed work
Keep The First Projects Small And Measurable
Students learn faster when the first project is short enough to finish in one lesson. A compact job gives instant feedback on setup, feed speed, cut depth, and finish quality. It also avoids the common problem where a learner spends an hour preparing a job and then makes one mistake at the end. That is frustrating and not very useful for confidence.
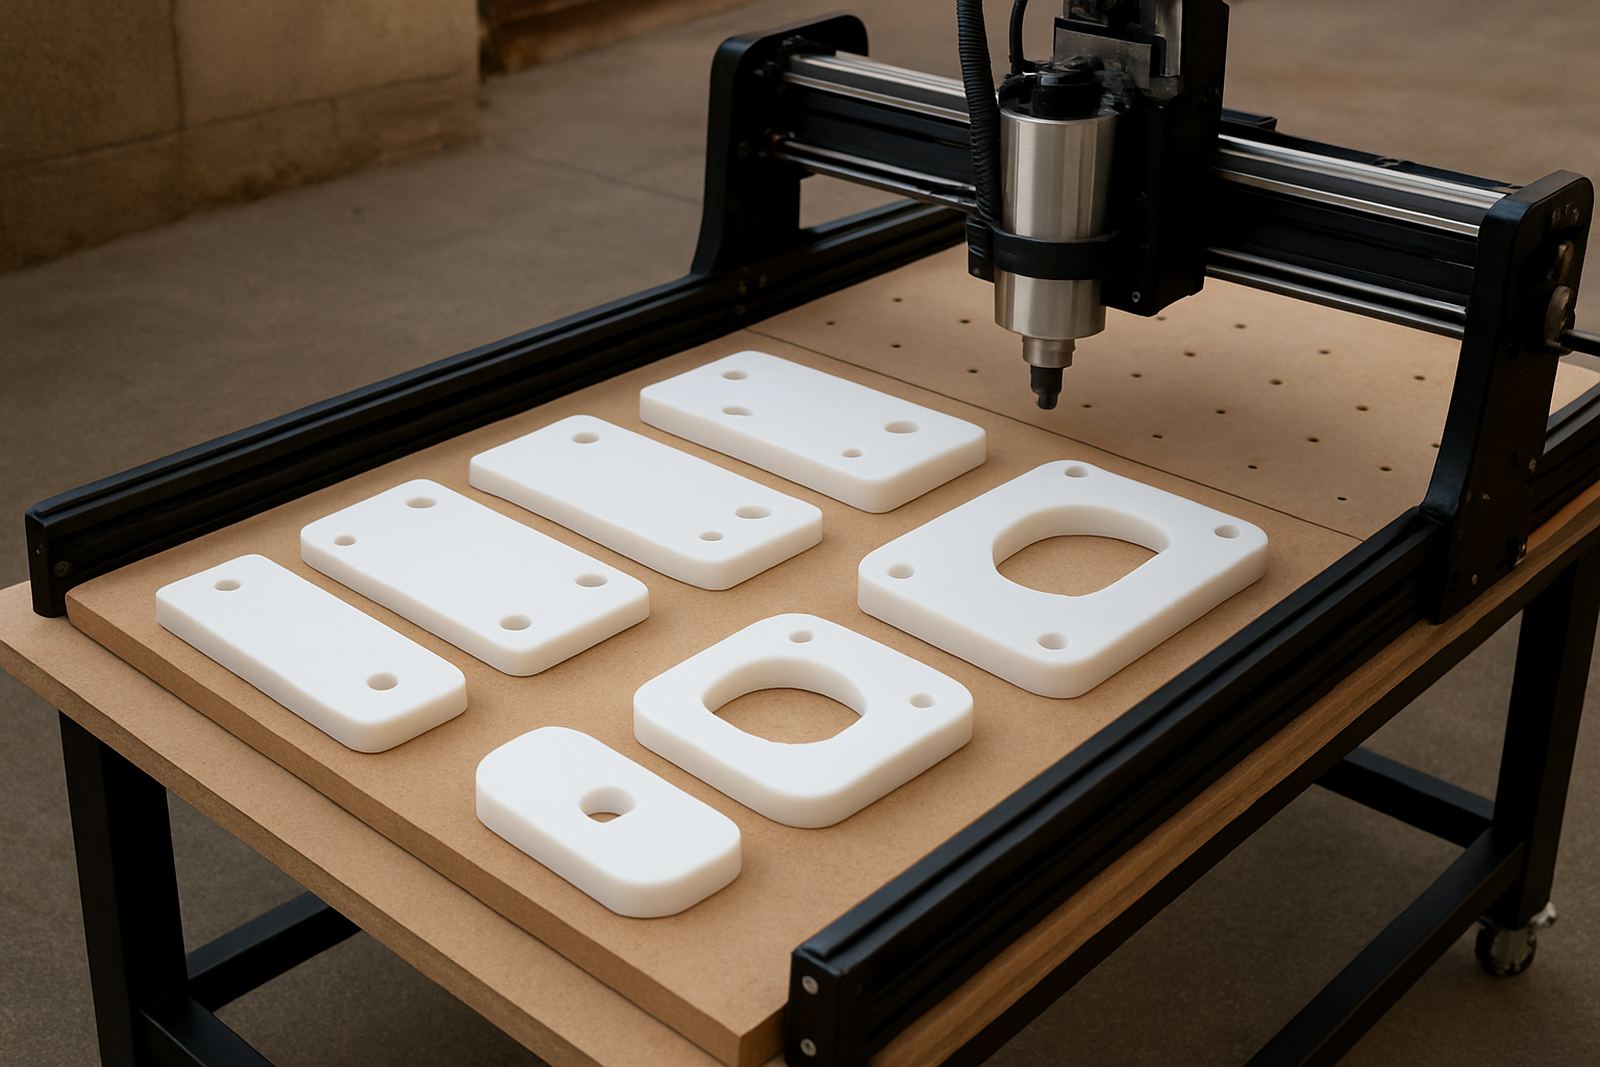
For a Pretoria training room or a small workshop in Centurion, the best starter projects are simple shapes, labels, and shallow cuts. These teach the basics without putting too much strain on the machine or the learner. On MDF, for example, students can see chip-out, burning, and poor hold-down quickly, so correction is easy. On plastics, they learn why heat and speed matter.
- Simple square or circle profile cuts
- Basic text engraving on MDF
- Shallow pocketing exercises
- Small name tags or sample panels
Use Short Demonstrations, Then Let The Student Repeat
The best training usually follows a show, copy, check pattern. First the trainer demonstrates the task while speaking through each step. Then the student performs the same task while the trainer watches. Finally, the student repeats it without help, but still under supervision. That final step is where the knowledge sticks.
This approach works well for software basics, starter setup visits, and refresher training. It also helps when several students are sharing one machine, because each person learns the same method. If one learner is ahead and another is nervous, the same structure keeps the room calm and the pace fair. A rushed lesson often leads to bad toolpaths and wasted material, which nobody wants.
Training should also include what to do when a cut starts going wrong. A student must know when to stop the job, how to inspect the setup, and when to call for support instead of forcing the machine to finish.
Match The Lesson To The Material And Workshop Conditions
Not every material behaves the same way. Wood moves with humidity, MDF makes fine dust, and plastics can melt if the cutter is too slow or the spindle speed is wrong. South African workshops deal with heat, dust, and sometimes unstable power, so training should reflect real conditions rather than perfect lab conditions.
In coastal areas the material may pick up moisture, while inland workshops in Pretoria often deal with dry air and fine dust. That is why the trainer should show students how to inspect sheet flatness, secure the board properly, and clean the machine after each session. If the power fails during a job, the learner should know the correct restart process and how to check the zero point again. Small details matter, and they save material.
- Store MDF and timber flat and off the floor
- Check for bowed sheets before loading them
- Use correct extraction for dust control
- Recheck the work offset after a power interruption
Training Works Better When Spares And Support Are Planned
Student training is not only about the lesson itself. It also works better when the workshop has the right spares, maintenance schedule, and support plan. A worn spindle, blunt cutter, loose cable, or damaged limit switch can stop a class for the day. For a school or small business, that lost time is costly and it affects confidence.
That is why preventative maintenance should be part of the teaching plan. Show students how to listen for unusual noise, how to spot vibration, and how to keep the bed clean. Then keep a small spares list on hand so the workshop is not left waiting for one simple part. In Silverton, Pretoria East, and across Gauteng, the best results usually come from a mix of training, spares planning, and quick breakdown support.
When the machine is cared for properly, students learn more and waste less. The lesson becomes calmer, the cuts are cleaner, and the operator starts to trust the process.