
Why the last 10 minutes matter on routed parts
In a small workshop, the difference between an acceptable panel and a proper finished part often comes down to what happens after the machine stops. Routed edges can leave light tool marks, fuzz on MDF, and tiny burrs on plastics. If those are left as is, they show up straight away once the part is assembled or installed. A few minutes of after-cut finishing helps the job look cleaner and fit better, especially when you are making cabinet doors, signage panels, jigs, and display pieces.
It also saves time on repeat work. A part that is cleaned up properly is less likely to chip during handling or catch on glue lines and edge bands. In Pretoria and the Highveld, where workshop dust is often dry and fine, a quick finishing routine is easier to keep consistent than trying to fix a lot of parts at the end of the day.
Start by sorting parts before you sand anything
Before you pick up sandpaper, check the cut pieces one by one. Look for tabs that need trimming, loose fibres, raised grain, and corners that picked up a bit of chatter from the tool path. This quick inspection makes the rest of the work more controlled. If a batch has mixed materials, keep the MDF, plywood, and plastic pieces separate so each set gets the right finish.
- Remove tabs with a sharp chisel or flush cutter, working gently to avoid tearing the edge.
- Mark any areas that need a second pass, such as visible faces or tight joints.
- Stack parts in order so matching pieces stay together.
- Wipe away loose dust before sanding, otherwise the grit just gets dragged across the surface.
On acrylic and similar plastics, even a small scratch can show under light, so it helps to handle those parts with clean hands and a soft cloth. For MDF, the weak point is usually the edge, not the face, so give extra attention to any areas that will be painted or handled often.
Sand the cut edge in stages, not all at once
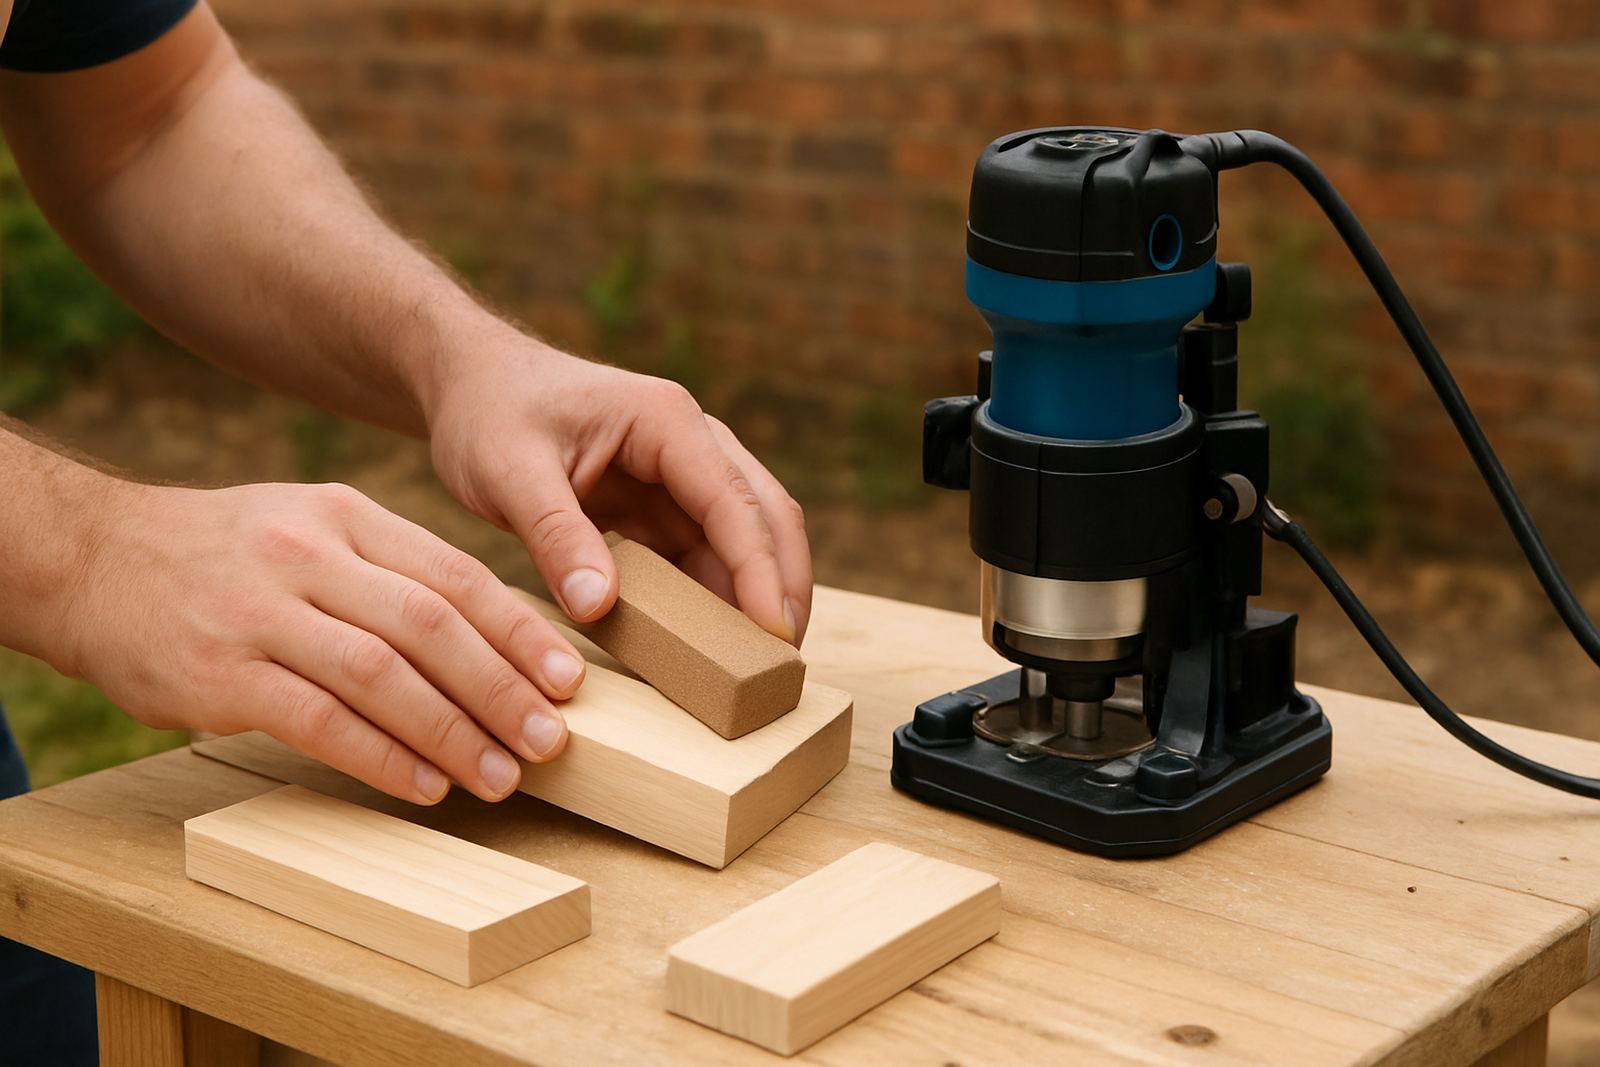
The safest way to finish routed edges is to use a light, staged approach. Start with a fine grit that matches the amount of cleanup needed. On clean cuts, 180 or 220 grit is often enough. If there are sharper ridges or small tool marks, move only as far as you need to, then finish finer. You are aiming to smooth the surface, not change the profile or round off details that the machine cut accurately.
Keep your sanding block flat on long edges so you do not create dips. On curved parts, use a soft pad or folded paper and follow the shape with steady pressure. In a humid coastal area the dust can clump a bit more, but around Pretoria the particles stay dry and fine, which makes it easier to see progress and spot missed sections. That said, a dry edge can still look good but feel rough, so run your finger lightly along the edge after each pass.
- Use 180 to 240 grit for general cleanup on wood and MDF.
- Use a sanding block for straight edges and profiles that must stay square.
- Change paper as soon as it loads up, especially on MDF.
- Stop when the edge feels smooth under a light touch, not when it looks polished.
Keep MDF edges from fluffing up
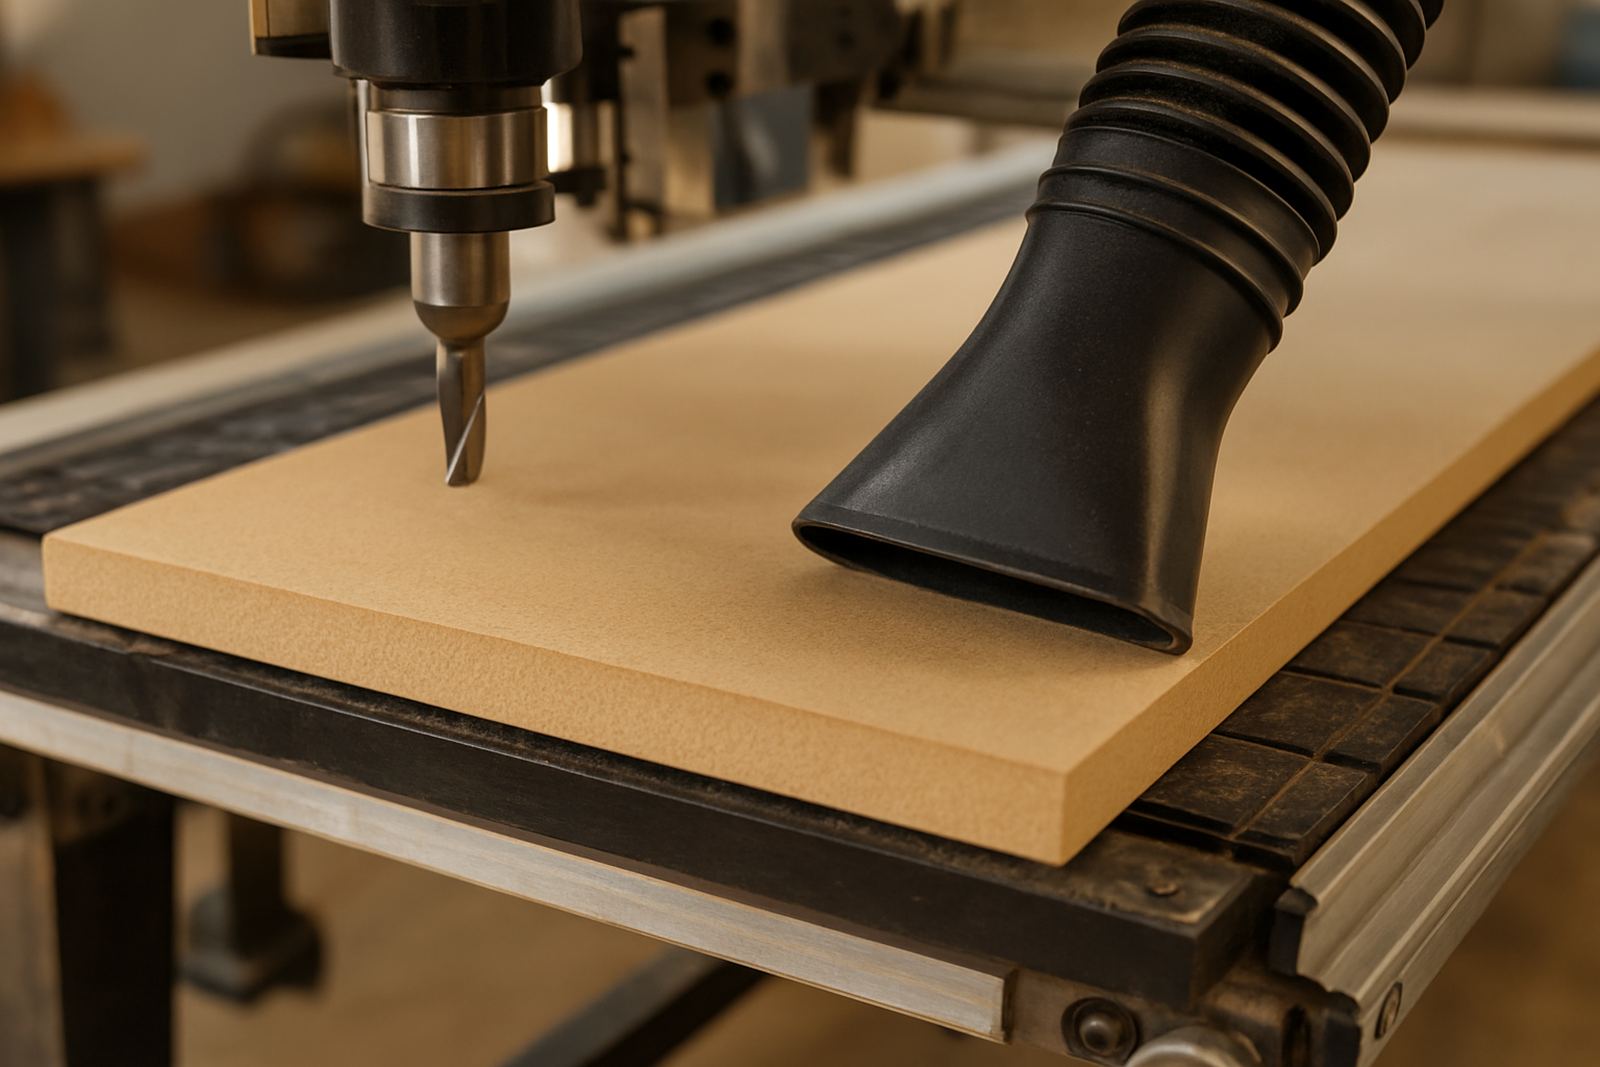
MDF needs a bit more care than solid wood because the fibres can lift and turn fluffy if you sand too hard. That fluffy edge then drinks in paint and sealant unevenly. The best approach is to keep sanding light and use a sealer or primer soon after the edge is cleaned. If the edge is for a painted cabinet front or sign, a quick seal before final paint can make a big difference.
Where parts will be edge banded, make sure the routed line is smooth enough for good contact and no loose dust is left behind. A compressed air line helps, but do not blow dust back onto the face if the part is ready for glue. In a busy shop in Silverton or Centurion, it is worth having a small finishing station with a soft brush, clean cloths, and the common grits on hand so workers are not hunting around during a rush.
- Do not press hard on MDF edges or they can crumble.
- Seal exposed edges before final paint where possible.
- Brush away dust from grooves and corners before assembly.
- Check mitres and joints dry first, then do final cleanup.
Tidy plastics and acrylic without turning them cloudy
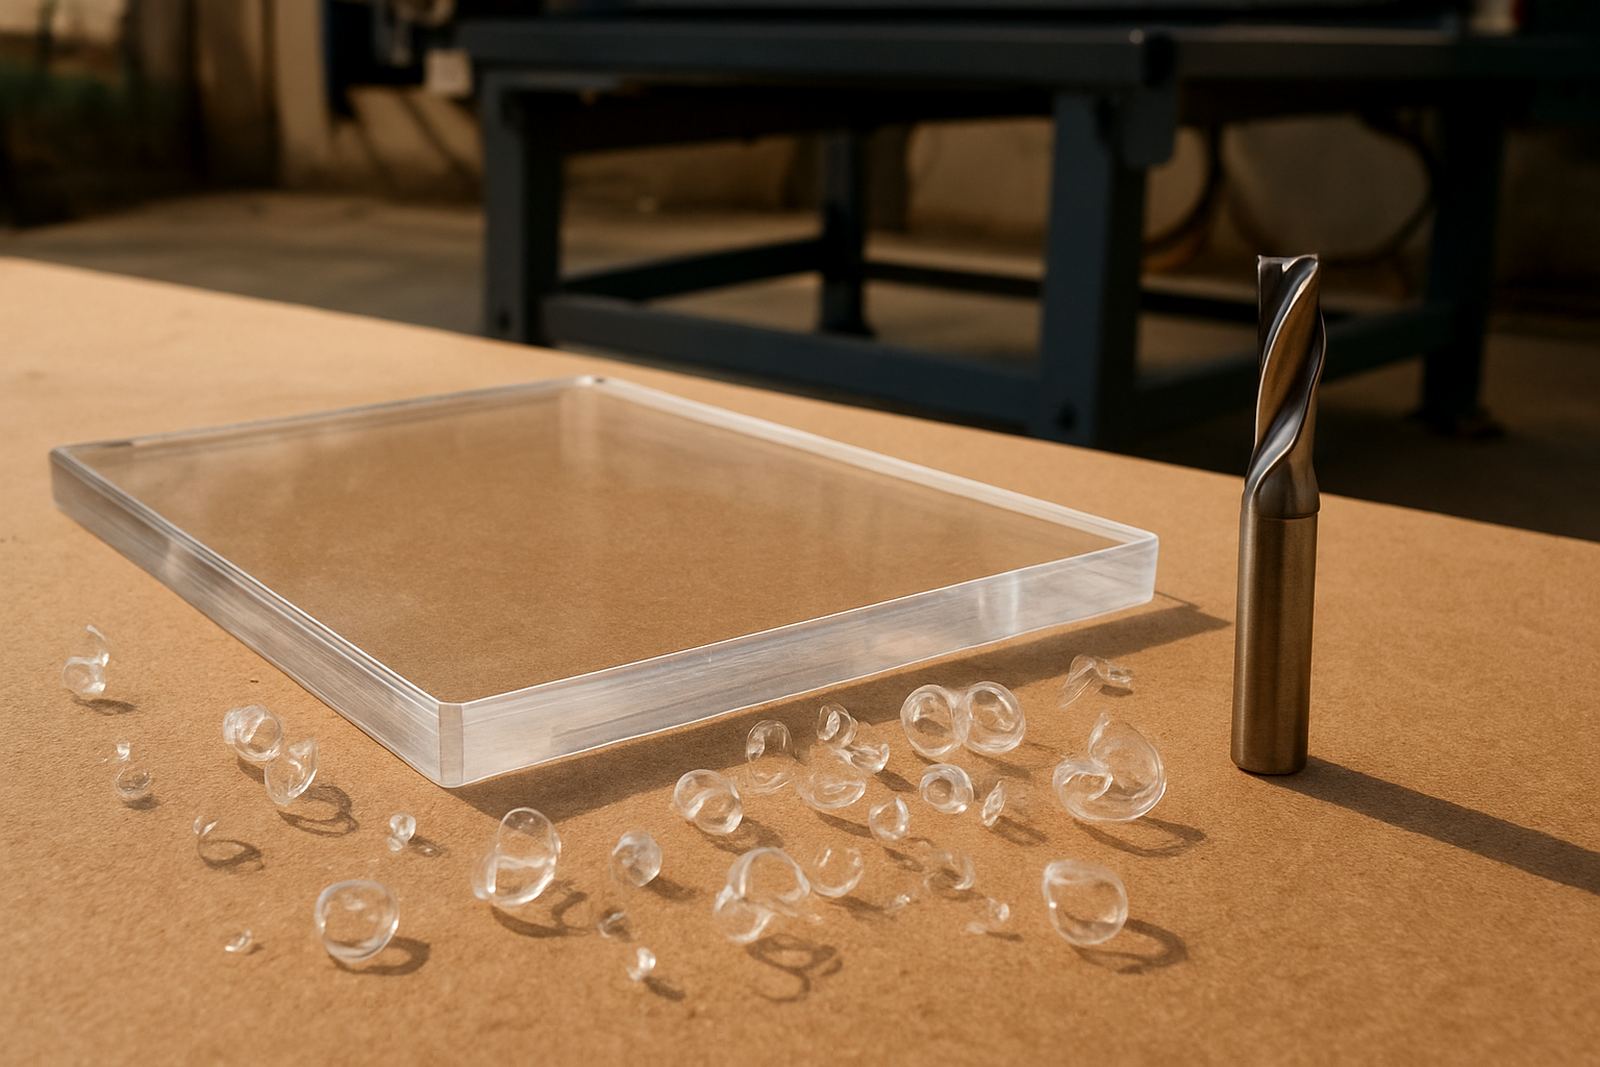
Plastic parts need a gentler touch because too much heat or pressure can mark them. If the tool path left a fine line on the edge, start with a very light finish and test on a spare offcut first. Keep the pressure low and avoid aggressive rubbing in one spot. For clear materials, any rough handling shows up quickly, so clean cloths and careful storage matter just as much as the sanding itself.
Some plastics respond better to a scraper or a fine file on the first pass, then a soft sanding finish. If a part will sit in sunlight or near a window, especially in Pretoria East offices or retail fittings, a neat edge helps it stay looking tidy for longer. Do not rush this part. A few extra seconds per edge is cheaper than replacing scratched components later.
Build a simple finishing routine for repeat jobs
Once you find a process that works, write it down and keep it the same for every batch. That matters when more than one person is finishing parts, because the end result stays more even. A small workshop does not need a complicated system, just a clear order of steps and the right basic tools. If your router table is cutting accurately but the output still needs a lot of hand work, the finishing routine is where you regain time.
A practical setup for after-cut finishing can look like this:
- Inspect parts as they come off the machine.
- Trim tabs and remove loose fibres.
- Sand with the lightest grit that gets the job done.
- Brush and wipe away dust.
- Seal, paint, edge band, or assemble as required.
For hobby users and small shops around Midrand, Kempton Park, and Pretoria West, this kind of routine helps keep work neat even when power interruptions or a busy order book break the flow. It also makes training easier for new operators because the expectations are clear from the start.
When the finish points to a machine setting problem
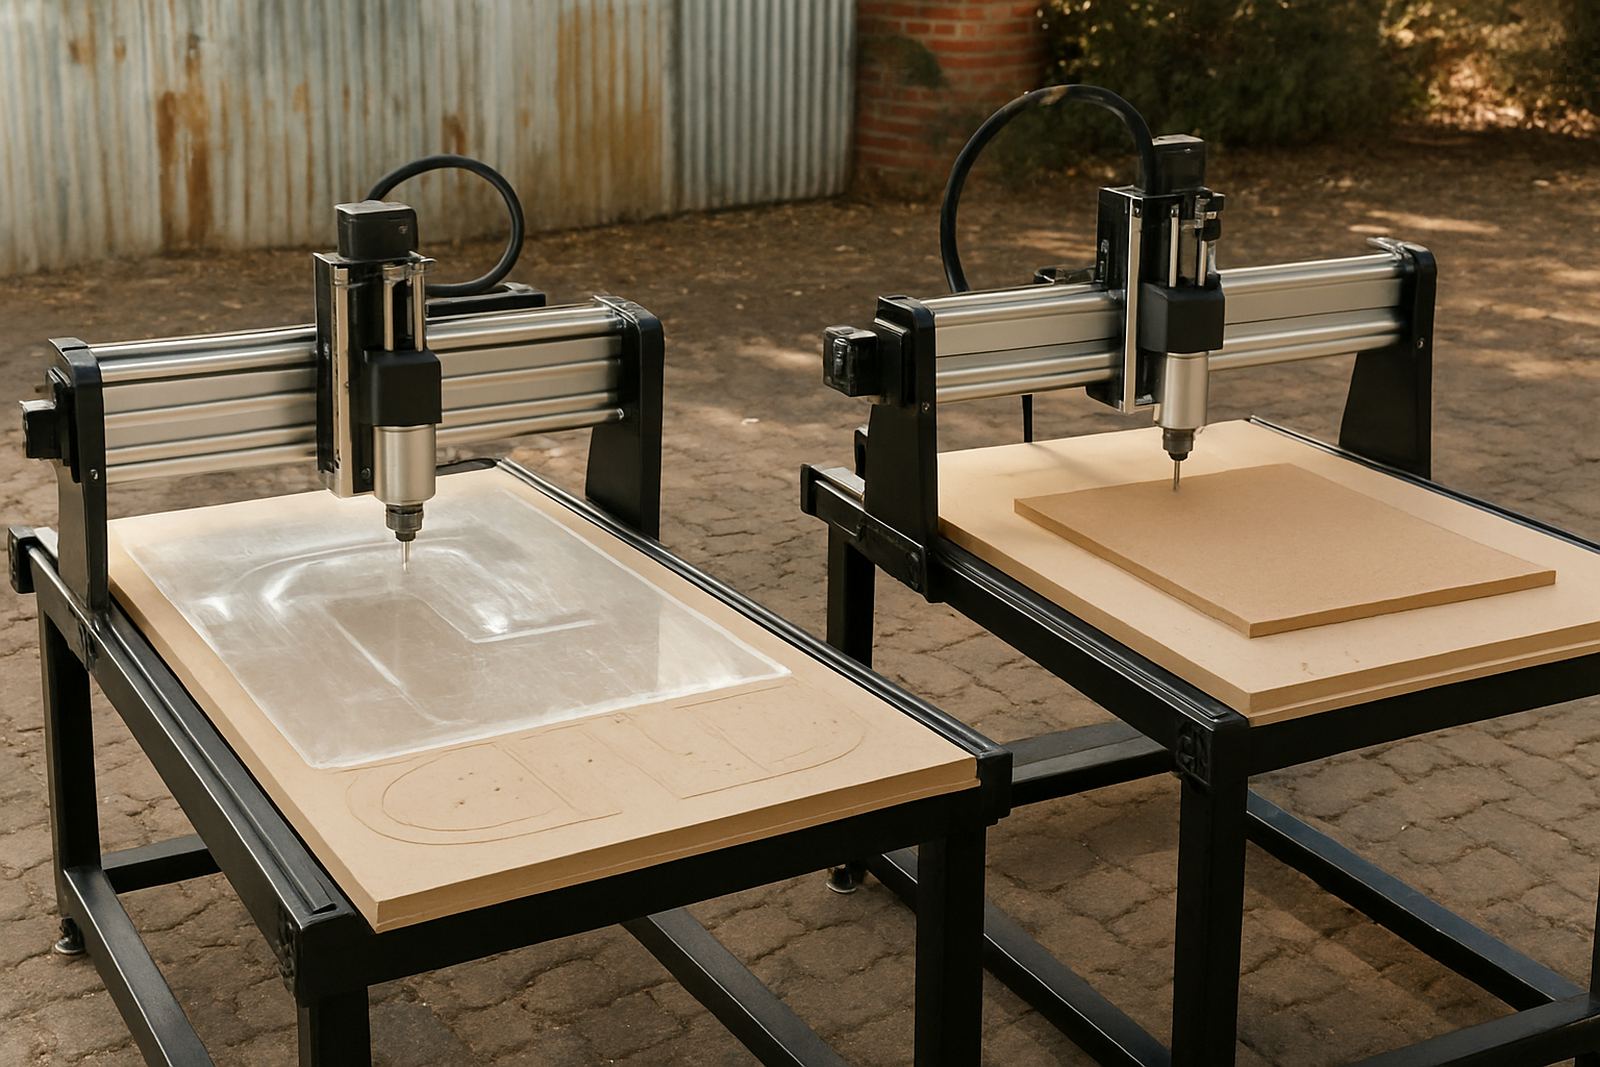
If you keep seeing torn edges, chatter marks, or rough corners, the answer may be more than sanding. Worn spares, a dull spindle setup, loose hold-downs, or wrong feed settings can all show up on the finished part. That is why a proper finishing check is useful. It tells you whether the cut is sound, or whether the machine needs attention before the next batch goes through.
For workshops that want cleaner output with less hand work, the best results often come from a mix of good machine setup and a simple finishing habit. When a part leaves the table in better shape, the sanding stage gets shorter and the final job looks more professional. That is useful whether you are making one-off hobby pieces or a steady run of parts for clients.
If you need operator training, software basics, preventive maintenance, or spares planning, having support in Silverton with nationwide assistance can help keep the whole process moving. Clean cutting and clean finishing go hand in hand, and both save time in the long run.