
Why Acrylic Turns Soft During Routing
Acrylic does not like heat building up at the cutting edge. When the tool rubs instead of cutting, the material softens, starts to smear, and the finish goes cloudy or stringy. That is usually not a sign that the sheet is poor quality, it is a sign that the machine is asking too much from the cutter.
In Pretoria, where many workshops are running through load-shedding schedules and trying to keep production moving, people often slow the feed right down to feel safe. On acrylic, that can make things worse. A slow pass can keep the flute in contact with the sheet for too long, and the cutting edge begins to heat the job rather than remove it. The right balance is to cut fast enough that the chips leave the slot, but not so fast that the machine starts to chatter.
Choose a Cutter That Clears Chips Cleanly
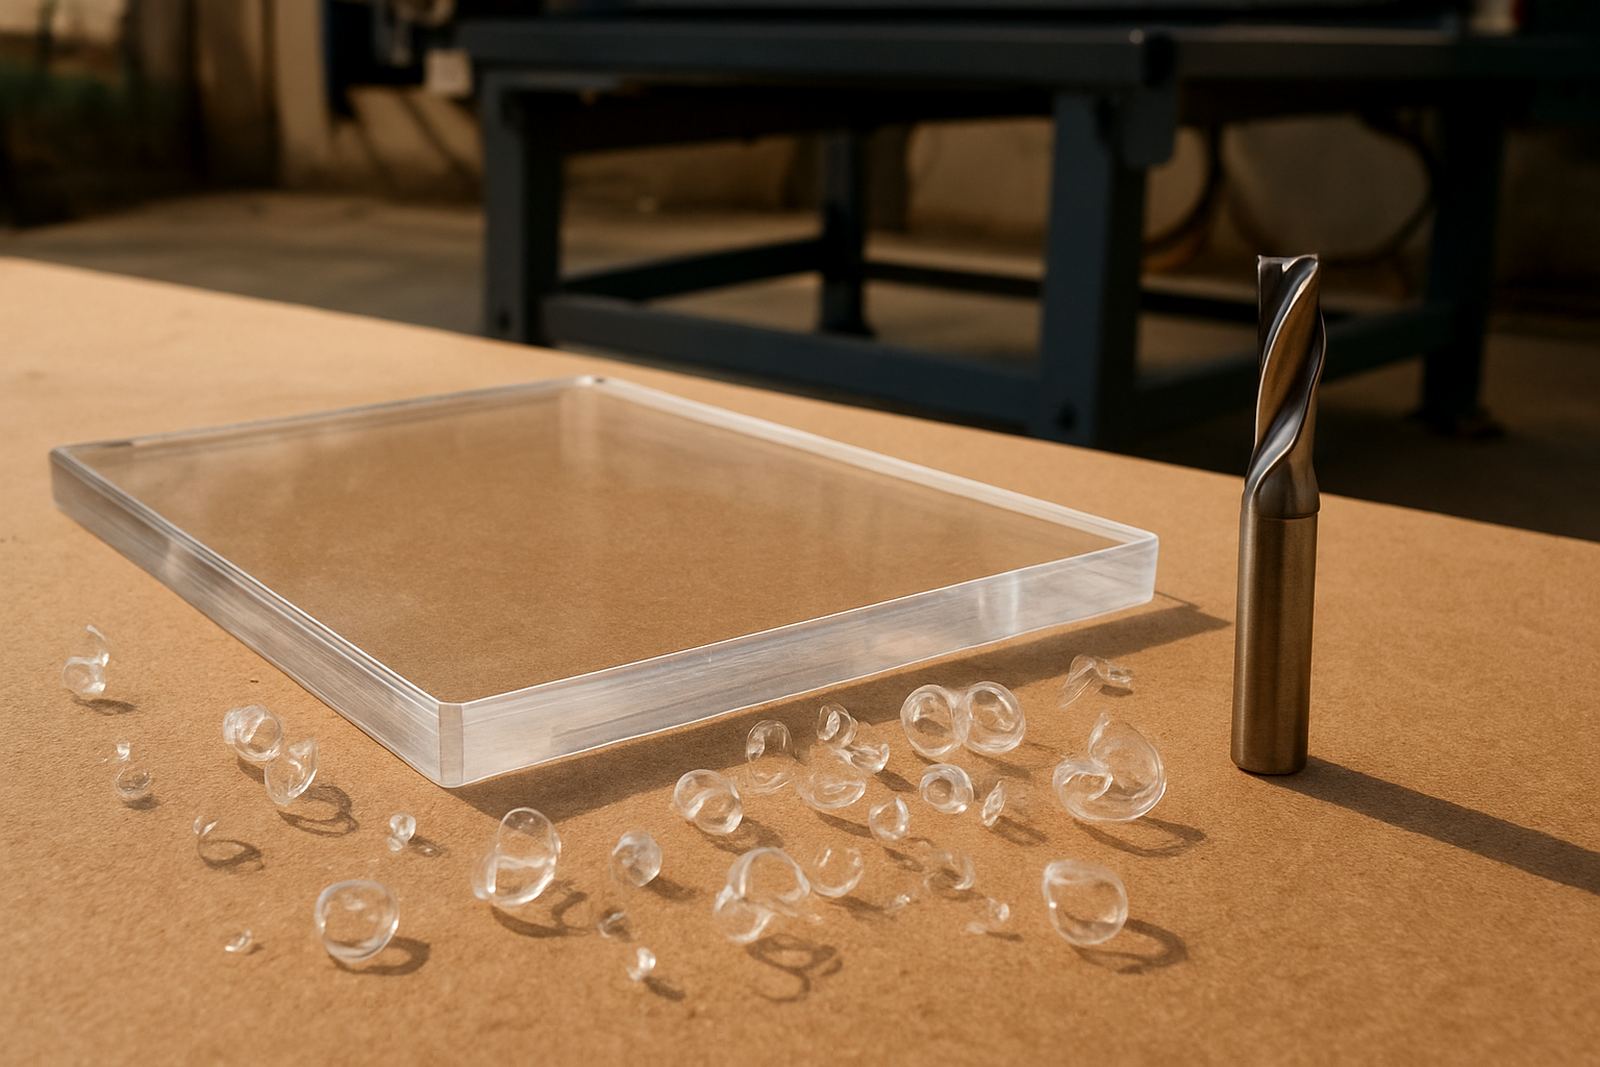
For acrylic, cutter geometry matters. A sharp single-flute or purpose-made plastic cutter often works well because it gives the chip somewhere to go. Standard timber cutters can work in some jobs, but they may pack the flute with fine swarf and cause melting on thicker sheet. The cleaner the chip evacuation, the less heat stays in the cut.
- Use a sharp cutter with clean edges, not a worn one.
- Keep the flute clear so chips can lift out of the groove.
- Match cutter diameter to the job size and machine rigidity.
- Check runout on the spindle if the edge finish keeps changing.
If a workshop in Centurion is cutting signage panels, display parts or small covers, it is worth keeping a dedicated acrylic cutter aside instead of using the same tool for MDF all week. MDF dust is abrasive and it shortens tool life quicker than many owners expect.
Set Feed and Speed for Cutting, Not Rubbing
Acrylic usually prefers a positive cut. That means the tool must be moving at a feed rate that keeps the chip thickness healthy enough to carry heat away. Spindle speed alone will not fix a poor setup. In fact, a high RPM with a light feed is one of the quickest ways to get melted edges.
Start with a test piece and listen to the machine. If the sound becomes squealy or the cutter leaves a polished looking groove with stuck chips, the setup is too gentle. If the machine is lifting, vibrating or leaving step marks, then you may be pushing too hard for the table or the clamps.
- Increase feed before increasing spindle speed when heat is the problem.
- Use shallow stepdowns on thicker sheet.
- Keep the toolpath efficient so the cutter is not dwelling in corners.
- Do a small test cut before a full sheet run.
Clear Chips Before They Recut the Edge
Good chip evacuation is often the most important part of acrylic cutting. When chips stay in the groove, the cutter ends up going back through hot waste and the material starts to smear. A proper extraction setup can reduce this straight away. Even a small hobby machine in Silverton can get better results if the waste is lifted away instead of left to circulate around the cut.
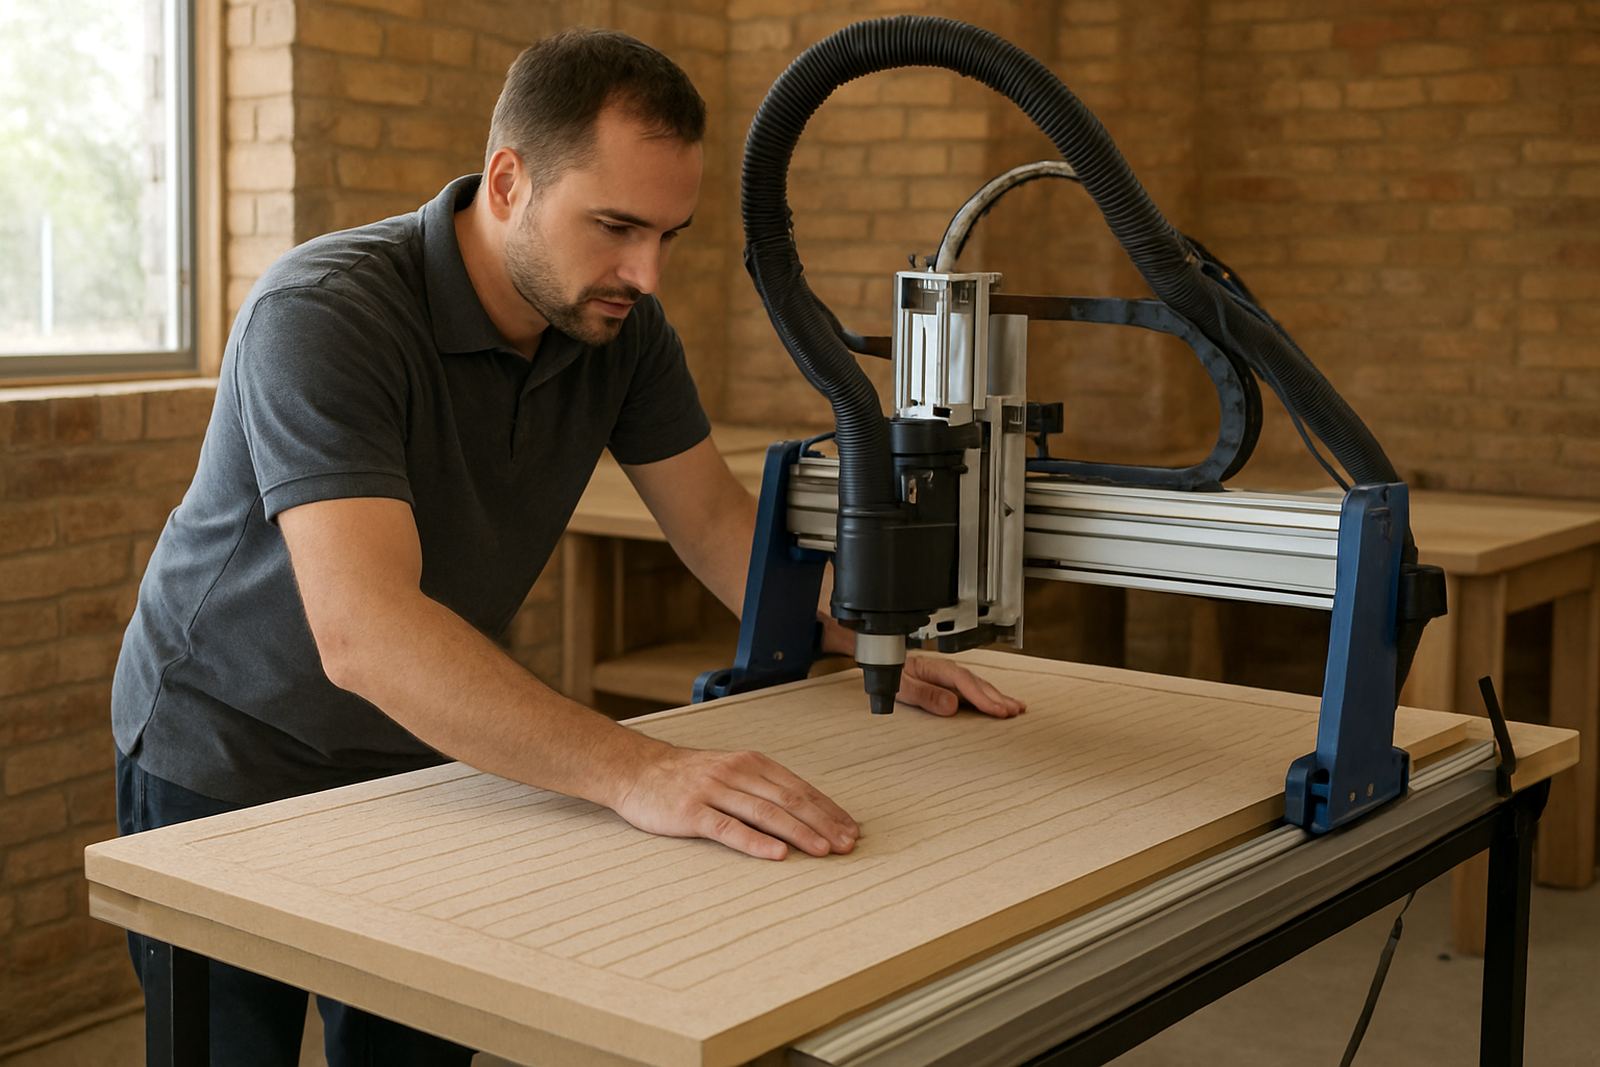
For enclosed or compact router tables, make sure the suction point sits close enough to the cutter. In open tables, use a vacuum shoe or another collection method that keeps the slot free. If you are cutting parts with fine internal detail, stop and clear the bed between passes. A clogged table can trap heat at the underside of the sheet too.
- Keep the bed clear of offcuts and fine swarf.
- Check that extraction hoses are not blocked or kinked.
- Make sure the sheet is supported properly so it does not flutter.
- Use masking only where needed, because loose film can pull into the toolpath.
Use Depth of Cut and Pass Order to Your Advantage
Deep aggressive cuts can be hard on acrylic, especially on smaller router tables where rigidity is limited. A lighter stepdown gives the cutter less time fighting the sheet and usually leaves a better edge. On thicker material, two or three controlled passes are often cleaner than one heavy pass that heats the whole cut line.
Order matters as well. If the part has internal cut-outs, profile those first so the sheet stays supported while the main outer cut is still in place. This helps prevent vibration and can reduce breakout on the last pass. For letters and display panels, a careful finishing pass can clean the edge but only if the roughing pass left enough stock for the tool to work with.
Local Workshop Habits That Prevent Melt in Pretoria and Beyond
In a Pretoria East or Midrand workshop, the practical issues are usually the same: dust extraction, cutter wear, and setting the job correctly before the sheet goes on the table. Coastal humidity is not the main concern for acrylic itself, but it can affect storage of sheets, packaging, and even static build-up on swarf. Keep material flat, dry, and away from direct sun so it feeds consistently.
For operators working around municipal power interruptions or shared workshop time, repeatable setup is important. Mark your successful settings, keep a simple job sheet, and train staff to spot the first signs of melt before the whole run is affected. If the edge starts looking glossy, stringy, or welded back together, stop and adjust instead of hoping it will improve on its own.
A Small Silverton Example That Saves a Full Sheet
A small signmaker in Silverton was cutting clear acrylic panels for a local shopfront and kept getting cloudy edges on the last few parts of each sheet. The issue was not the material. The cutter was sharp enough, but the feed was too slow and the extraction hose was partly blocked with MDF dust from the previous job. Once the team cleared the line, increased the feed slightly, and changed the cut into two lighter passes, the finish improved immediately.
That sort of fix is common in smaller workshops. Most acrylic melt issues are setup issues, not machine failures. A good operator can usually solve them with cleaner chip removal, better pass planning, and a setup that suits the actual material in front of them.