
Why MDF behaves differently on a CNC router
MDF looks simple to machine, yet it can punish sloppy settings. The material is dense, fine and uniform, but it also throws a lot of dust and can chip at the top edge if the cutter is blunt or the board is not held properly. On smaller hobby routers that is often where the trouble starts, because the machine may be capable enough but the setup is rushed.
For woodworking shops in Pretoria East, Silverton or Midrand, the aim is not just to cut through MDF. It is to keep the edge clean enough that the part can go straight to assembly, edging or paint with less sanding. That matters even more when you are working on cabinet parts, speaker boxes, signs or shopfitting panels where a rough edge shows immediately.
The good news is that MDF is predictable. Once you get the cutter choice, spindle speed and feed rate in the right range, the finish improves quickly. If you are seeing fuzzy edges, brown burn marks or small chips at corners, the problem is usually one of those three things, not the whole machine.
Choose the cutter for the finish, not only for the cut
For clean MDF work, the cutter profile matters. A straight two flute bit can remove material quickly, but it often leaves a rougher top edge. An upcut bit pulls chips away well and helps with clearing, while a downcut bit can give a cleaner top surface at the cost of more chip packing if extraction is weak. On many small workshops, the best answer is to match the bit to the part, then test on an offcut before running a full sheet.
If you need a neat top edge on visible parts, a downcut or compression style cutter is often worth considering. If the machine is cutting deep pockets or long slots, chip clearing becomes more important and a cutter that moves waste out of the cut may perform better. A dull bit will always make MDF worse, so do not keep using a worn cutter just because it still cuts through.
- Check the cutter edge after a few sheets, not only when it breaks.
- Use the shortest cutter that can safely reach the depth.
- Keep one bit for roughing and another for finishing passes.
- Replace cutters before the edge quality starts costing you sanding time.
Hold-down is often the difference between neat and messy
MDF will move if it is not clamped or held down properly. A slight lift at the corner can leave a ragged edge, and a panel that shifts during the cut can ruin the whole sheet. Vacuum hold-down works well when the board is flat and the spoilboard is in good condition, but many small operators rely on clamps, screws in waste areas or a mix of both.
When using screws, place them where the tool path will not hit them. When using clamps, make sure the clamp height does not interfere with the gantry or spindle body. On a desktop router, even a small piece of loose offcut can get dragged into the cut and spoil the finish. It sounds basic, but a lot of rework comes from that one mistake.
If your workshop is in a humid area or near the coast, MDF can swell slightly at the edges. That means hold-down becomes even more important because the board may not sit flat the way it did when it came off the truck. In those conditions, a simple spoilboard skim and a few extra fixing points can make a big difference.
- Surface the spoilboard regularly so the panel sits flat.
- Use enough fixing points to stop vibration and lift.
- Clear dust from under the sheet before starting the job.
- Test the first toolpath at a safe height if the setup is new.
Feeds and speeds that help MDF cut cleaner
MDF likes a confident cut. If the feed is too slow and the spindle is too fast, the bit can rub and leave burn marks. If the feed is too fast for the cutter size, the edge can chip or go fuzzy. The correct setting depends on the router, spindle, cutter diameter and the thickness of the board, so there is no single number that suits every machine.
A practical method is to start with a test piece and listen to the cut. A clean cut usually sounds steady, not strained. Too much chatter means the tool is unhappy, while a harsh squeal often means rubbing. Once the machine is dialled in, you should see a fine, even edge with less dust packed against the cut line.
For many hobby routers, the problem is not lack of power but hesitation. Operators lower the feed because they are worried about the machine, then the cut gets worse. A sensible feed, a sharp cutter and a firm hold-down often produce a cleaner finish than going slow. It is a bit counterintutive, but true in MDF work.
Dust extraction protects the edge and the operator
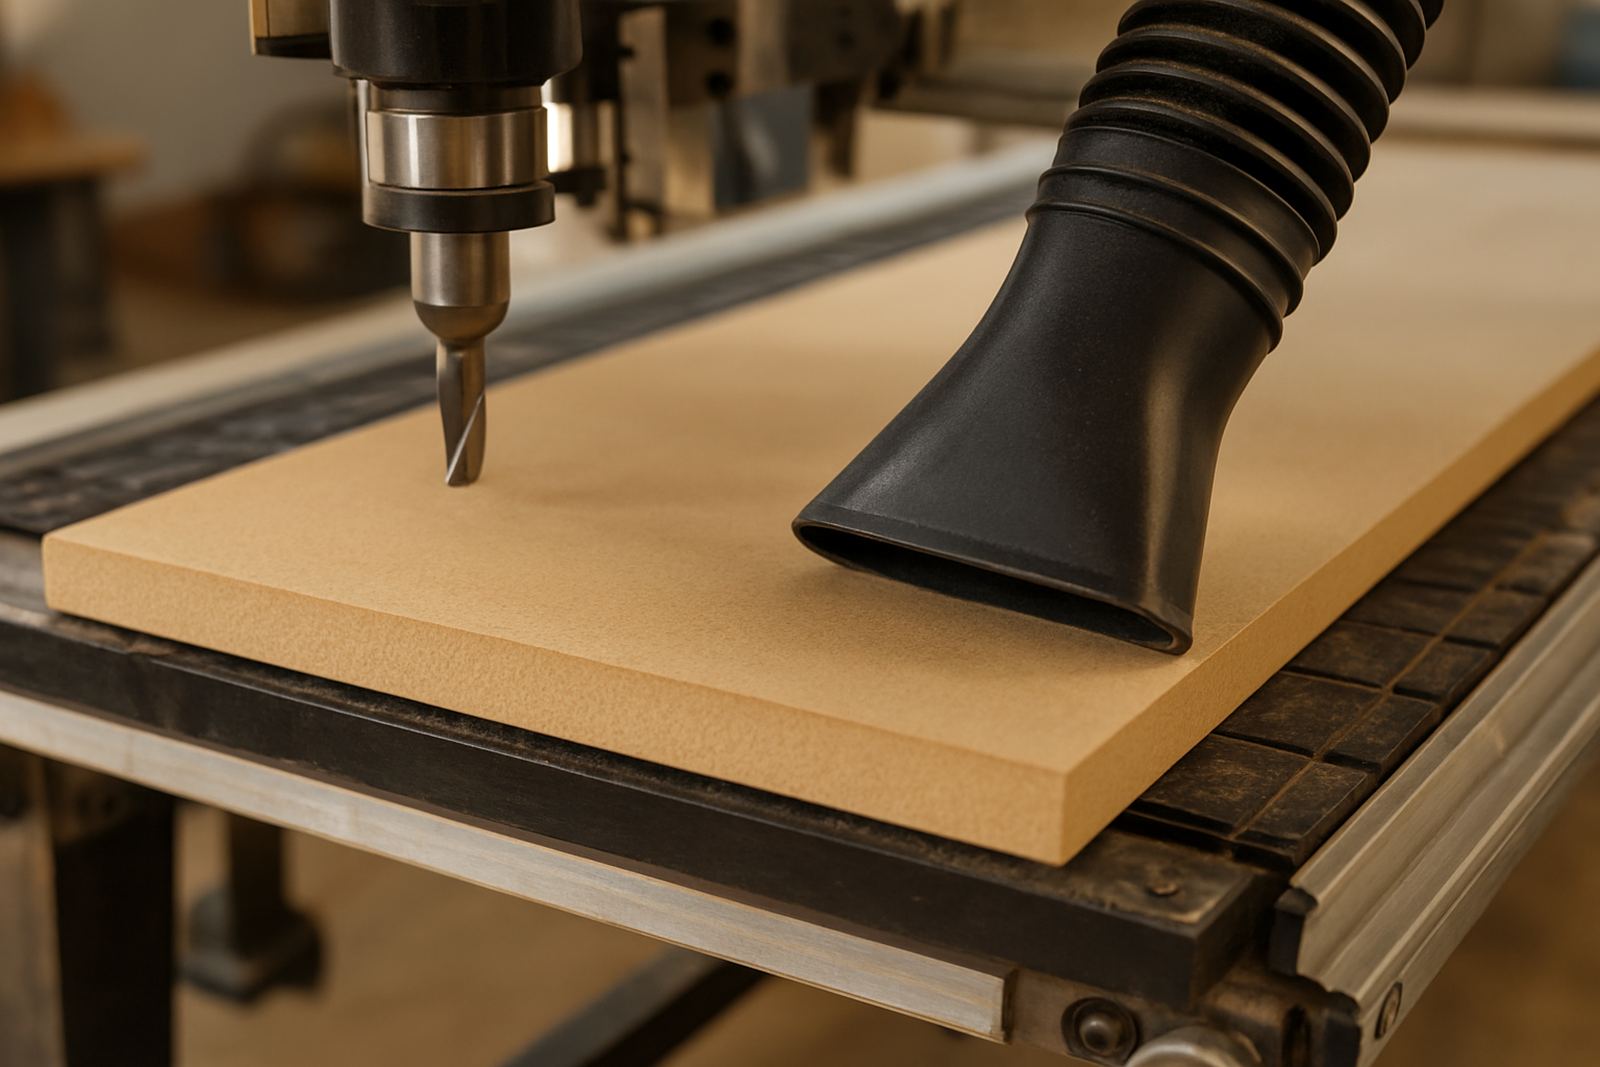
MDF dust is fine and persistent. If it is not cleared properly, it can get between the cutter and the board, which affects finish quality and can make the surface look hairy. It also hangs in the air, which is not pleasant for the operator and can become a workshop housekeeping issue quickly.
A decent extraction setup helps in three ways. It keeps the cut visible, it reduces recutting of loose fibres and it leaves less dust on the spoilboard where the sheet needs to sit flat. In small Pretoria workshops working through load-shedding schedules, keeping the dust collector and router routine simple matters, because a complicated setup is the first thing people skip when they are busy.
If your machine does not have strong extraction, pause more often and clear the area around the cut. That small habit can improve finish quality, especially on long sheet jobs where dust build-up becomes a problem by the second or third panel.
A Silverton job that showed the value of setup
A small cabinetry shop in Silverton was cutting MDF carcass parts for a home office run. The first sheets came off with fuzzy top edges and a few burned corners, which meant extra sanding before edging. The issue was not the machine itself. The cutter was worn, the board was held with too few fixing points and the feed rate had been lowered far below what the bit wanted.
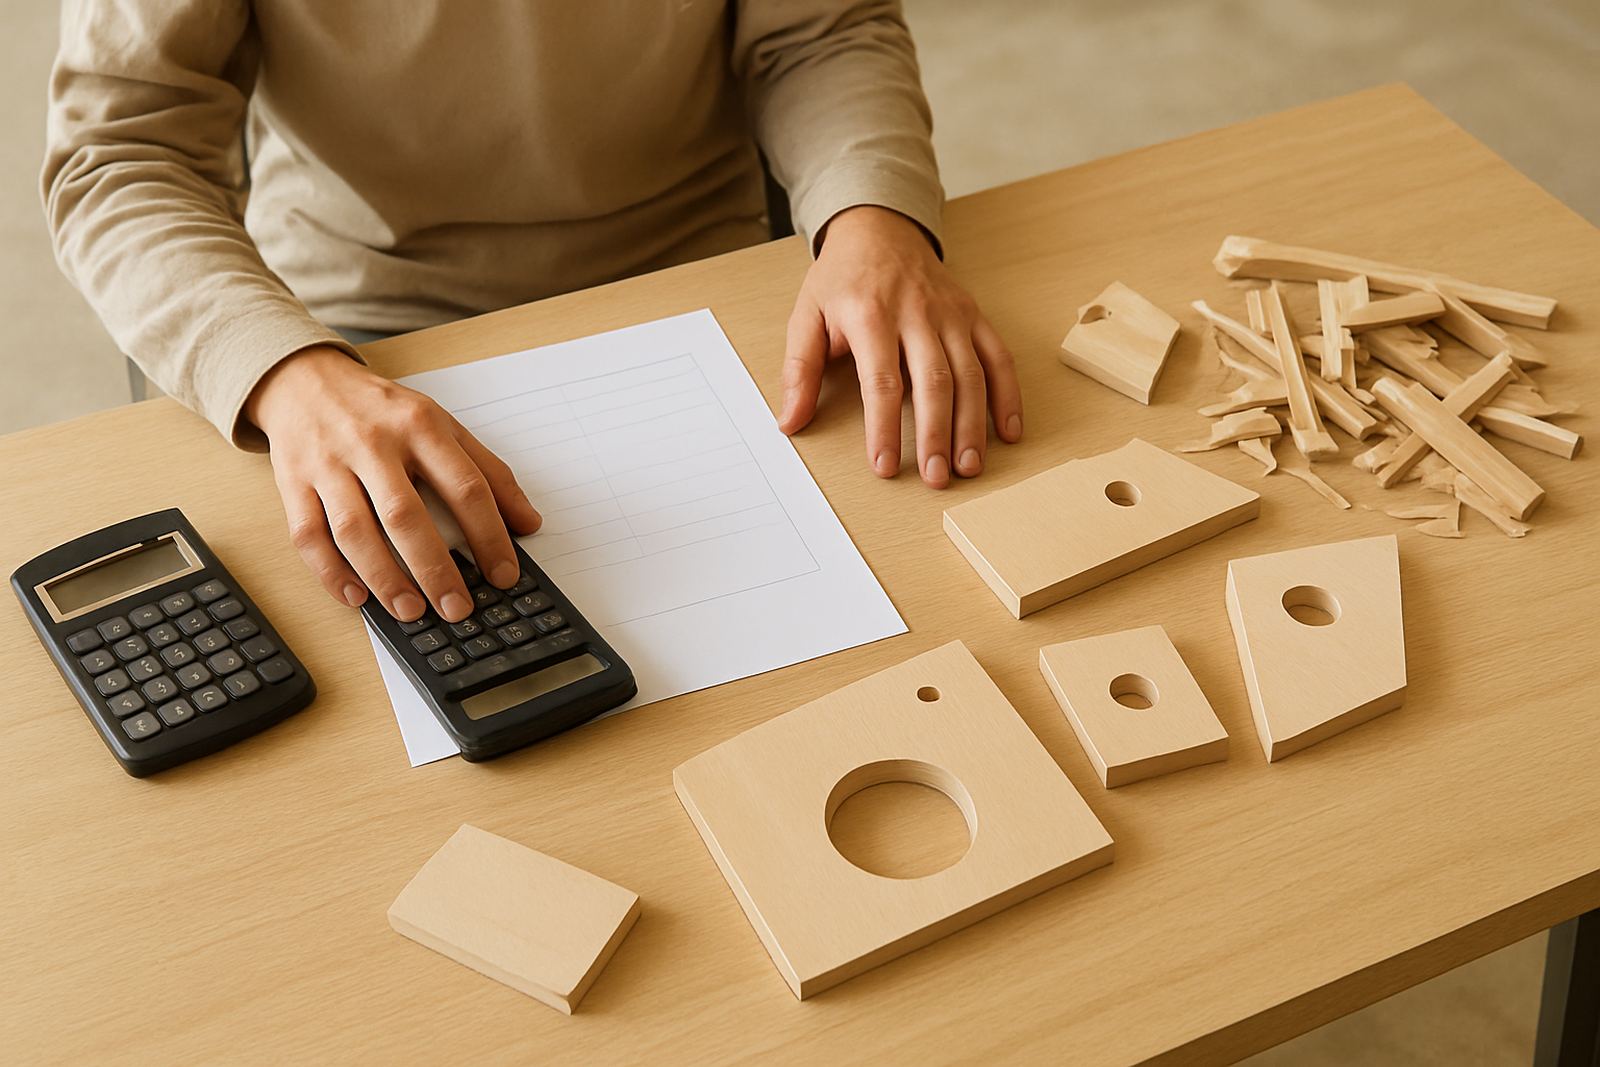
After changing to a sharper cutter, improving hold-down and resetting the feed for a cleaner chip load, the edge quality improved straight away. The operator still had to sand lightly, but the parts were usable and the rework dropped. That is the real saving with MDF: not only a nicer finish, but fewer minutes lost on every panel.
For many local workshops, especially smaller teams in Pretoria East, Centurion or Kempton Park, the lesson is simple. Clean MDF milling is not about forcing the machine harder. It is about giving the cutter the right conditions to do its work.
When to ask for training or support
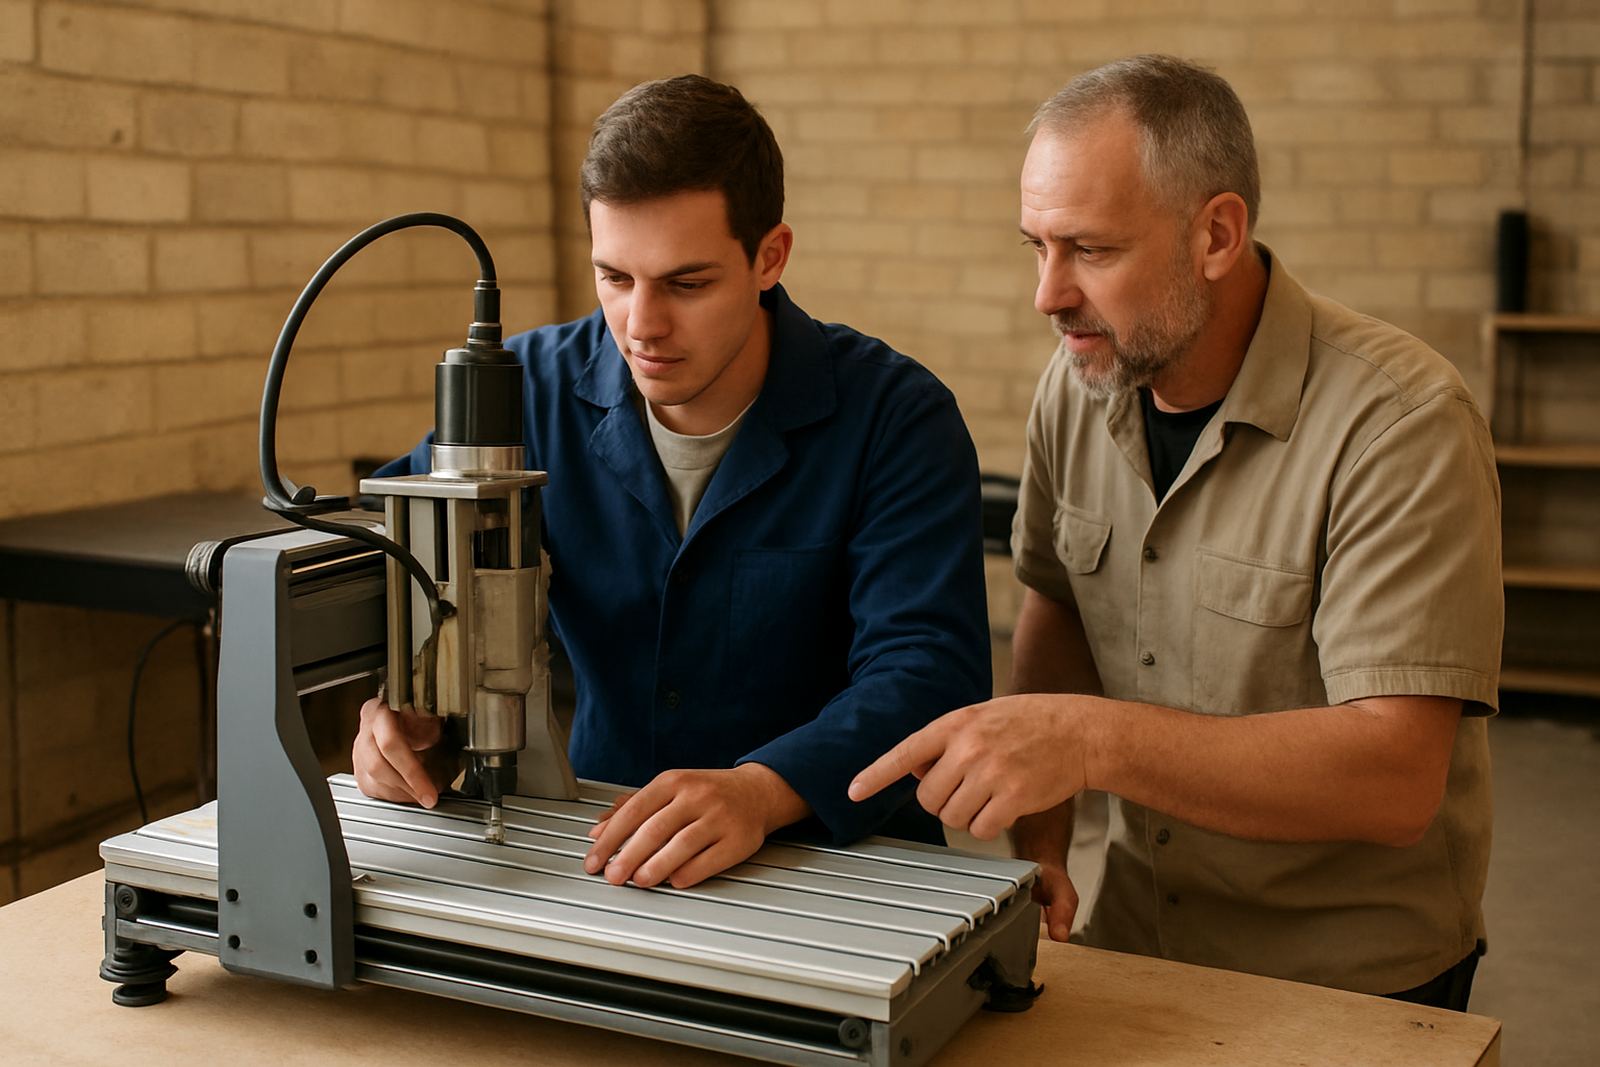
If you are changing between MDF, plywood and plastics, or if your router keeps leaving poor edges despite new bits, it may be time to review the full setup. Training helps operators understand software basics, tool selection and safe first cuts. A starter setup visit can also save hours if the machine has just arrived or if the spoilboard and clamping method need attention.
For workshops that depend on steady output, preventive maintenance and control tuning can prevent the small faults that turn into bad cuts. Broken spindle noise, lost steps, poor Z height or weak hold-down all show up in the finish long before a full breakdown. Having spares planned in advance is sensible too, especially when you are working around municipal power interruptions or trying to keep a job moving for a client with a tight deadline.
- Book refresher training if operators change often.
- Plan spare cutters, belts and key wear parts before they fail.
- Use remote support for setup checks when time is tight.
- Get breakdown support early if the finish suddenly changes.