
Start with the job, not the bit box
Most problems with CNC routing start with the wrong cutter choice. A bit that works well on pine may leave fuzzy edges on MDF, while a cutter that clears plastics nicely can chatter in hardwood if the feed speed is off. For small workshops in Pretoria, Silverton, Centurion and Midrand, the best approach is to think about the cut first, then pick the bit that suits it.
Ask three simple questions before you fit a tool: is this a groove, a profile cut, a pocket, or a sign detail? Is the board solid timber, MDF, melamine faced board, or plastic? Do you want a clean edge straight off the machine, or will there be sanding and finishing after? Once you know that, the choice becomes much easier.
- Use a roughing cutter when you need to remove material quickly
- Use an engraving cutter for fine lettering and V-carved detail
- Use a compression style cutter where edge quality matters on sheet goods
Straight cutters for slots, pockets and general work
Straight cutters are the workhorses in many hobby and starter shops. They are used for slots, pockets, rebates and general material removal. On MDF and plastics, a sharp straight cutter can give a clean result if the machine is set up properly and the dust is cleared away. If chips stay in the cut, the bit heats up and the edge can start to look burnt or rough.
These cutters are useful for cabinet parts, jig making and template work. In a Silverton workshop doing small runs of signage blanks and shelf parts, a straight cutter often becomes the first tool fitted in the collet. It is simple, direct and practical, though it is not the best choice when you need a refined finish on the top edge.
- Best for: pockets, slots, rebates, template routing
- Materials: MDF, pine, some plastics, plywood
- Watch for: chip clearing, heat build-up, and board holding
Upcut and downcut cutters change the edge you get
Upcut cutters pull chips upwards and clear the cut well, which helps with deep pockets and cooler cutting in wood and MDF. The trade-off is that the top edge can show more tear-out, especially on veneered board or light sheet material. Downcut cutters push fibres downward, so the top surface often looks better straight off the machine, but chip clearance is less aggressive.
For South African workshops working through load-shedding schedules, this matters because you may want fewer passes and less rework when time is tight. If you are cutting melamine faced panels or decorative boards in Pretoria East or Centurion, a downcut can be the better choice for top-surface quality. If you are cutting deeper pockets in MDF, an upcut may be more practical.
- Upcut: better chip removal, good for deeper cuts
- Downcut: cleaner top edge, useful on faced boards
- Both need firm clamping and the right feed rate
Compression cutters are strong on sheet goods
Compression cutters are useful when you want a clean top and bottom edge on sheet material. They work by combining an upcut section and a downcut section in the same cutter, which helps keep both faces neat. This is a common choice for nested parts in MDF, plywood and laminated sheet stock where edge quality matters.
They are not the first pick for every task, but they earn their place in a shop that cuts cabinet parts or signs from sheet material. If the cut is too shallow, you may not get the full benefit of the compression section. That is why setup and material thickness matter. A cutter that is right for 16 mm board may not perform the same way on 9 mm panels.
- Best for: sheet goods, cabinet components, laminated panels
- Not ideal for: shallow engraving or very fine detail
- Needs: correct cutting depth to work properly
V-bits and engraving tools for lettering and signage
V-bits are the cutters most people reach for when they need lettering, decorative grooves or sign making detail. The angle of the cutter affects the look of the finished work. A shallow angle gives finer lines, while a wider angle creates bolder lettering and deeper decorative cuts. These cutters are popular with hobby users who make name boards, labels and personalised panels at home or in a small shop.
On plastics, a V-bit can produce crisp detail if the feed and spindle speed are matched well. On MDF, it can leave a clean carved look, but dust extraction becomes important because fine particles build up quickly. If you are producing small run signs for a local business in Kempton Park or Pretoria East, it helps to test the depth on offcuts before running the full job.
- Best for: signs, lettering, decorative grooves, chamfers
- Material note: plastics often need careful speed control
- Practical tip: test depth on an offcut before the final run
Ball nose, flush trim and specialty bits each have a place
Ball nose cutters are used where a rounded bottom or 3D surface is needed. They are common for moulds, sculpted panels and relief work. Flush trim cutters are used to follow a template or trim one part to match another. They are handy for copying shapes and cleaning edges, especially when a part has already been rough cut.
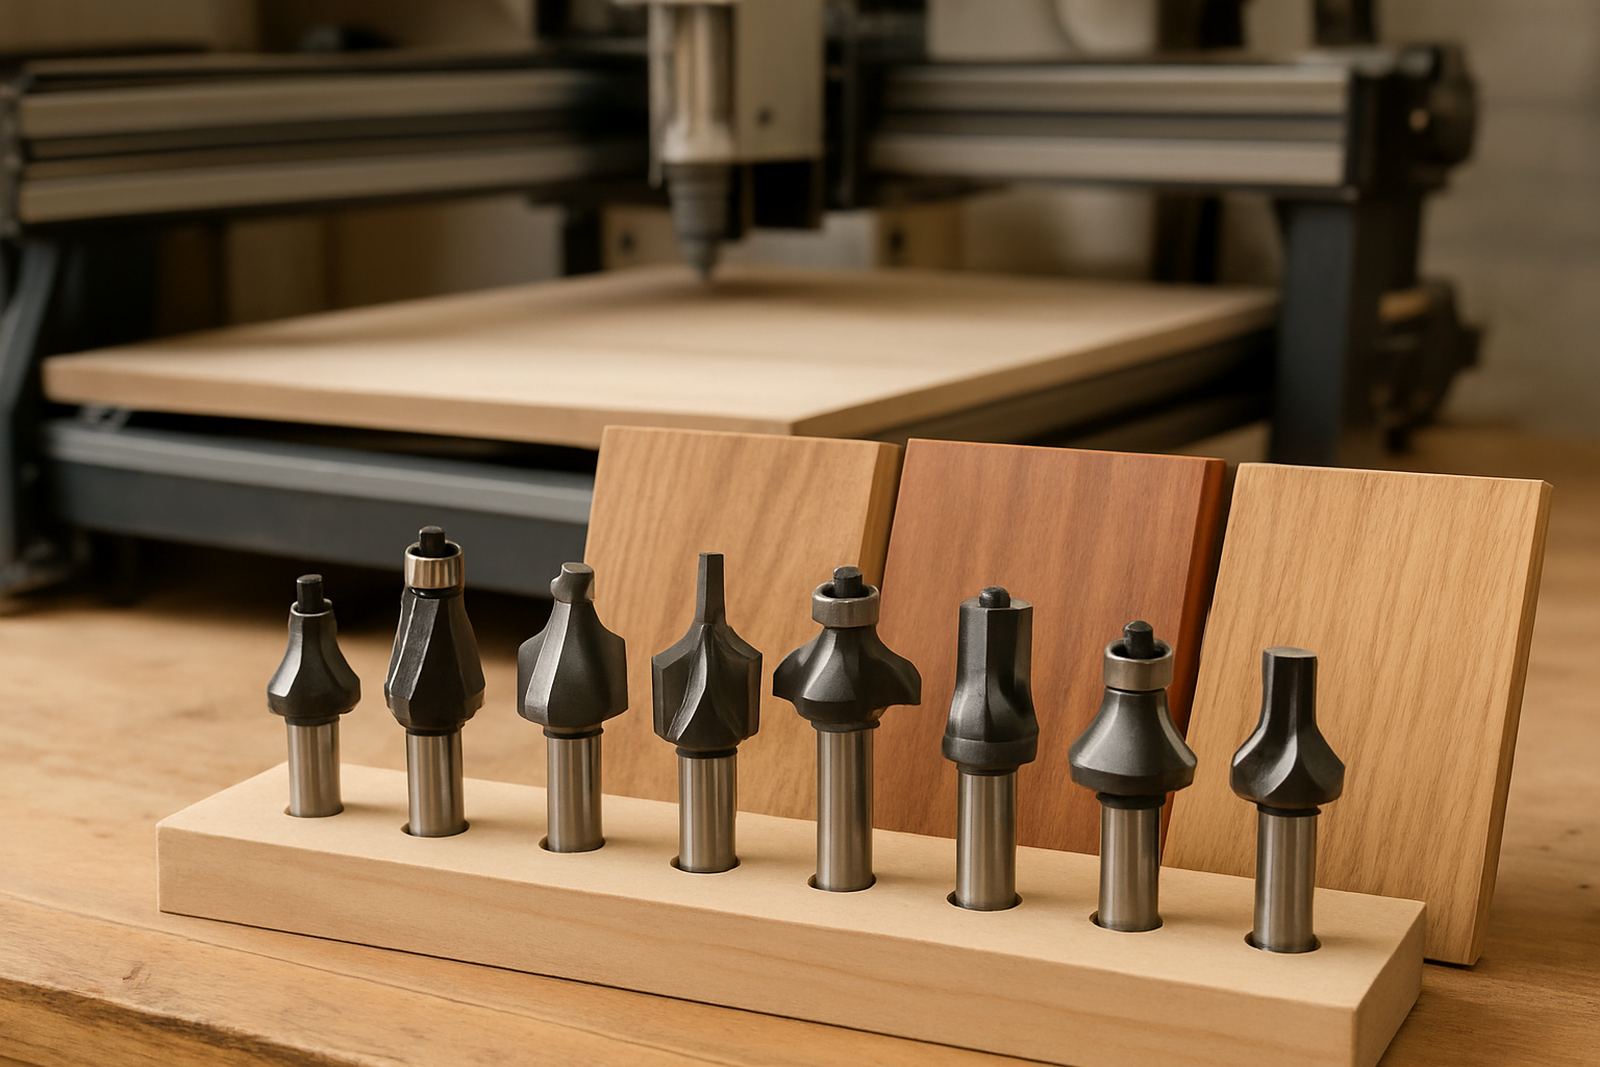
There are also specialty bits for specific jobs such as chamfers, radius edges and decorative profiles. The key is not to buy every shape at once. Start with a practical set that covers the work you actually do, then add others as your jobs change. That saves money and avoids a drawer full of cutters that never leave the packet.
- Ball nose: rounded detail, 3D carving, smooth contours
- Flush trim: template work, copying shapes, edge clean-up
- Profile cutters: chamfers, rounds, decorative edges
Keep cutters sharp and matched to your machine
Even a good cutter will perform badly if the machine setup is poor. A dull bit burns wood, drags in MDF and leaves rough edges in plastic. Loose clamping, wrong collet size, or too much tool overhang can cause chatter and poor finish. In a busy workshop, it is worth checking cutters before each run and replacing tired ones before they spoil a batch.
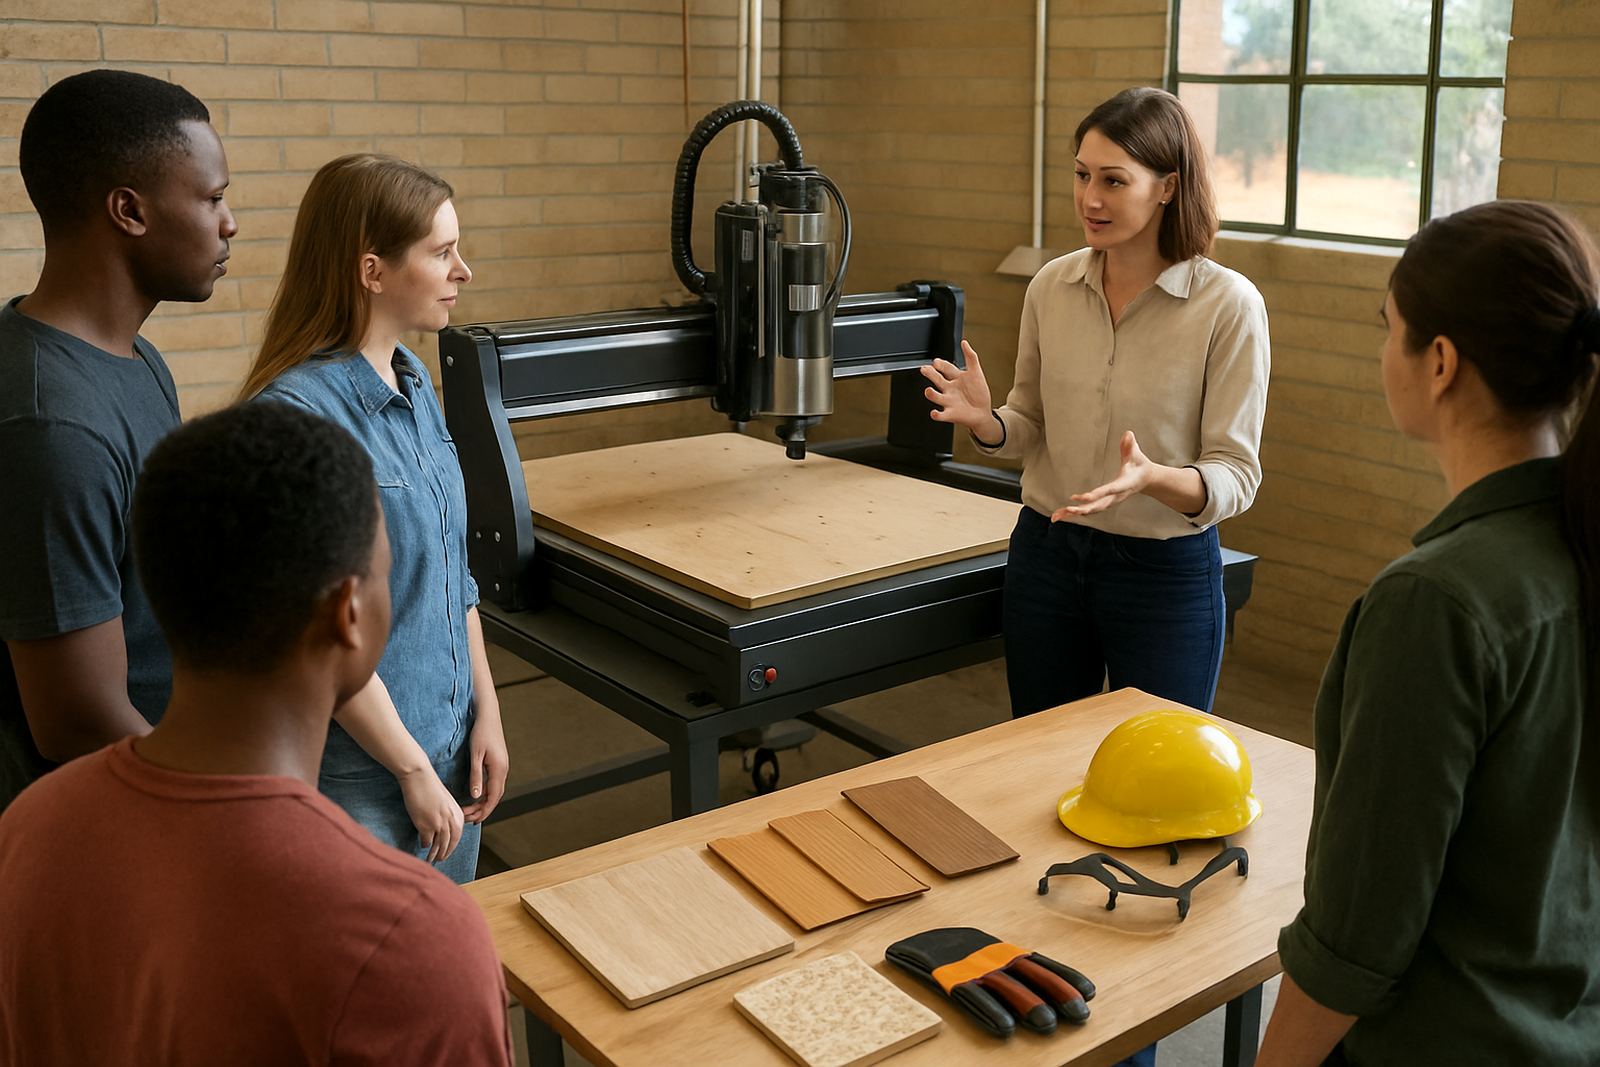
Good planning also helps with spares and downtime. If you are working from Silverton or taking jobs across Pretoria, Centurion and Midrand, a spare cutter set and a simple maintenance routine can keep the machine earning. Training helps too, because once the operator understands cutter shape, feed rate and material behaviour, the job becomes far more predictable.
- Check cutter wear before each job
- Keep the collet clean and fitted correctly
- Match the cutter to the material and finish needed