
Why compact routers suit sign letters
For sign work, size is not the main issue, accuracy is. A compact router table gives you controlled cutting for letters, logos and panel details without needing a big industrial footprint. That makes it a sensible choice for small workshops in Pretoria East, Centurion or Midrand where space, power and day to day turnaround all matter.
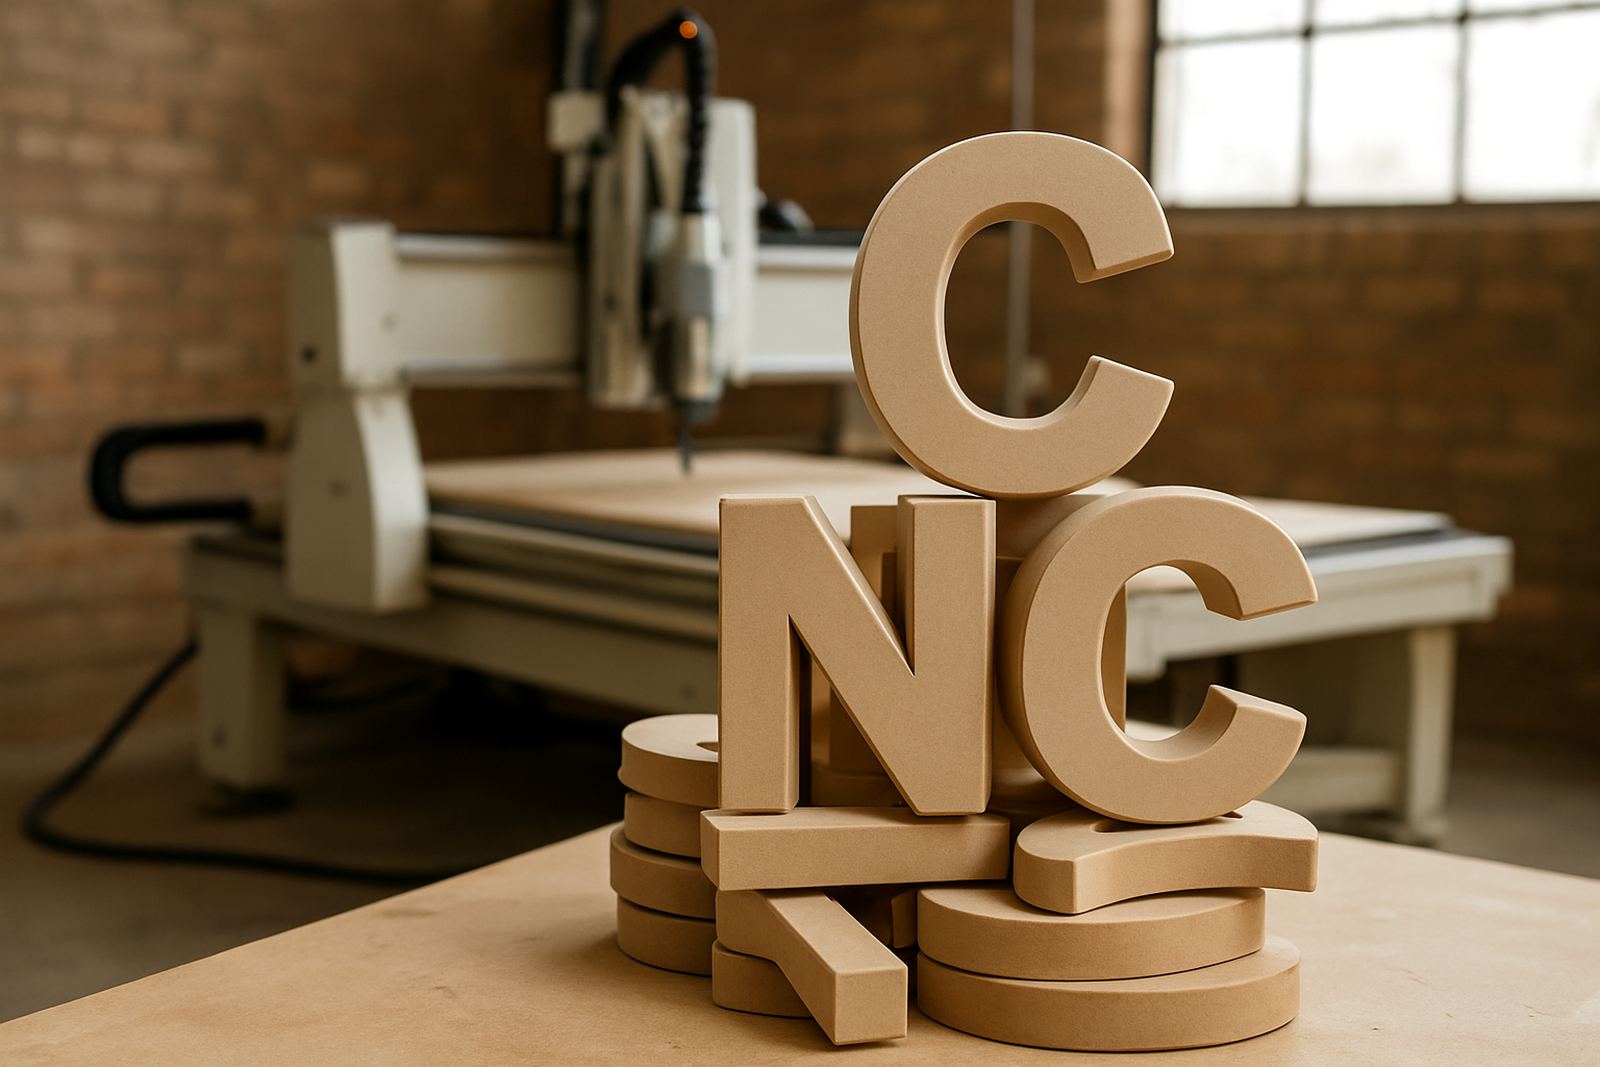
When you are making sign letters, you want repeatable cuts and tidy corners. Compact machines handle this well on MDF, acrylic and many plastics, and they can also manage timber panels for painted shop signs. If you are doing one-off name boards or short runs for a contractor, the setup is practical and easy to keep organised.
- Good for flat cut letters and layered sign faces
- Useful for shallow relief work on decorative panels
- Suited to smaller workshops with limited floor space
- Fits the needs of hobby users and paid sign work
Choosing material for painted letters
The material you choose affects the finish more than many people expect. MDF is popular for painted letters because it cuts cleanly and is easy to prime, but it must be sealed well on every edge. Acrylic and other plastics are better for a crisp modern look, especially where indoor signs or lightbox fronts are needed. Timber can look good too, though grain and knots need more care.
In Gauteng, dust is a bigger issue than humidity, but coastal customers still need to think about moisture if signs are being transported or fitted in high humidity areas. For outdoor use, sealing and paint choice matter just as much as the cutting path. If the job is for a shop front in Silverton or a reception area in Kempton Park, ask first how the sign will be mounted and whether it will face sun, rain or cleaning chemicals.
- MDF: affordable, easy to paint, but seal the edges properly
- Acrylic: neat appearance, best for crisp profiles and layered letters
- Timber: good for a warmer look, needs grain-aware finishing
- Foamed plastics: light and simple to install, check thickness first
Toolpaths that keep letter edges clean
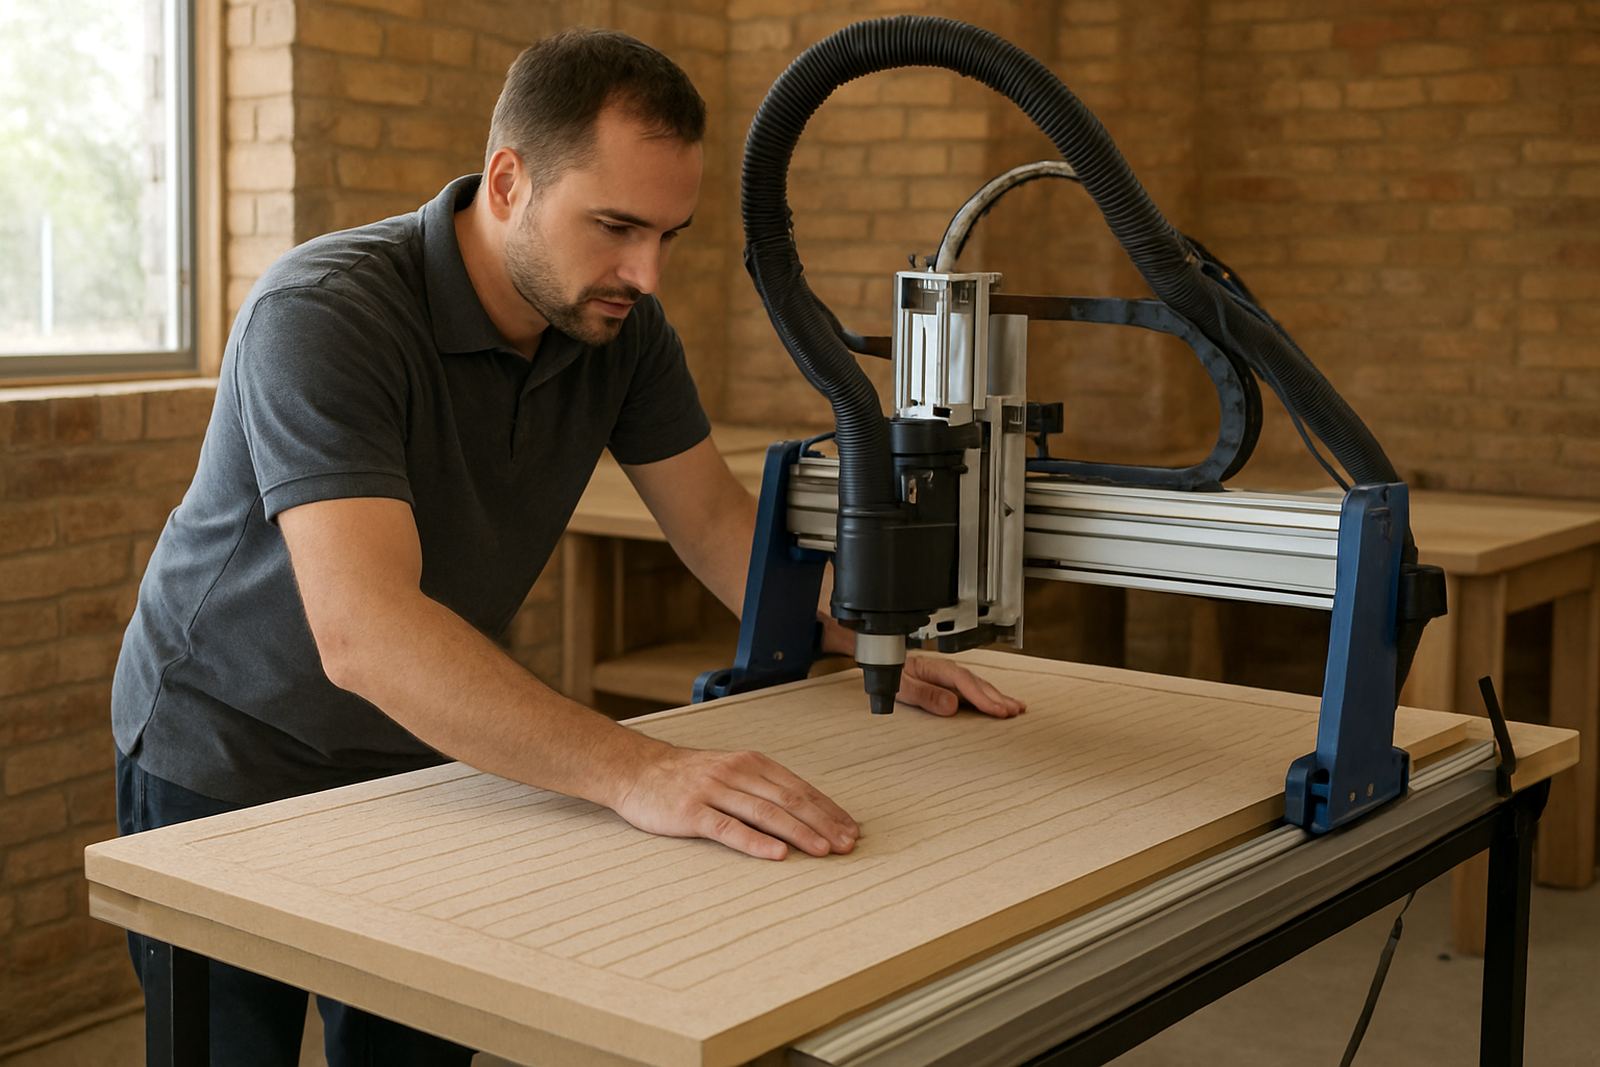
Clean sign letters start with the cutting path. Small inside corners, narrow strokes and tight curves all need sensible tool selection and feed speeds. A compact router with decent control lets you slow down for detail without losing accuracy. For most sign work, the aim is to reduce chipping, avoid burn marks and keep the machine from overloading.
It helps to think about how the sign will be finished. If the letters will be painted after cutting, a slightly smoother cut edge is often easier to prime than a rough one. For layered signs, consistency is important so each letter sits properly when glued or fixed to the backing board. One bad pass can throw off a whole batch and that gets costly fast.
- Use the correct cutter size for the smallest stroke in the lettering
- Allow extra room for internal corners where needed
- Test on offcuts before cutting the full sheet
- Keep extraction and dust removal in good working order
Finishing work that makes letters look proper
Cutting is only half the job. Sign letters usually need sanding, priming, painting or edge sealing before they are ready to fit. If the edges are rough, paint will show every flaw. If the primer is thin, MDF can swell and the finish will suffer. A careful finish is what turns a basic cut-out into a sign that looks tidy from the road and close up.
For workshops taking local orders, this is where time gets lost if the process is not planned. Keep a simple finishing station with sanding blocks, brushes, masking tape and a place to dry parts properly. In load-shedding periods, it also helps to batch the work so cutting, sanding and painting do not all happen at once. That way you can keep moving even when the power shifts.
- Seal MDF edges before primer goes on
- Sand lightly between coats for a smoother face
- Use masking where two colours meet on layered letters
- Allow enough drying time before installation
A Pretoria example from a small sign shop
A small sign shop in Silverton may get a request for 20 painted letters for a local medical practice in Pretoria East. The shop could cut the letters from MDF, profile the edges, then prime and paint them in batches of five. That keeps the workflow manageable and avoids cluttering the workshop with too many parts at once. A compact router table suits this kind of job because the letters are accurate and easy to repeat.
For a job like that, the owner also needs to think about mounting. Some signs will go onto a backing board, while others are fixed directly to a wall. If the client is in Centurion and wants the letters delivered for installation, the workshop should pack them flat and protect the edges. Small details like this save rework later and help the final job go in without drama.
For teams who are still learning, a starter setup visit and operator training can be useful before taking on paid sign work. Nhlanhla can show the basics of setup and software handling, while Lindelwa helps with spares planning so the right cutters and belts are on hand when something wears out.
What to keep in stock for sign work
Sign making is easier when the basic spares are already on the shelf. A cutter worn too far or a control issue on a busy day can hold up a full order. For smaller workshops, this is one of the biggest reasons to plan ahead rather than waiting until a machine stops. It is the difference between finishing a job this afternoon and pushing it into next week.
There is also value in regular maintenance. Dust, vibration and long cutting sessions can affect accuracy over time. A quick check on alignment, spindle condition and cable wear helps keep cuts consistent. If you are working in a shop that does both furniture and sign components, preventive maintenance is worth building into the month, not leaving for when there is already a fault.
- Keep spare cutters for common letter sizes
- Have belts, collets and fastening items ready
- Check the spindle and control settings regularly
- Use remote support or breakdown support when faults interrupt work