
Why small parts need more than just a clamp
When you are cutting small components on a CNC router, the main risk is not usually the machine itself. It is the part shifting as the cutter comes through the final pass. A piece that is only 40 mm wide or 120 mm long has very little mass, so vibration, spindle pull and poor support can all affect the cut. This becomes even more important when you are working with MDF, ply offcuts or thin plastics that flex easily.
In a small workshop in Silverton or a home garage in Pretoria East, the temptation is to rush the job and trust a quick clamp at the edge. That works for rough holding in some cases, but small parts often need support under the full area, not just pressure on one side. If the part lifts even a little, the cutter can leave a witness mark, break through unevenly, or throw the job out of square.
The goal is simple: keep the material flat, stop it from rotating and make sure the cutter has a clean exit path. That usually means planning the hold-down method before you start the program, not after the first piece moves.
Tabs, bridges and why they must be placed with care
Tabs are one of the most useful ways to keep a small part attached to the parent sheet while cutting. They leave a tiny section of material uncut so the part stays in place until the job is complete. For small components, tabs need to be sized to suit the material and the final handling method. A tab that is too thin may snap during cutting, while a tab that is too large can leave a lot of hand finishing.
For MDF and softwood, a small tab can often be enough. For plastics, especially thinner stock, the tab should be positioned where it will not affect the visible edge or a critical fixing point. If you are making cabinet hardware, labels, jigs or faceplate parts, place the tabs where they can be cleaned up without changing the finished dimensions.
- Use more tabs on light parts that might lift during the last cut.
- Keep tabs away from sharp corners where cutter force is highest.
- Leave enough room to trim them safely with a knife, file or sanding block.
- Plan the toolpath so the final pass does not break the part loose too early.
On a busy day in Midrand, you do not want to stop a run because the last three parts moved by a millimetre. Good tab placement saves time and material.
Backing boards and spoilboards that support the full cut
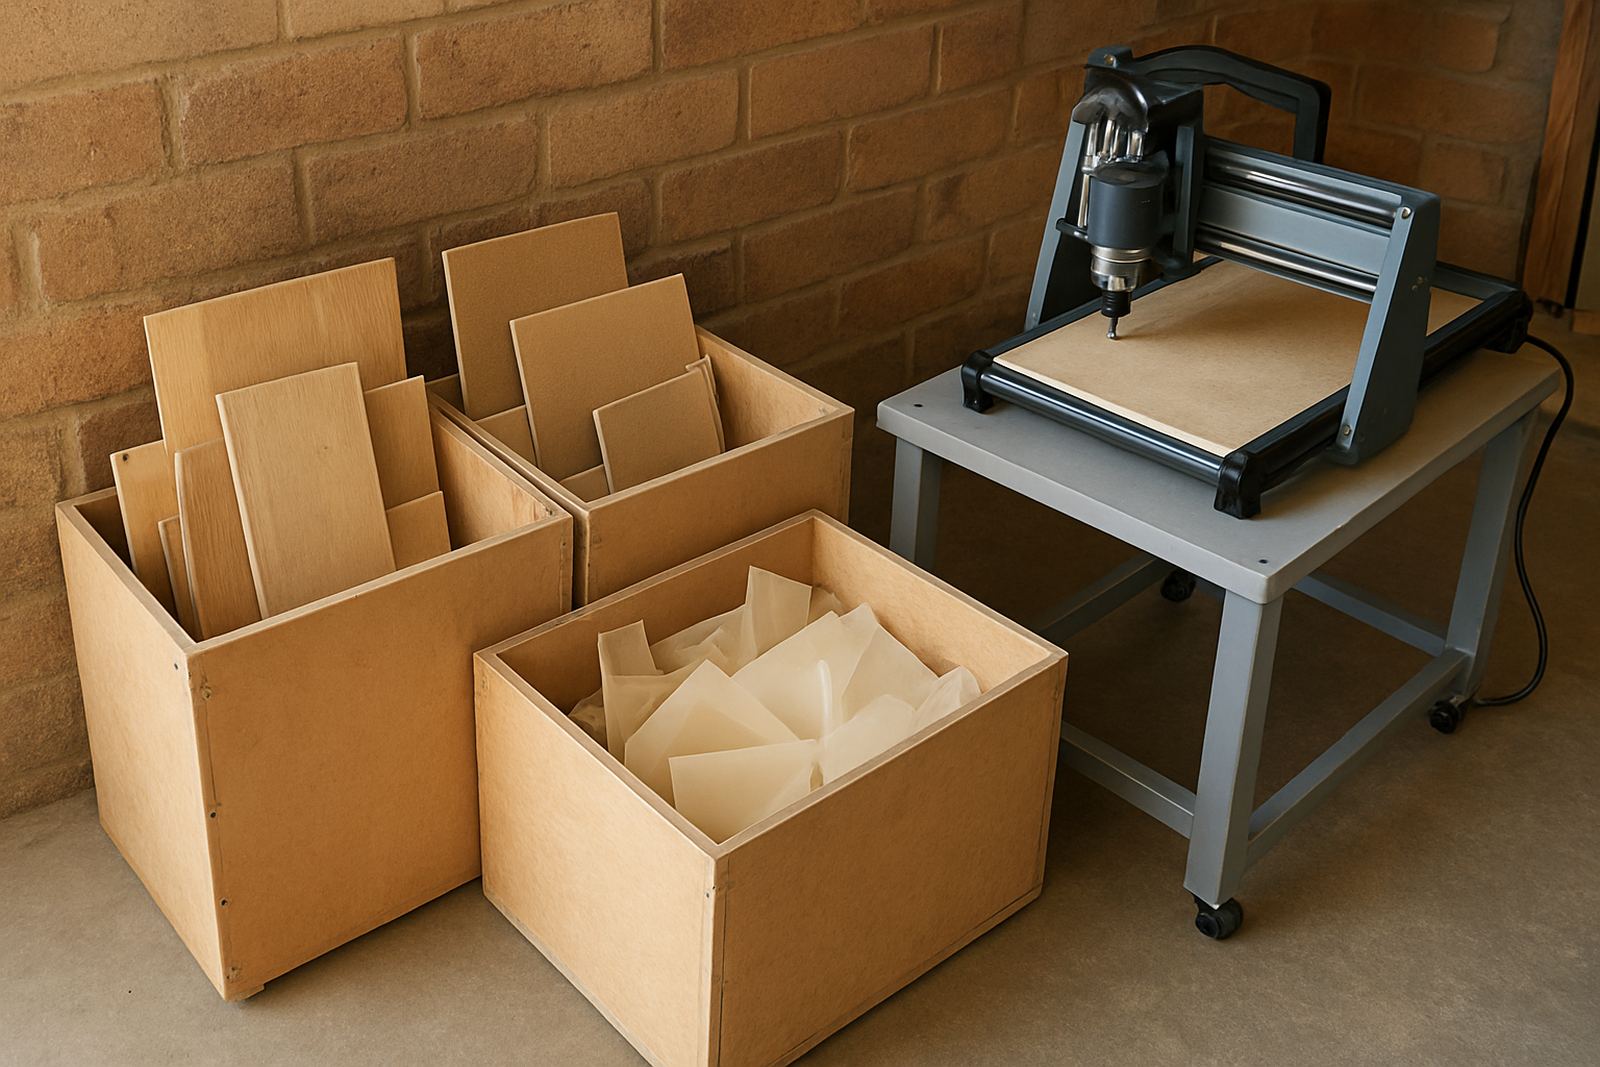
Small parts are easier to hold when they sit on a flat, clean spoilboard. If the base surface has grooves, raised dust or old cutter marks, the material can rock slightly and that movement shows up in the cut. A flat sacrificial layer also helps protect the machine bed and gives you a surface you can cut into if the part has through-cuts or pocketing.
For thin plastic or narrow timber strips, a backing board can prevent the part from vibrating as the cutter travels. If the workpiece is small enough, consider nesting it inside a larger carrier board and cutting both together in a controlled way. That extra support can make a big difference on light parts that would otherwise chatter.
Vacuum hold-down can help, but only if the seal is good and the part covers enough area. On tiny pieces the vacuum leak is often too high. In that case, use a combination of spoilboard flatness, double-sided tape, low-profile clamps or a fixture plate. The best choice depends on the size, thickness and finish requirement of the job.
- Check the spoilboard for high spots before every run.
- Use clean, dry material with no warp or twist.
- Keep dust extraction working so chips do not build under the part.
- For plastics in humid coastal conditions, store sheets flat so they do not bow.
Low profile clamps, tape and custom jigs for repeat jobs
When you need to hold small parts repeatedly, simple improvised clamping can become slow and risky. A better option is a purpose-made jig that supports the same part every time. This is common in smaller workshops where the same fittings, nameplates, brackets or template parts are produced in batches.
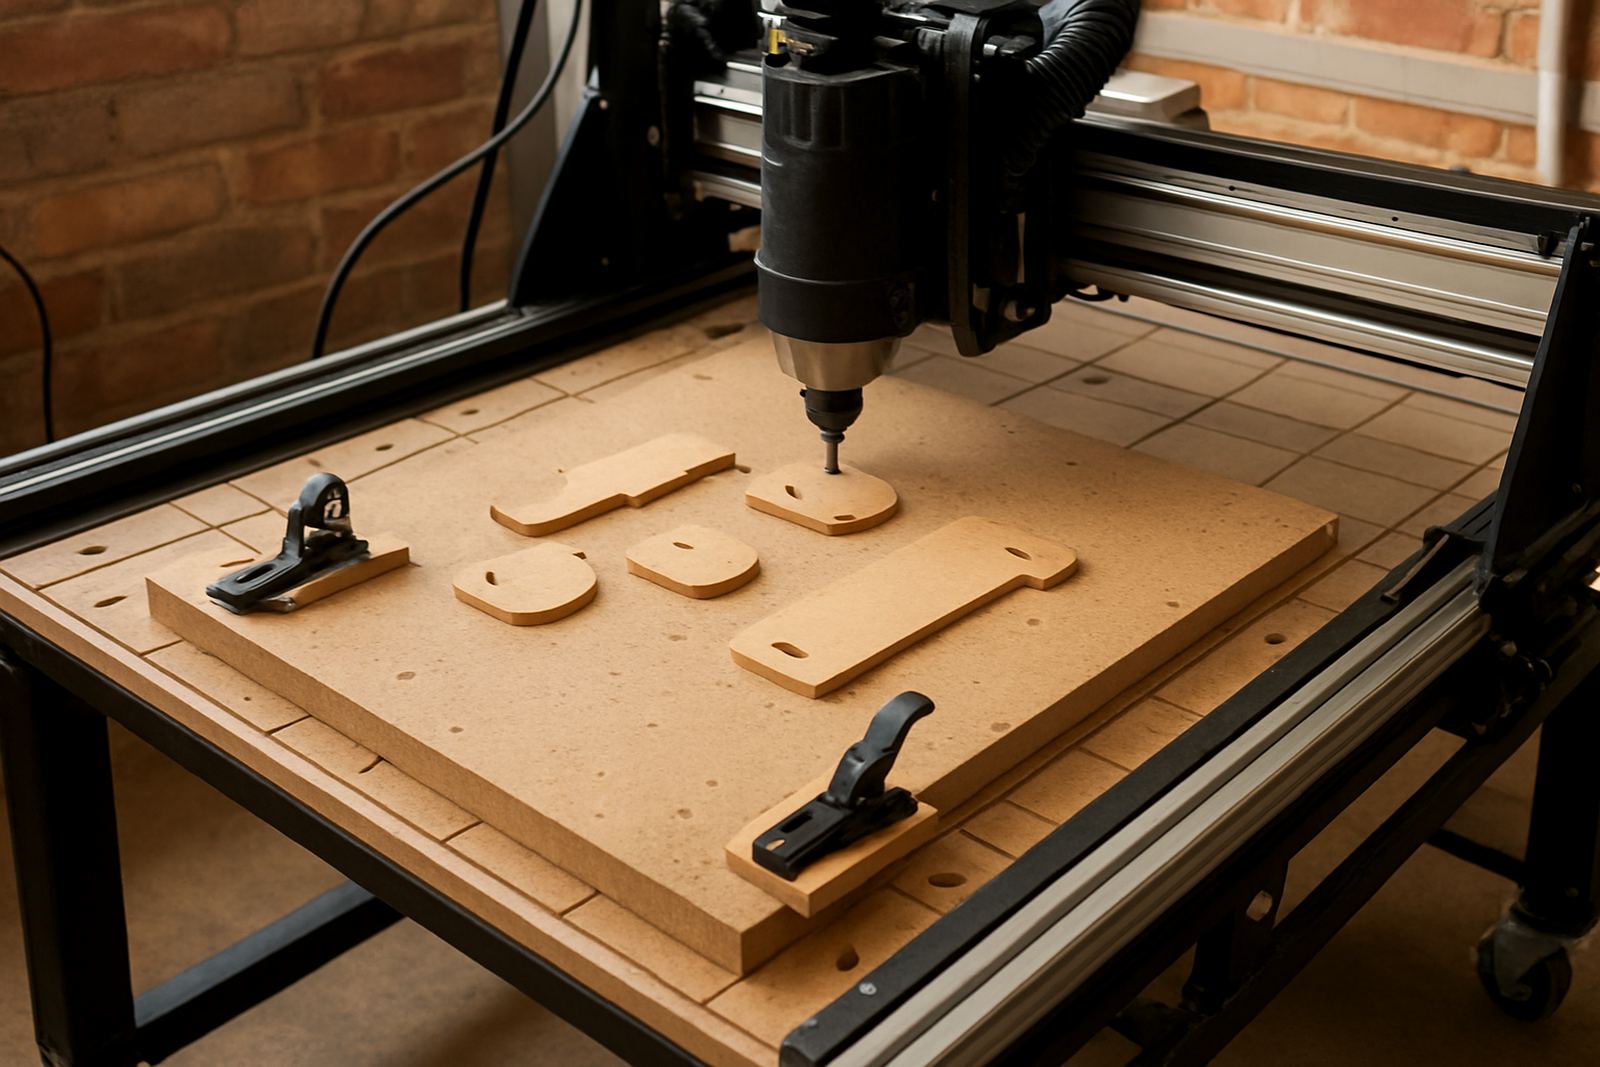
Low profile clamps are useful when the cutter needs to pass close to the edge, but they must be placed so the spindle and tool holder clear them at every point in the toolpath. Double-sided tape can also work well on smooth sheets, especially for lighter plastics and smaller MDF offcuts. Just make sure the tape is suitable for the cutting forces and that the surface is clean before application.
Here are a few practical options that work well in local workshops:
- Step blocks and low clamps for thicker timber and MDF.
- Strong tape on smooth flat sheets for quick one-off parts.
- Dedicated pocket jigs for repeat cutting of small identical pieces.
- Soft packing strips to stop thin material from bending under clamp pressure.
In Centurion, where many home workshops run after hours and around load-shedding schedules, a repeatable jig also saves time. You can set it up once and keep producing parts without having to reset every clamp for each board.
Cut order, tool choice and feed settings all affect holding
Workholding is not only about what holds the part down. It is also about how the machine cuts it. If you cut a small piece free too early, it can shift before the finish pass is complete. A better approach is to leave the outside profile for the last operation and use a toolpath order that keeps the part attached for as long as possible.
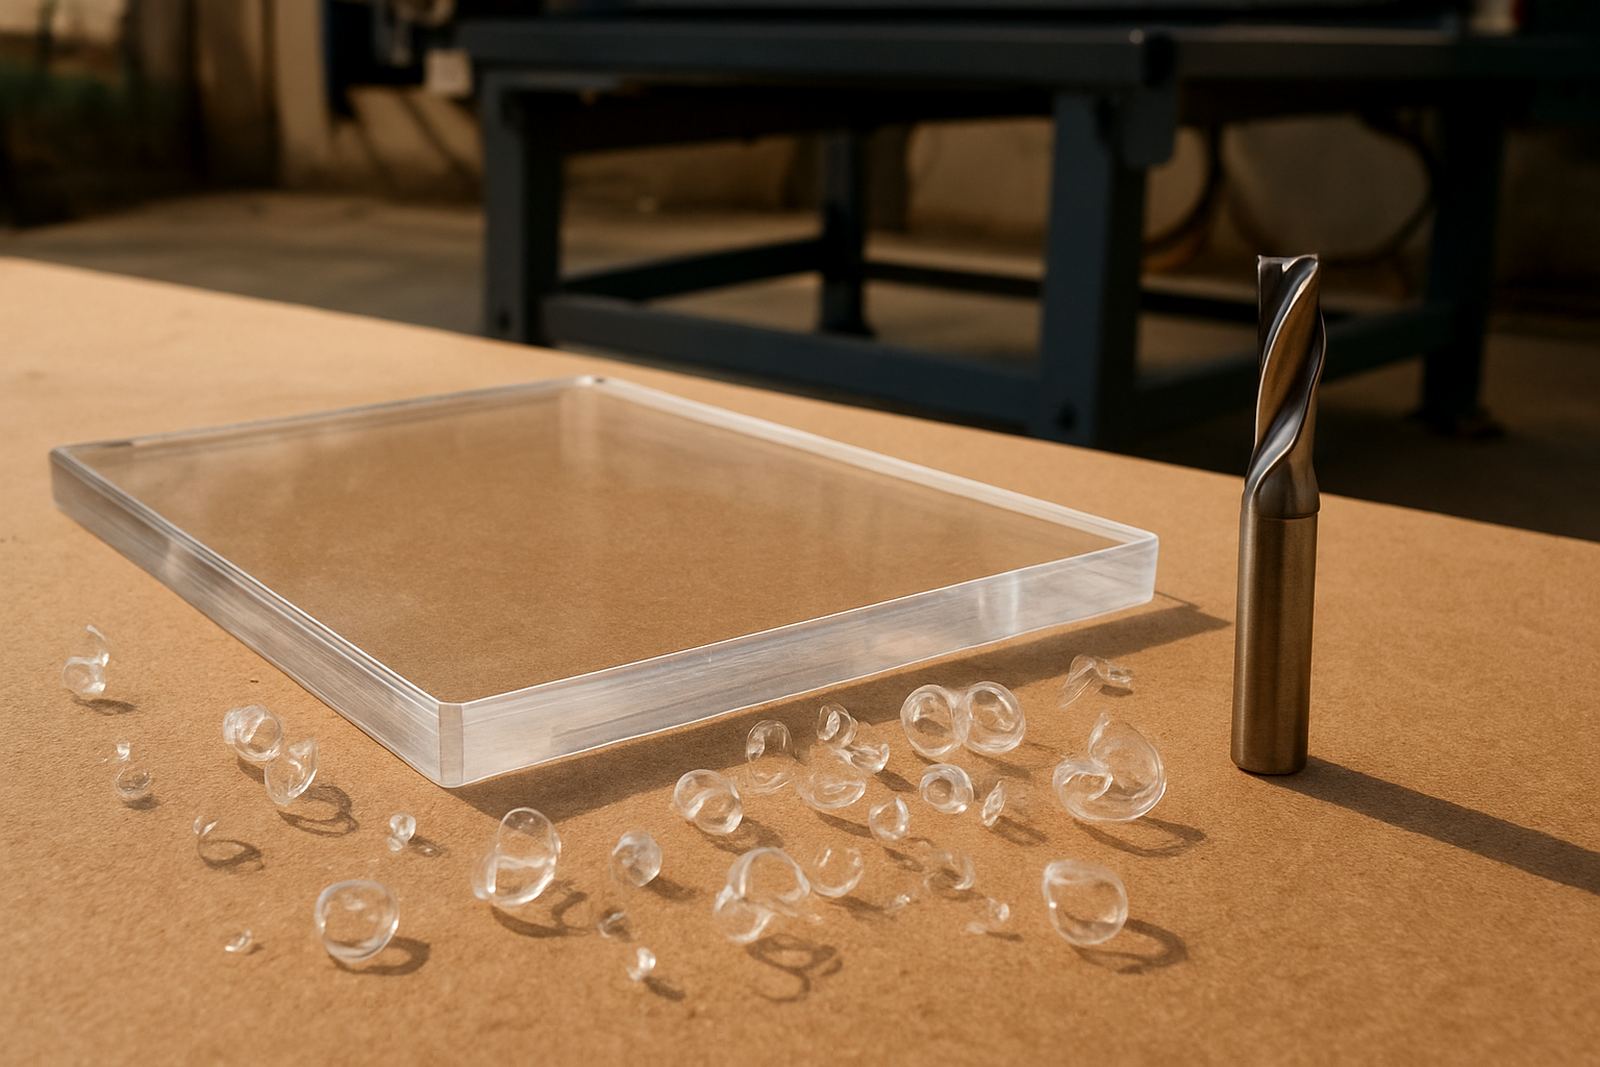
Tool size matters too. A large cutter can create more cutting force than a smaller one, especially in narrow parts or tight corners. For small work, choose a cutter that suits the detail and the material thickness. The feed rate should be steady enough to avoid rubbing, but not so aggressive that it pulls the part loose. For plastics, chip clearing is important too, because heat can soften the edge and distort the hold.
If you hear the part start to chatter, stop and check the setup. That sound usually means the workpiece is not supported well enough or the cutter is forcing it off the bed. A quick pause is better than re-cutting a batch of broken edges.
A Pretoria example: small sign blanks and light plastic parts
A common local job is a batch of small sign blanks or light plastic mounting plates for a shop fit-out in Pretoria East or Kempton Park. These parts often look easy, but they can move as soon as the last internal cut is made. A practical setup would use a flat spoilboard, clean tape, a few low clamps on the outer edges and tabs placed on the least visible side.
If the work is being done in Silverton, the workshop may have to plan around dust extraction, power interruptions and quick turnaround times. That makes preparation even more important. Measure the sheet, check for warp, cut test pieces and confirm the toolpath before the full batch starts. It is cheaper to spend ten minutes checking than to lose a board of material and a day of labour.
For small parts the best result usually comes from simple methods used properly. You do not need complicated setups, but you do need a clean bed, a stable fixture and a clear cut sequence.
A short checklist before you press start
Before each run, work through the basics. It takes very little time and can prevent a damaged cutter or a lifted part. On small jobs, the setup is often the difference between a clean batch and wasted material.
- Is the spoilboard flat and clear of chips?
- Are tabs in safe positions and large enough for the material?
- Will the cutter clear every clamp, screw or fixture point?
- Has the material been checked for warp, cracks or surface dust?
- Are the feeds and speeds suited to the thickness and type of stock?
If you are unsure, a training session or starter setup visit can help you build a repeatable method for small parts. That is especially useful for hobby users and smaller shops that want cleaner results without making every job a trial and error exercise.