
Why edge finish starts before the cutter touches the sheet
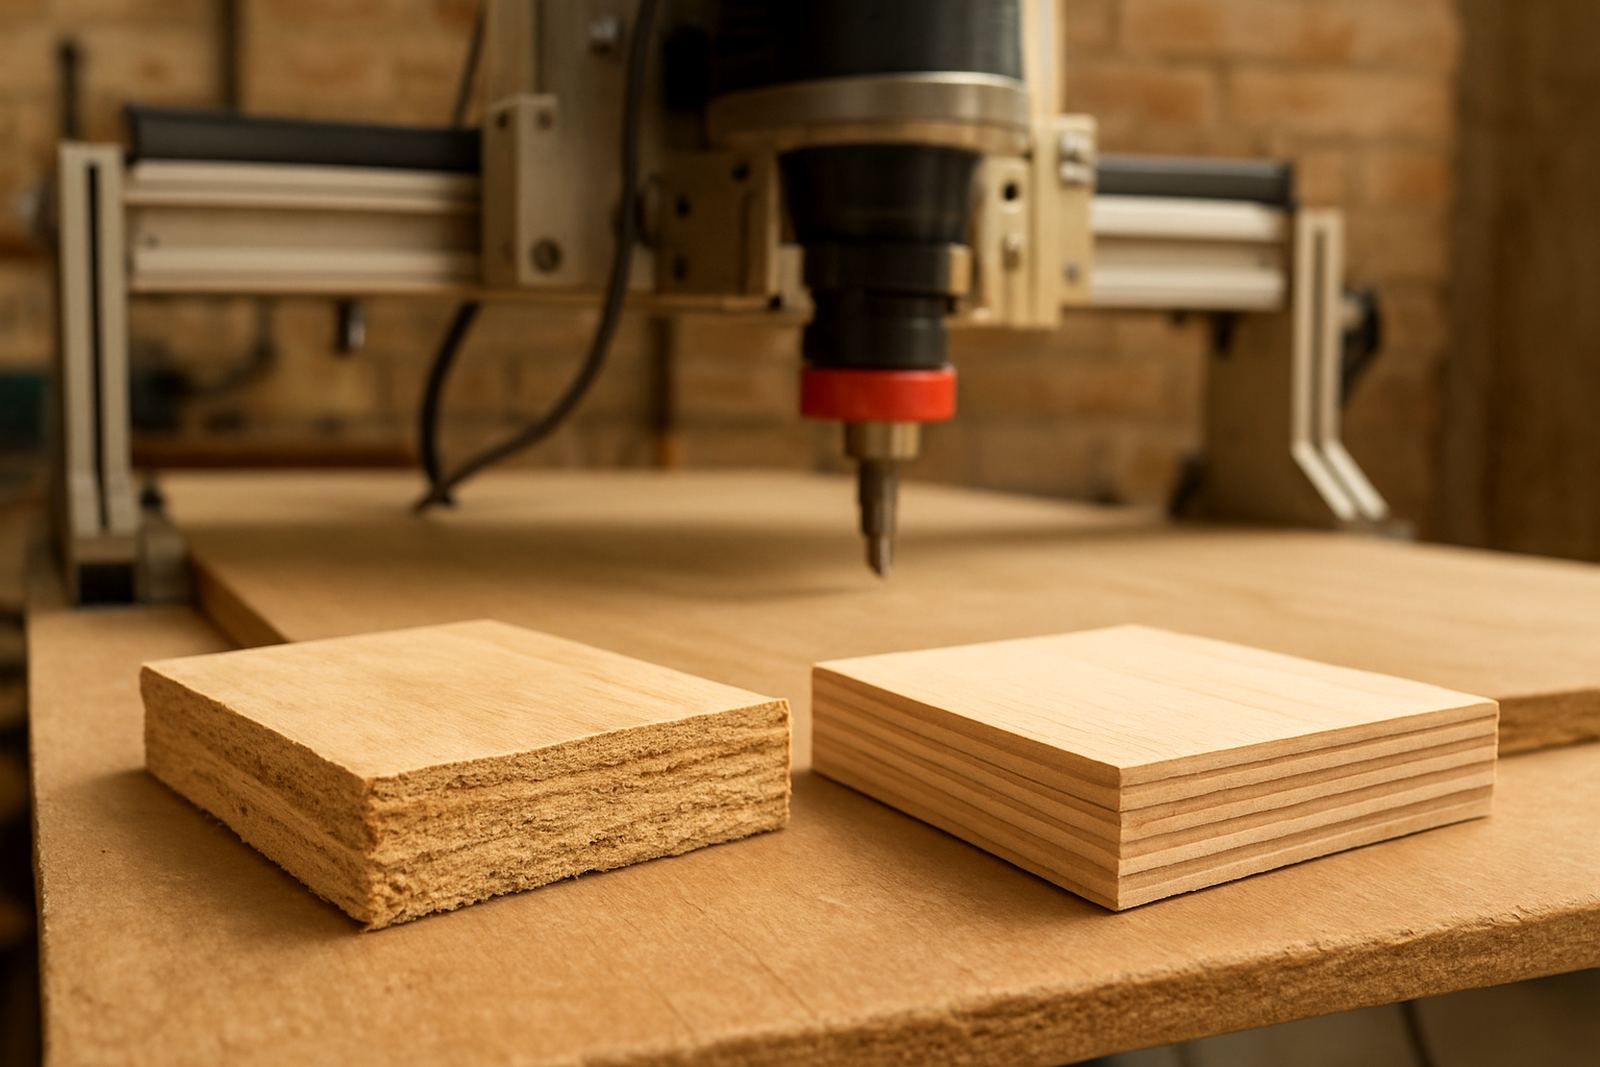
Many people look at a rough edge and blame the machine first. In practice, the trouble often starts earlier with poor clamping, sheet lift, blunt tooling or settings that do not suit the material. On MDF, for example, the fibres can tear if the cutter is pushing too hard or rubbing instead of cutting cleanly.
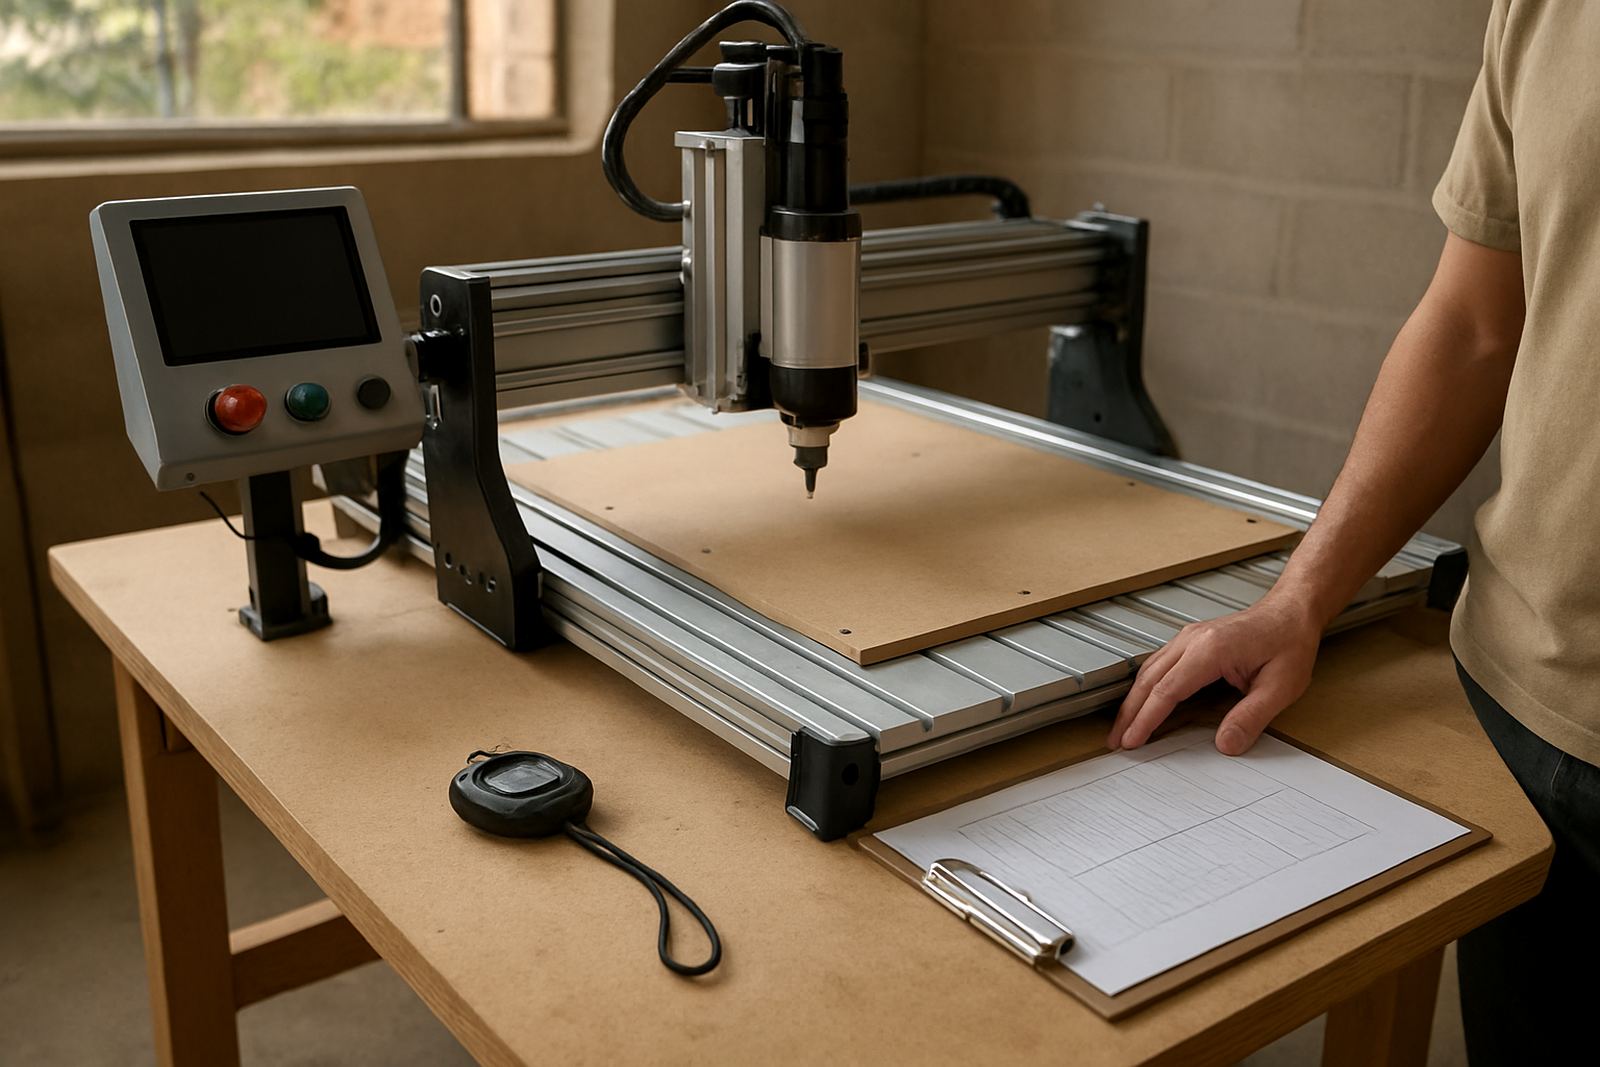
A good edge finish begins with a stable workpiece. If a sheet moves even a little, the cutter leaves chatter marks or a fuzzy sidewall. That is why spoilboards, hold-downs and a flat bed matter just as much as the router itself. In a Pretoria workshop, where dust and heat can vary through the day, small setup errors show up quickly in the final edge.
Get the feed and spindle speed working together
Balanced feeds are one of the biggest factors in edge quality. If the feed is too slow, the tool burns the material or polishes it rather than cutting it. If the feed is too fast, the cutter can chatter and leave scallops or a chipped edge. The right balance depends on the material, cutter diameter and machine rigidity.
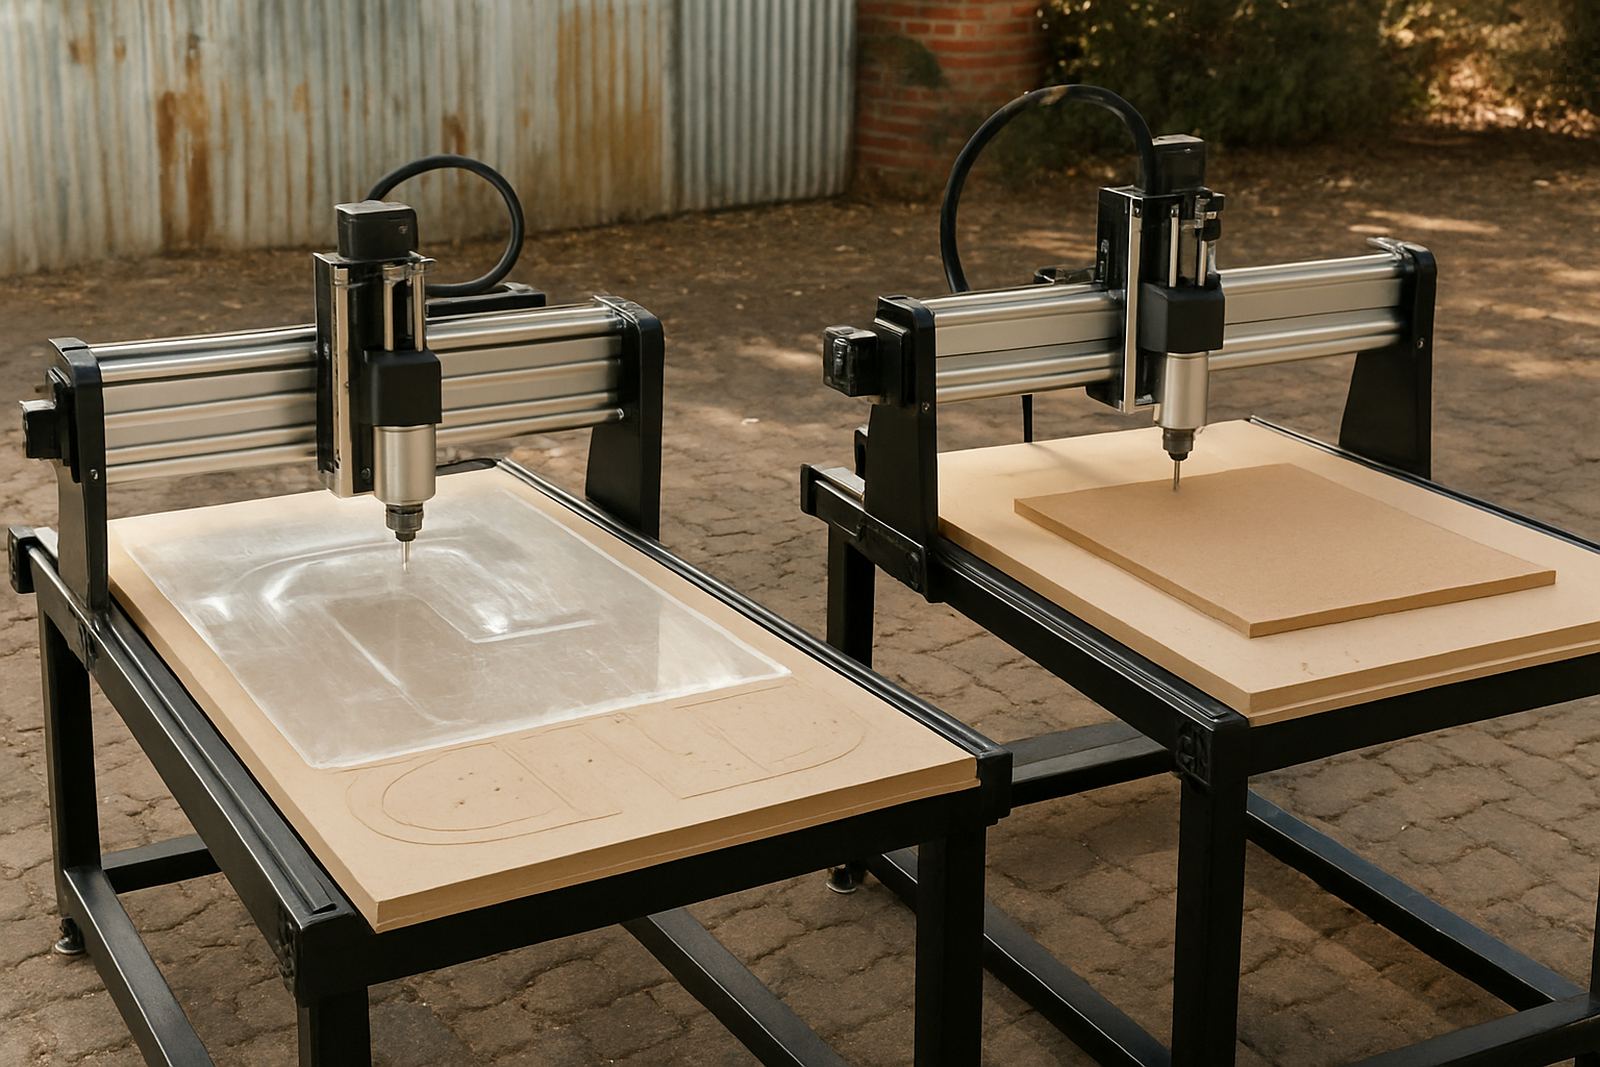
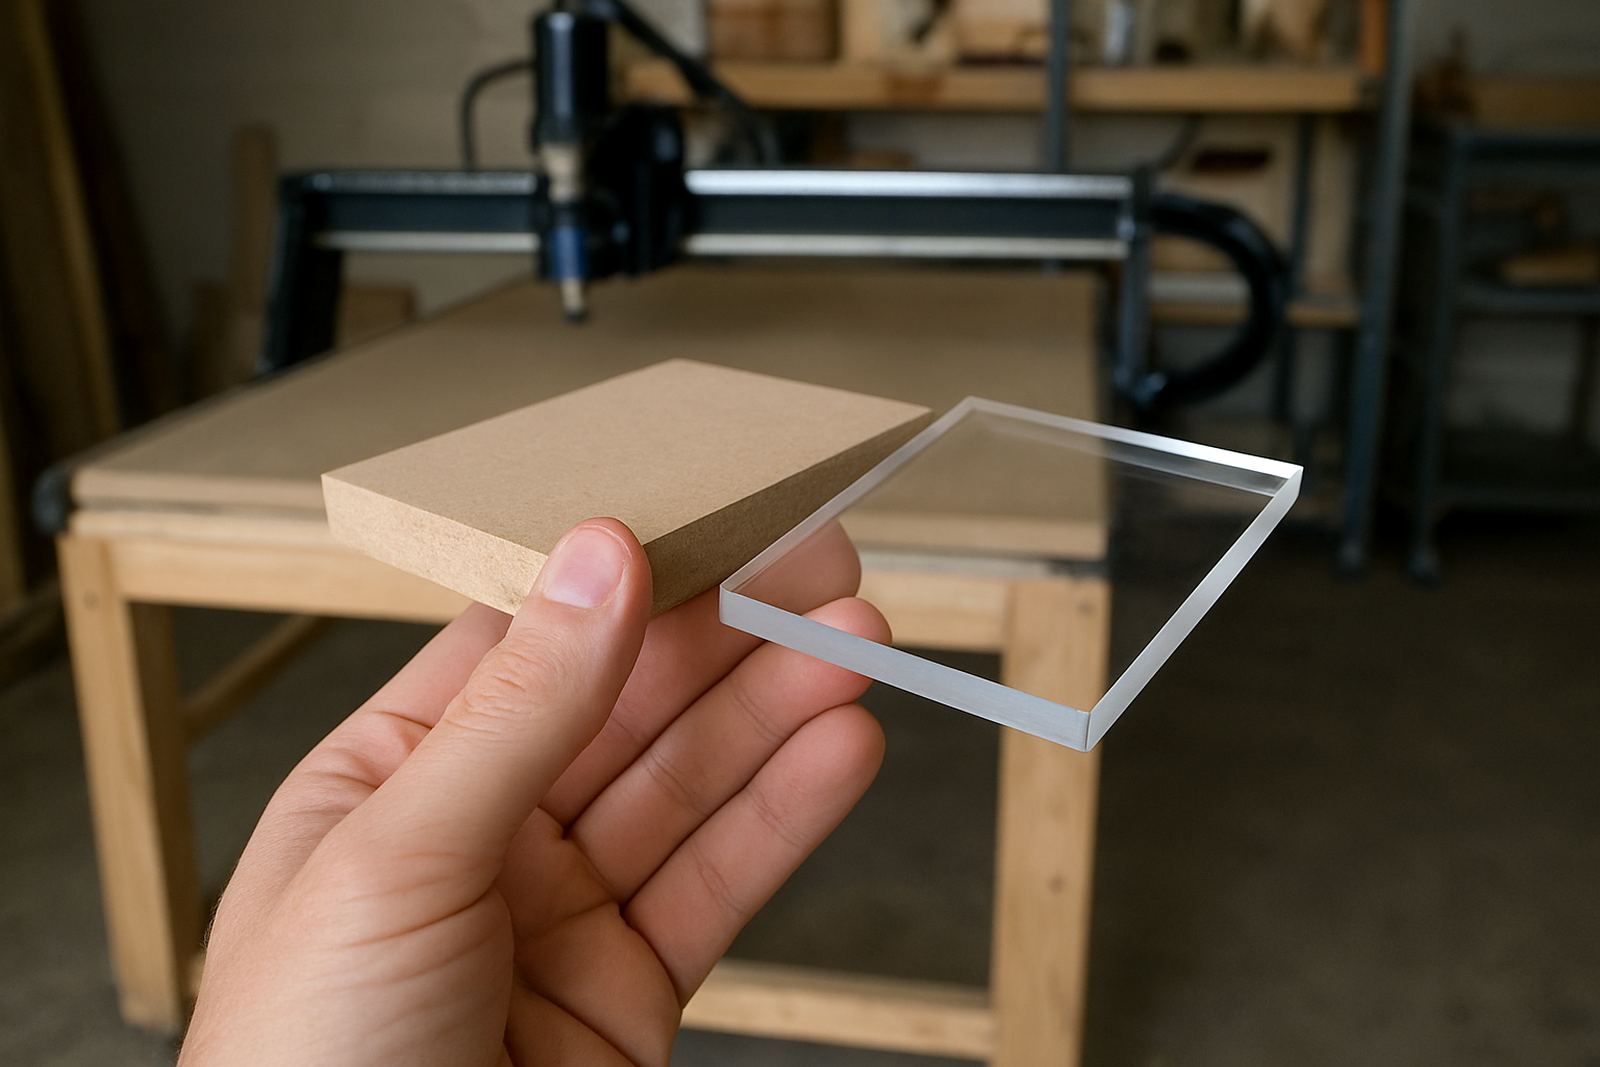
For woodworking and MDF, the aim is usually a steady cut with enough chip load to clear material from the flute. Plastics need even more care because heat builds up fast. A clean edge in acrylic or PVC sheet often comes from a sharper cutter, lighter passes and proper chip removal. If the swarf packs around the tool, the finish can turn cloudy or rough very quickly.
- Use a test cut before starting a full sheet job
- Adjust feed in small steps, not large jumps
- Keep an eye on chip shape, dust means rubbing on many materials
- Match spindle speed to the cutter and material thickness
Sharp tools make a bigger difference than most operators expect
A blunt cutter will ruin edge quality long before it becomes obviously damaged. It may still cut the job, but the finish gets worse: more tear-out, more fuzz on MDF, more heat on plastics and more burn marks on timber. Many operators keep pushing the same bit because it still sounds fine, then wonder why the last few jobs started looking untidy.
Tool life depends on material choice and job volume. If you cut a lot of board material, inspect cutters regularly under good light. Look for wear on the cutting edge, resin build-up and chipped corners. A quick clean can help, but once the edge is rounded off, the quality drops. It is often cheaper to replace a worn bit than to waste time sanding and reworking parts.
Support the sheet properly or the edge will pay the price
Even a well set router can struggle if the sheet flexes during cutting. Thin MDF, nested parts and small components all need support to stop vibration. When the cutter passes through unsupported material, the underside can splinter or break away at the exit point. That problem is common on hobby routers where the work is clamped only at the corners.
Use a spoilboard that is flat and in good condition, with vacuum or mechanical hold-down arranged around the cut path. For thin plastics, adding backing material can help reduce breakout. In some cases, a small change in support does more for finish than a change in speed. It is a simple thing, but many operators only notice it after the first bad batch.
- Check the spoilboard for grooves and low spots
- Place clamps and hold-downs away from the cutter path
- Back up thin sheet with sacrificial material where needed
- Keep small parts secured so they do not vibrate loose
Edge quality depends on how you handle the last pass
Finishing passes can improve the result, but only if they are set correctly. A light final pass removes marks left by the roughing cut and can leave a cleaner wall on MDF, timber and plastics. The problem comes when that pass is too heavy or too fast. Then it starts acting like another rough cut, not a finish cut.
Use shallow depths of cut and make sure the cutter is sharp enough to work cleanly at the lower load. On certain jobs, climb cutting or conventional cutting can change the look of the edge, so it helps to test both on offcuts. A proper finish pass should remove just enough material to clean the wall, not to shake the sheet or overwork the spindle.
A Pretoria Silverton example from a small workshop job
A small cabinet shop in Silverton was cutting 16 mm MDF panels for a run of cupboard doors and side panels. The operator was getting fuzzy edges on long straight cuts, even though the machine was tracking fine. The problem turned out to be a mix of dull tooling, weak hold-down on the centre of the sheet and a feed setting that was too cautious for the cutter being used.
After the setup was checked, the sheet was held more evenly, the tool was changed and the feed was adjusted in steps. The next cuts came off much cleaner, with less sanding needed at assembly. That kind of result is common in Pretoria East and Centurion as well, where smaller workshops often work with compact routers and need practical settings that suit real day to day work, not theory only.
For operators, the lesson is simple: do not judge edge finish by the machine alone. Check the whole setup, from spoilboard to tool condition to the way the sheet is supported. Often the fix is there waiting, and it saves time on every part after that.
Training and maintenance keep the finish consistent
Cleaner edges are easier to repeat when the operator understands the machine properly. That means knowing how to set zero, choose the right cutter, check spindle condition and recognise when a toolpath is asking too much from the machine. A good start-up routine also helps. If the gantry, rails and spindle are checked before each shift, edge quality stays more predictable.
Maintenance matters too, especially in workshops affected by dust, heat and load-shedding. Loose belts, worn bearings and poor cable connections can all affect cut quality before they become full breakdowns. For hobby users and smaller shops, regular training and preventive maintenance can save a lot of rework. It also helps to keep spares planned in advance, because a worn collet or damaged spindle part can stop work for days if nothing is on hand.
- Run regular operator checks before long jobs
- Keep cutters clean and labelled by material use
- Inspect hold-downs, belts and spindle parts on schedule
- Plan spares before a failure interrupts production
For workshops around Silverton, Pretoria East, Midrand, Kempton Park and Centurion, the best edge finish usually comes from steady habits rather than one off fixes. Once the machine, the tool and the material support all work together, the difference shows immediately at the bench.