
Start With the Machine and Material Basics
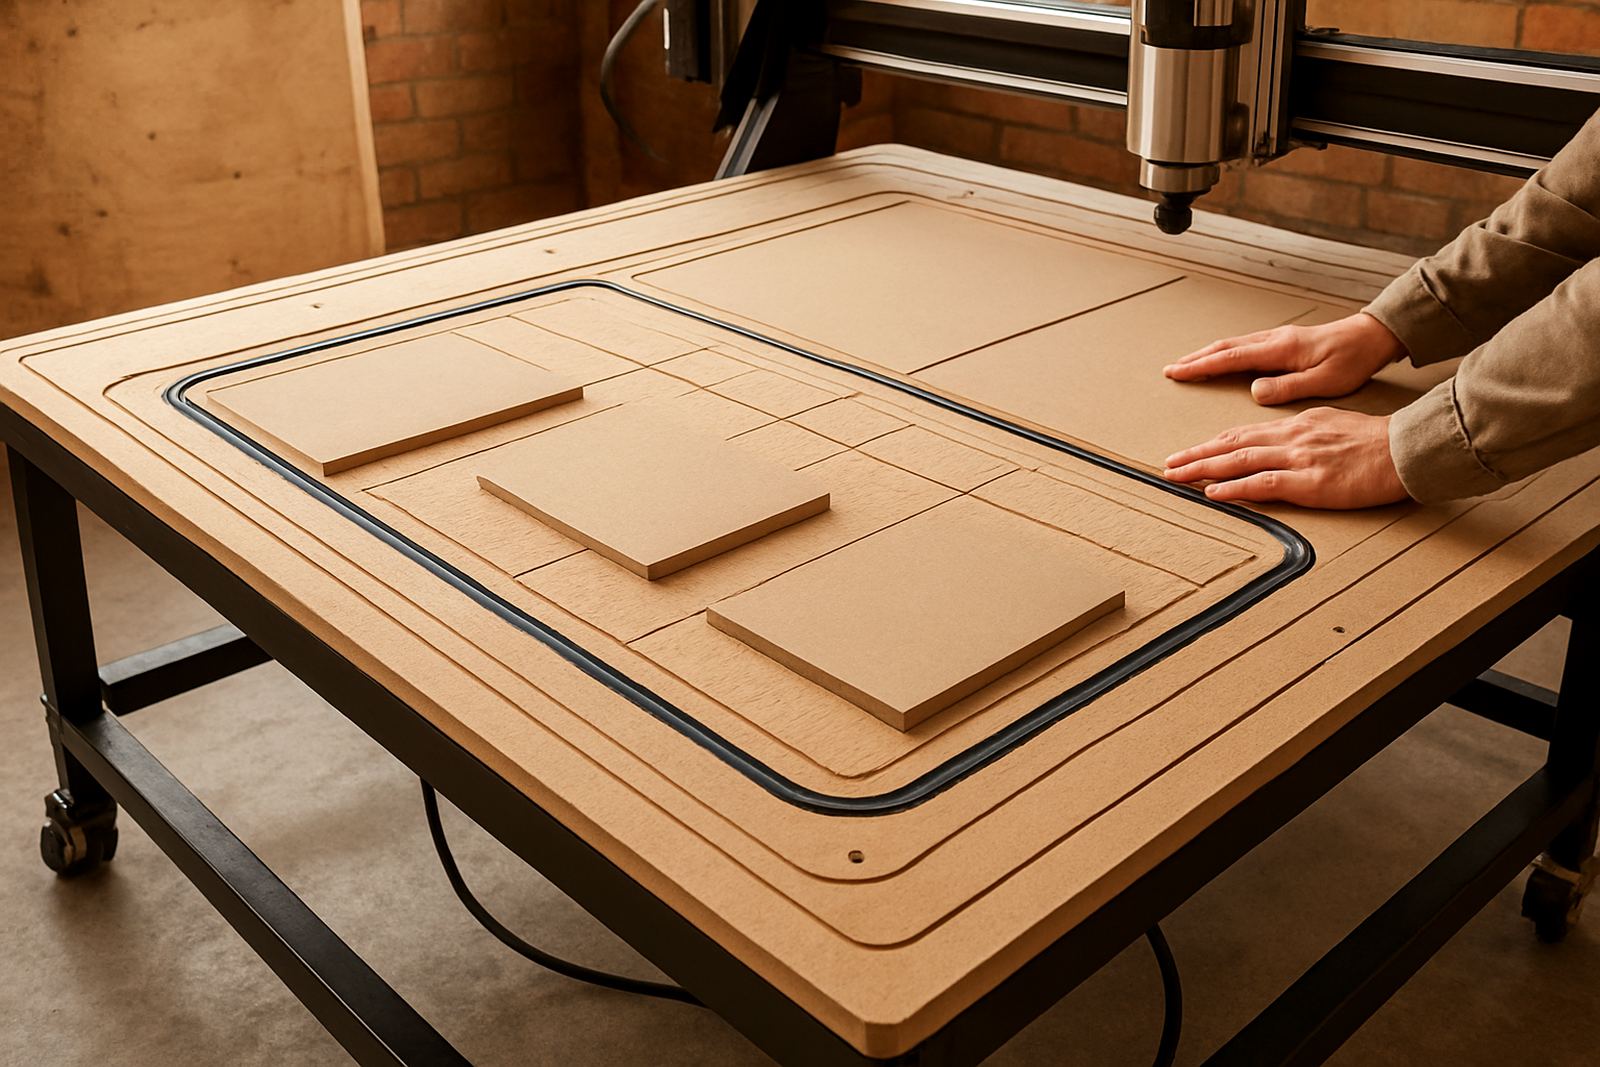
Before you open any drawing software, get clear on the machine size, spindle speed, cutter types and the material you will cut most often. For wood, MDF and plastic, the machine settings change quite a bit, and that is where many new users lose sheets and time. A 12 mm MDF offcut is far cheaper to learn on than a full board, so begin there and keep your first jobs small.
At this stage, the aim is to understand what the software must produce, not to rush into fancy files. You should know your usable table area, machine zero point, dust extraction setup and what happens after a power interruption during load-shedding. If you are working from a small workshop in Silverton, Pretoria East or Midrand, make sure you have a simple back-up routine for saving files and shutting down properly.
- Confirm your material thicknesses and sheet sizes.
- Measure the usable cutting area, not just the table frame size.
- Check your cutter range for wood, MDF and plastics.
- Save a copy of each job file in a clear folder structure.
Learn Drawing and File Setup First
The software journey usually starts with 2D drawing. This is where you create text, panels, profiles, slots and simple shapes that can be turned into toolpaths later. Keep the first files plain and clean. A neat rectangle with a few holes teaches more than a complicated job with curves and layers that are hard to follow.
Set up units in millimetres from the start, then keep your page size, origin and scale consistent. If your cut is off by even 2 mm, the problem is often in the drawing stage and not the machine. Make time for short practice sessions, because five accurate test files teach more than one long evening of guessing. Retha often tells new users to treat each file like a workshop drawing, not a sketch.
- Work in millimetres only.
- Use clear layer names for cut, pocket and drill operations.
- Keep text large enough to read after machining.
- Check that all shapes are closed before sending the job forward.
Turn Drawings Into Toolpaths
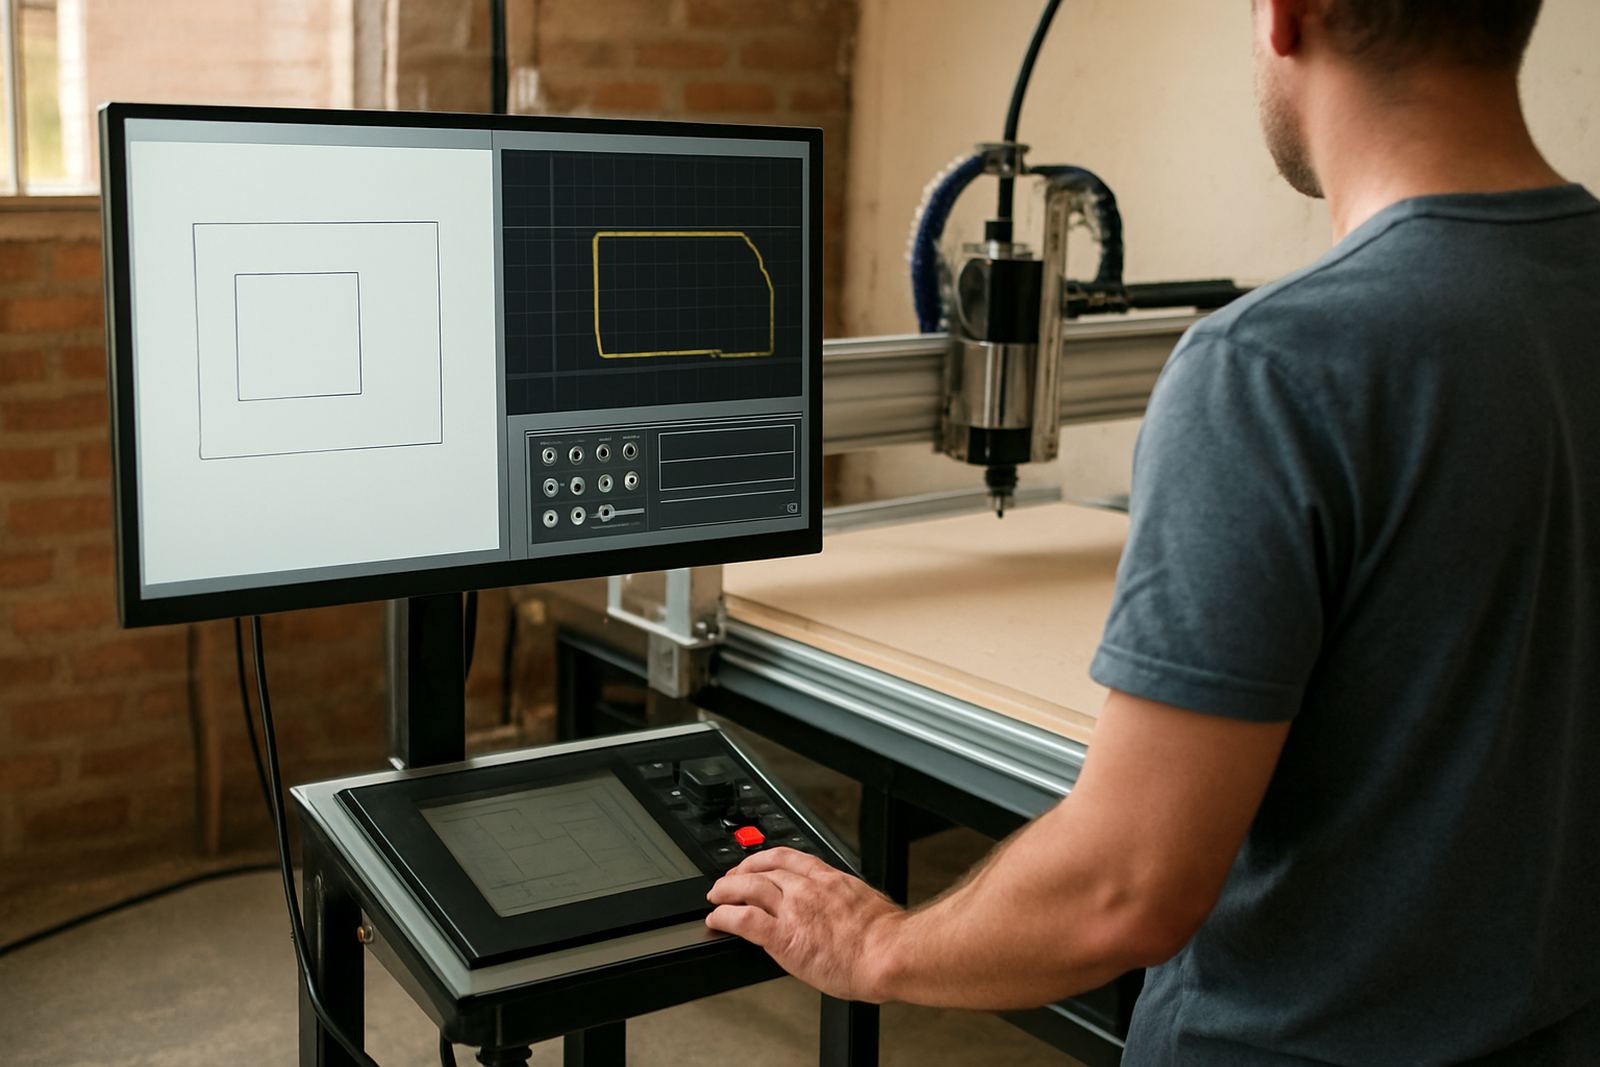
Once the drawing is ready, the next step is toolpath setup. This is where you tell the software how the cutter should move, how deep to cut, which direction to run and how many passes to make. For a hobby router, simple settings are usually better than aggressive ones, especially on smaller machines and lighter tables.
Start with outside cuts, inside cuts and pocket cuts only. Learn the difference between them and practice on scrap MDF before moving to a real job. Keep notes on feed rate, spindle speed and cut depth for each material. If a slot burns or the edge frays, change one setting at a time so you know what caused the problem. Nhlanhla and Wessel normally recommend that new users keep a printed settings sheet beside the machine for the first few weeks.
- Choose the correct cutter diameter for the job.
- Set safe Z height before rapid moves.
- Use separate toolpaths for pockets, profiles and drilling.
- Preview the toolpath before posting the code.
Post the Code and Test It Safely
After the toolpaths are ready, the software must generate code that your controller can read. This is the stage where a small mistake can turn into a damaged spoil board or a wasted sheet. Always run a dry test first with the cutter above the workpiece, then check the movement against your drawing. That one habit saves a lot of grief when the workshop is busy or the phone keeps ringing.
Keep your first test cuts short and simple. A 100 mm square, a circle and a pocket are enough to show whether the code, offsets and machine direction are correct. If something looks wrong, stop and check the file before restarting. Do not assume the machine will fix a drawing error by itself, because it wont. That is also the best time to check cable strain, homing switches and whether the tool clamp is seated properly.
- Run the first job in the air, then on scrap.
- Watch for reversed motion, wrong origin or unsafe moves.
- Confirm that the dust extractor and spindle start commands are correct.
- Keep an emergency stop test as part of your routine.
Move From Test Cuts to Real Workshop Jobs
When your test files are accurate, you can begin using the software for real work such as cabinet parts, signage blanks, templates and small production runs. This stage is about repeatability. A good file should cut the same part today, next week and again after a power outage or machine clean-up. That matters in Gauteng workshops where schedules are tight and clients want parts on time.
Build a folder system by job number, material type and date. Keep one master file and one production file so you can make changes without losing the original setup. If you produce MDF components, create a standard library of toolpaths for common thicknesses like 9 mm, 16 mm and 18 mm. For plastics, store separate settings because chip clearing and heat control are different. It helps a lot when someone else in the shop needs to step in.
- Use job names that make sense at a glance.
- Save master files and working files separately.
- Create material presets for your common sheet sizes.
- Record the best feeds and speeds for each cutter.
Keep Skills Fresh With Training and Support
Even experienced users benefit from refresher training, especially after a software update, a new spindle, or a change in machine size. A short session can clear up bad habits before they become expensive. We see this often in Silverton, Centurion and Pretoria East, where some workshops run one machine part time and then ramp up quickly when orders increase.
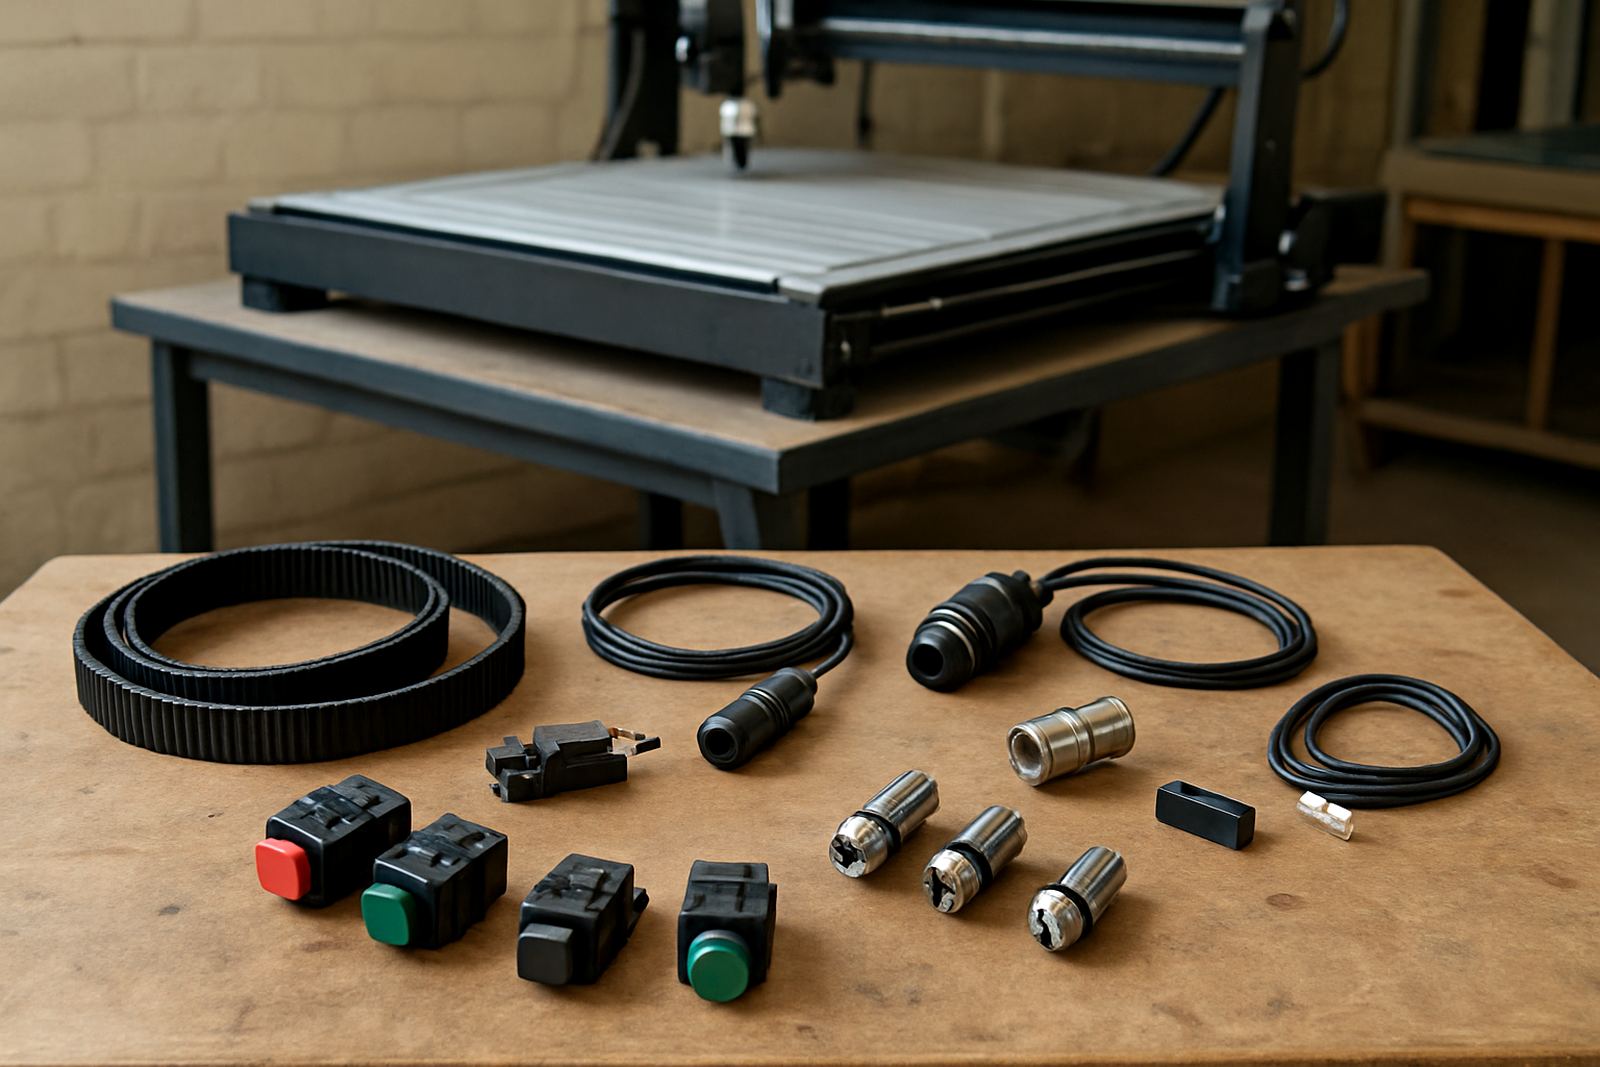
Keep a checklist for monthly software maintenance and for any new operator who joins the team. If you need remote help, have your file names, control screen photos and cutter details ready before you call. That makes the support much faster. For users outside Pretoria, good spares planning matters just as much as training, because a missing collet, switch or board can stop production for days.
- Review files after any software change.
- Back up presets, tool libraries and common jobs.
- Book refresher training after long gaps in use.
- Keep a spare list for items that fail most often.