
Choose a router size that suits the class, not the wish list
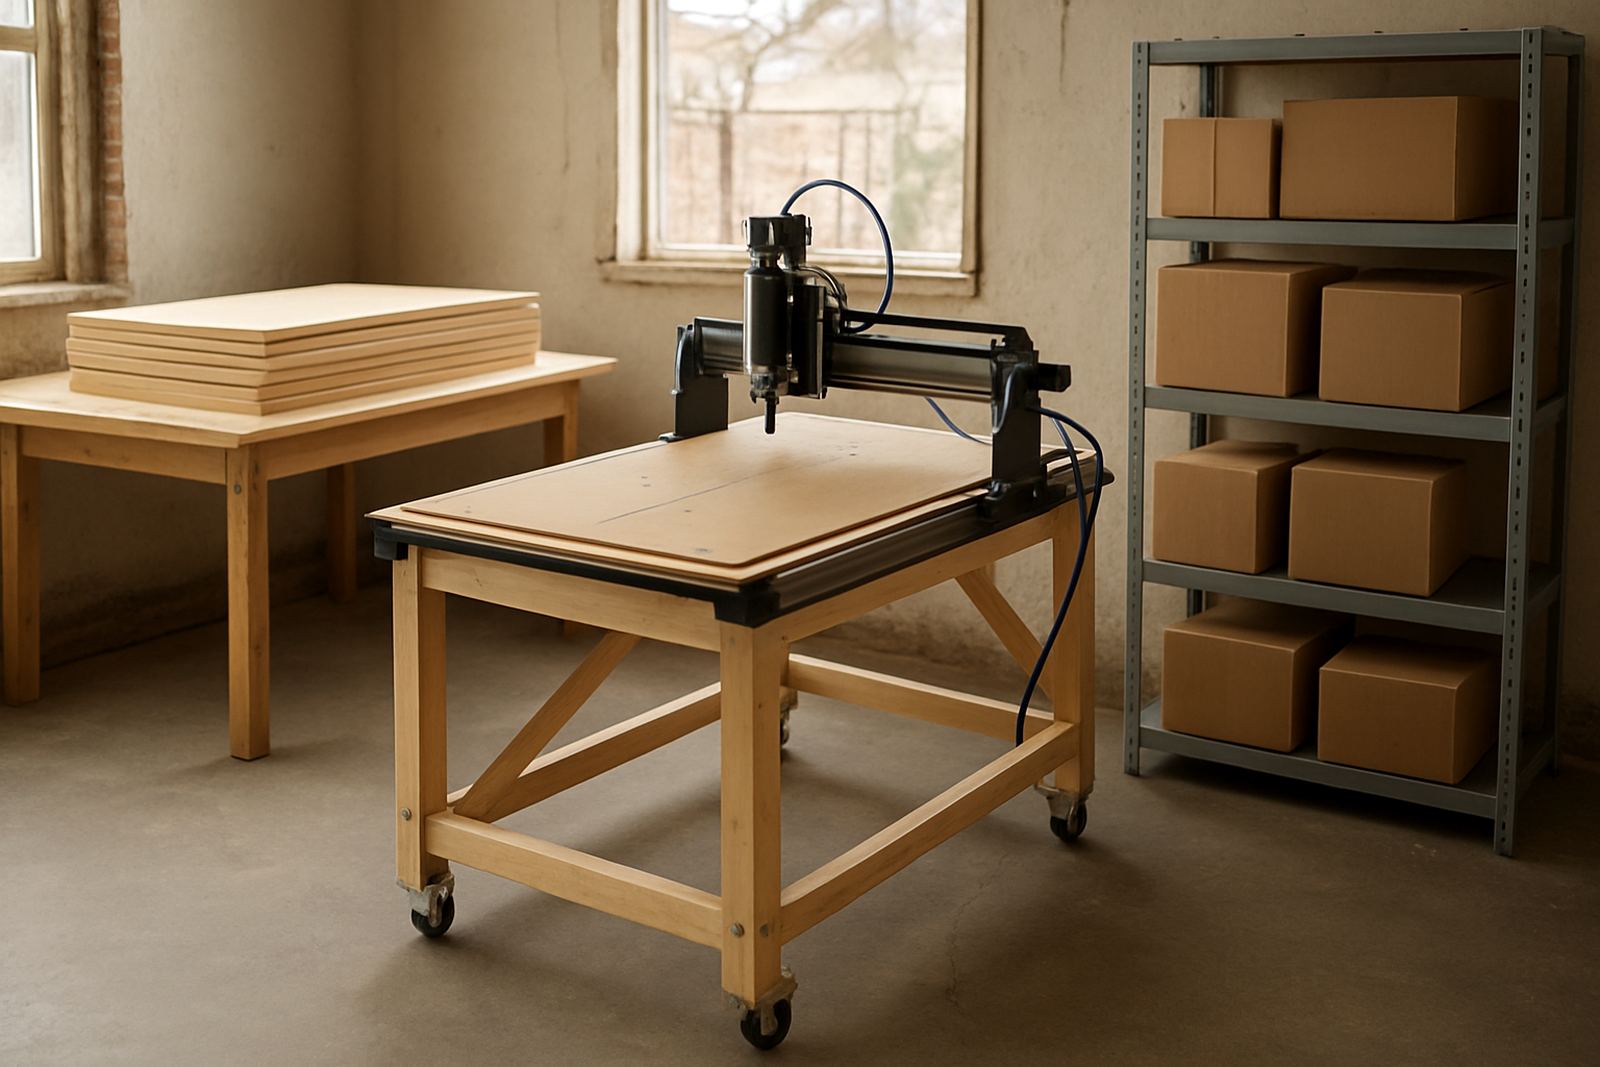
For a school workshop, the first step is matching the machine to the number of learners and the size of the room. A compact router is usually easier to supervise, uses less floor space and is less intimidating for beginners. For most training rooms, a working area in the 600 x 900 mm to 1200 x 1200 mm range is practical, especially where benches, storage and movement space must all fit into one room.
Think about the materials too. MDF, plywood and plastics are common in schools, so the table, spoilboard and dust control must suit light to medium duty cutting. If the room has frequent load-shedding, ask how the control system recovers after a power cut and whether the machine can be shut down safely without losing the job. In Pretoria and surrounding areas, stable setup and easy restart matter more than big claims.
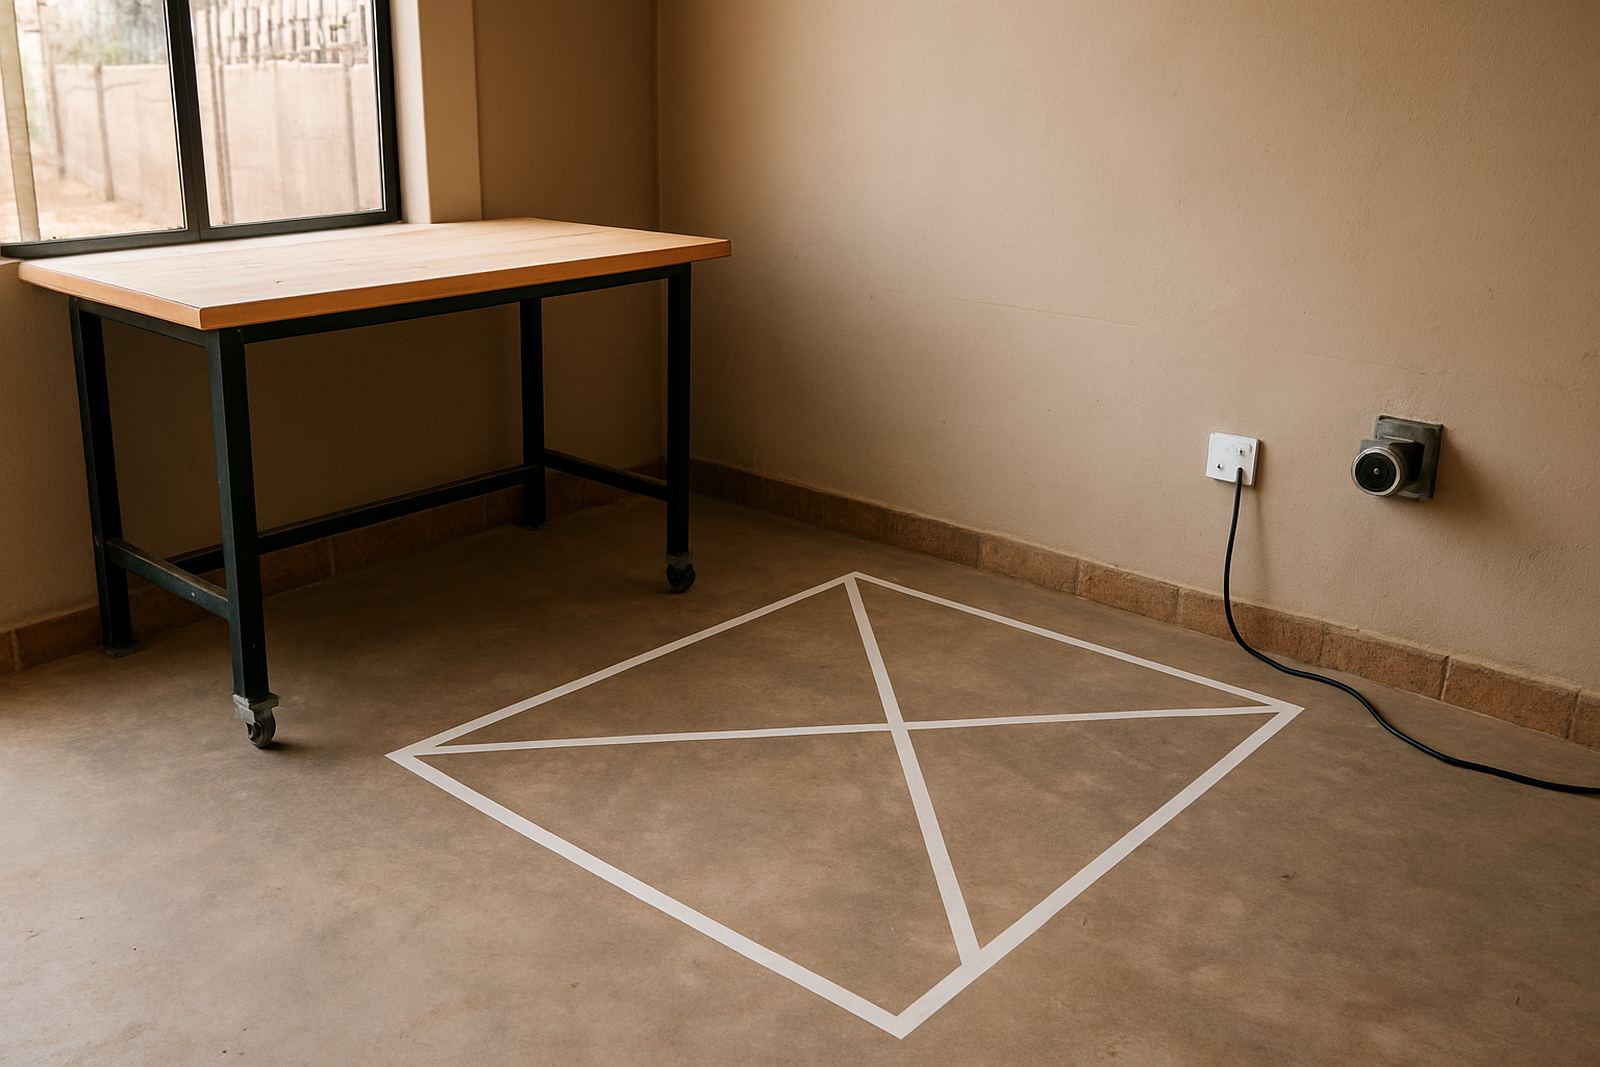
- Measure the room, including door widths and safe walkways.
- Allow space for the computer, material stock and finished parts.
- Keep at least one clear side for loading sheets and tool checks.
- Check that the extractor and compressor, if used, can be placed safely.
Build the supervision workflow before learners touch the machine
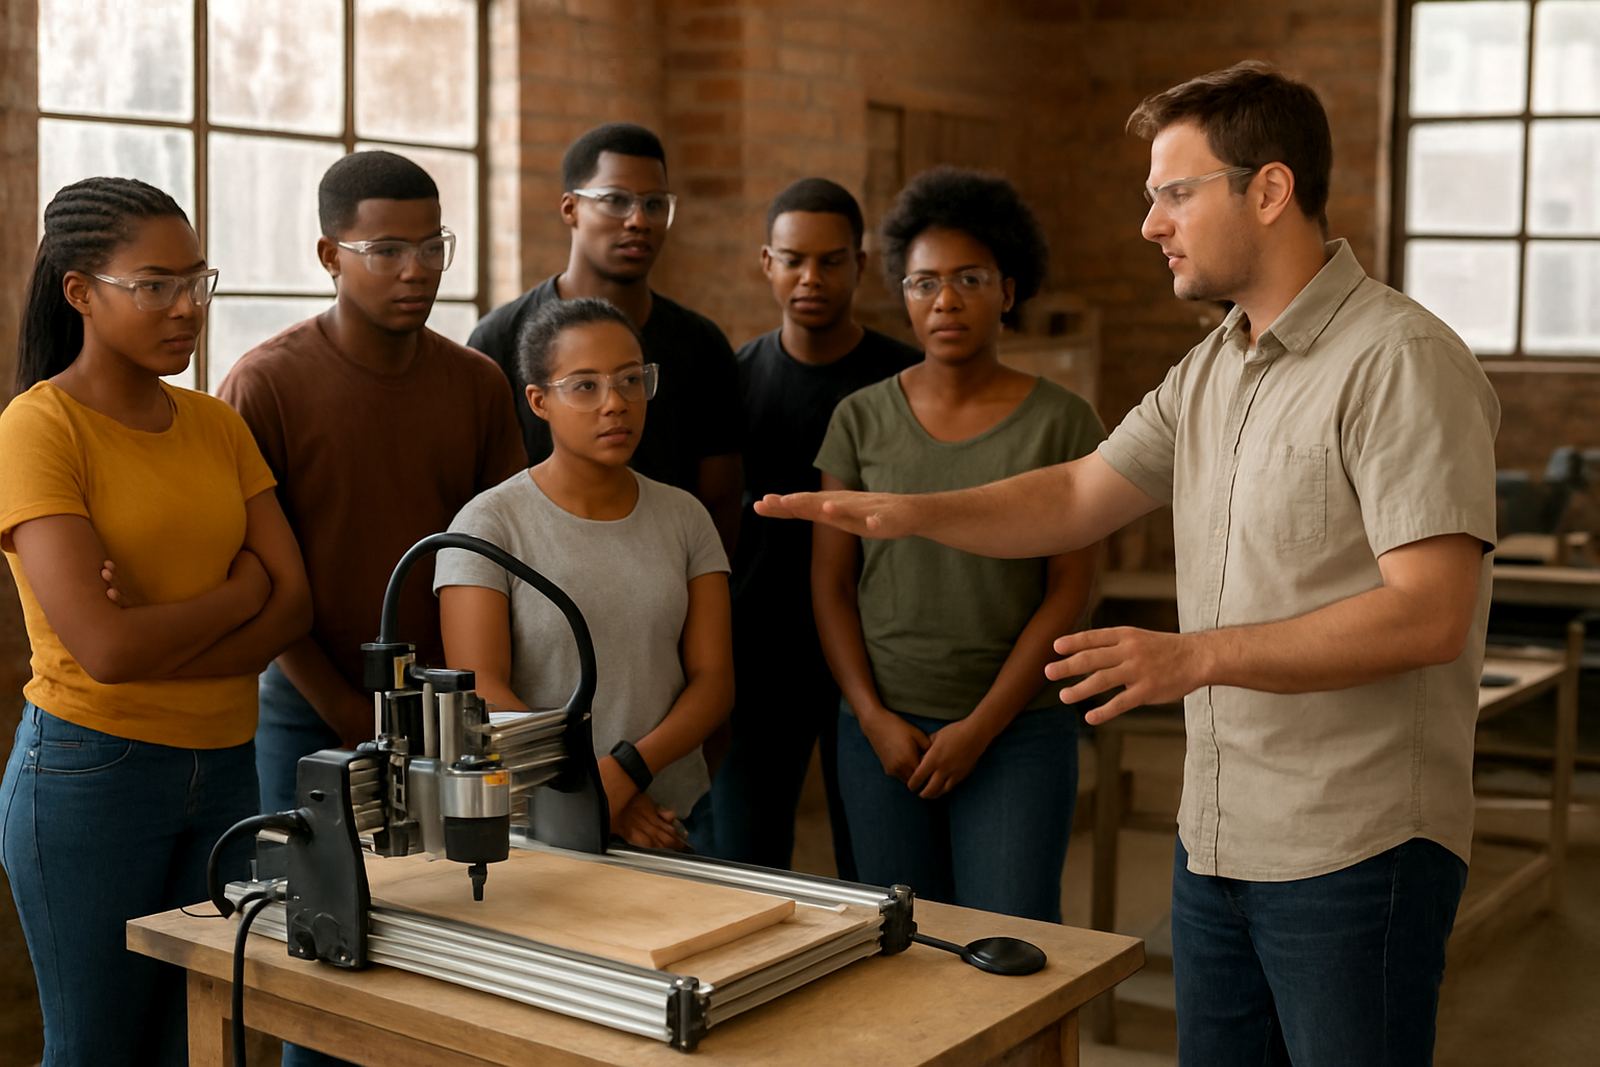
A school router works best when every job follows the same sequence. Learners should not jump from design to cutting without a check from the educator or technician. A simple sign-off sheet helps control file names, material type, tool size and expected cut time. This reduces mistakes and keeps the room orderly, especially where classes rotate through in short periods.
One person should be responsible for the final machine check before each run. That includes the clamp points, dust extraction, spindle status and emergency stop test. In a shared training space, even a small gap in supervision can lead to broken cutters or wasted boards, so the process must be clear and repeatable.
- Confirm the material thickness before loading the file.
- Check the cutter length and diameter against the job.
- Run a dry check or simulation where possible.
- Keep a written record of each class session and any faults noticed.
Keep setup simple for first-time users
Beginners need a machine that is easy to explain. That means clear power-on steps, simple software basics and a fixed storage place for collets, cutters and clamps. If learners spend half the lesson hunting for spares, the class loses focus. A tidy starter setup also helps when a substitute teacher or visiting trainer takes over for the day.
For schools, it is worth keeping one standard material size and one standard tool set for the first term. Once learners understand feed direction, zero setting and basic path control, you can add more options. The aim is steady progress, not overloading the room with too many settings at once.
- Use one learner checklist for every first run.
- Store cutters by size and material type.
- Label the home position, zero point and emergency stop clearly.
- Keep a printed quick guide near the control station.
Plan maintenance around term dates and school hours
School machines do not fail at convenient times. A preventive maintenance plan should fit the term calendar and busy periods like exam projects and holiday workshops. Clean rails, check belts or drive systems, inspect the spindle and test the control tuning at regular intervals. In coastal humidity areas, dust and moisture can build up faster than many schools expect, so storage and cleaning routines matter.
A monthly check is often enough for light school use, while heavier vocational training may need more frequent attention. If the router starts making unusual noise, losing steps or leaving rough edges, the issue should be logged before the next class. Small faults are easier to correct early and it avoids longer downtime later.
- Wipe down the machine after every session.
- Check fasteners and moving parts once a week.
- Inspect cutters for wear and chip-out.
- Keep a fault log with dates, symptoms and actions taken.
Choose support that keeps lessons going
Schools need support that is practical, local and easy to book. A router may need breakdown support, spindle replacement, remote help or a refresher session for a new educator. When support is planned in advance, learners spend more time cutting and less time waiting for a fix. That is especially useful for schools in Pretoria East, Centurion, Midrand and Kempton Park, where schedules are often full and workshop time is limited.
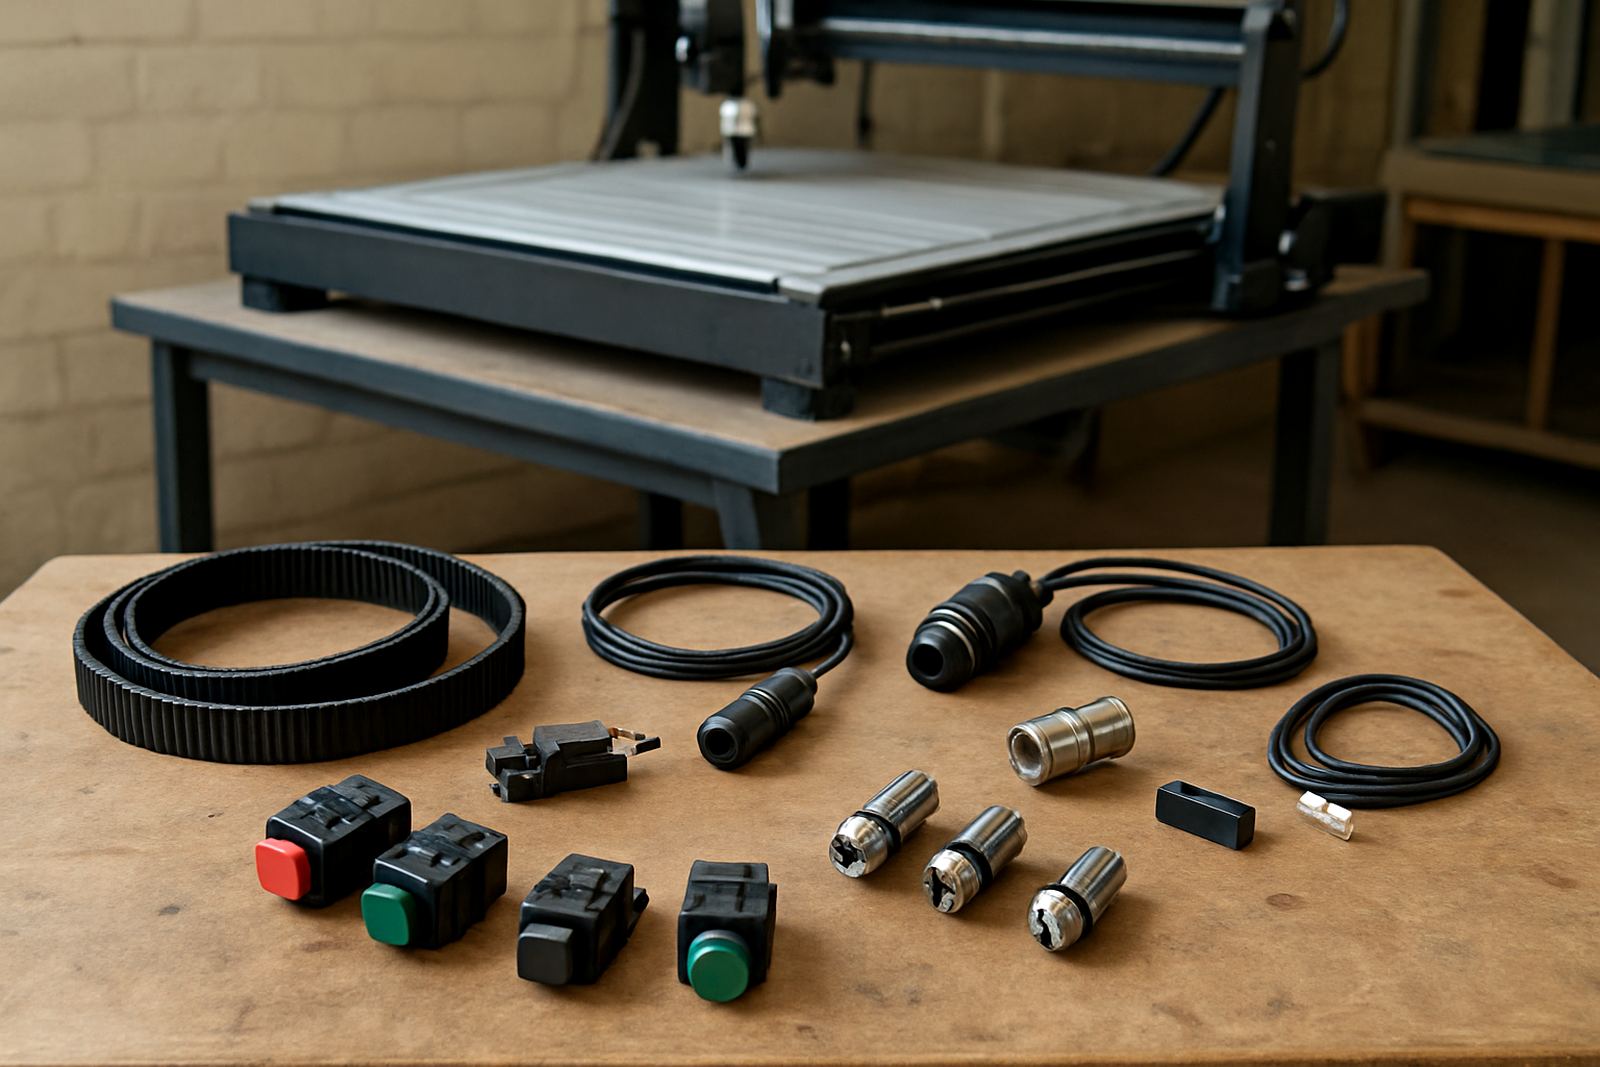
Keep spares on hand for the parts that wear out more often. Collets, belts, cutters, limit switches and dust boots are the sort of parts that can stop a lesson if they are not available. A simple spares plan avoids last-minute running around and keeps the machine ready for the next class.
- Keep a basic spares list for the most used parts.
- Book refresher training before a new term starts.
- Use remote support for setup questions and simple faults.
- Schedule repairs before practical assessment weeks.
A practical checklist for school buyers
Before placing an order, a school should check the machine size, room layout, staff confidence and ongoing support needs. The best setup is one that the educator can run with confidence and that the learners can use safely under supervision. If the room is shared with other subjects, the machine should be easy to lock away and simple to restart after power interruptions or class changes.
Training environments work best when there is a clear line from purchase to setup to class use. That means proper installation, basic operator training and a maintenance plan from the start. A good router for schools is one that can handle steady, repeatable work without creating extra admin for the workshop team.
- Is the machine size matched to the room and learner numbers?
- Are training, setup and spares included in the support plan?
- Can the workshop manage power cuts, dust and safe storage?
- Is there a named contact for service, spares and follow-up?