
Start with the acrylic you plan to cut
The first step is not the machine, it is the material. Cast acrylic and extruded acrylic behave differently, and each one needs a sensible setup if you want clean edges and less melting. For signage, light boxes, display panels and templates, most users in Pretoria, Midrand and Centurion work with sheet sizes from 3 mm to 10 mm. Thicker sheets can be done too, but they need better chip clearing and a steadier feed rate.
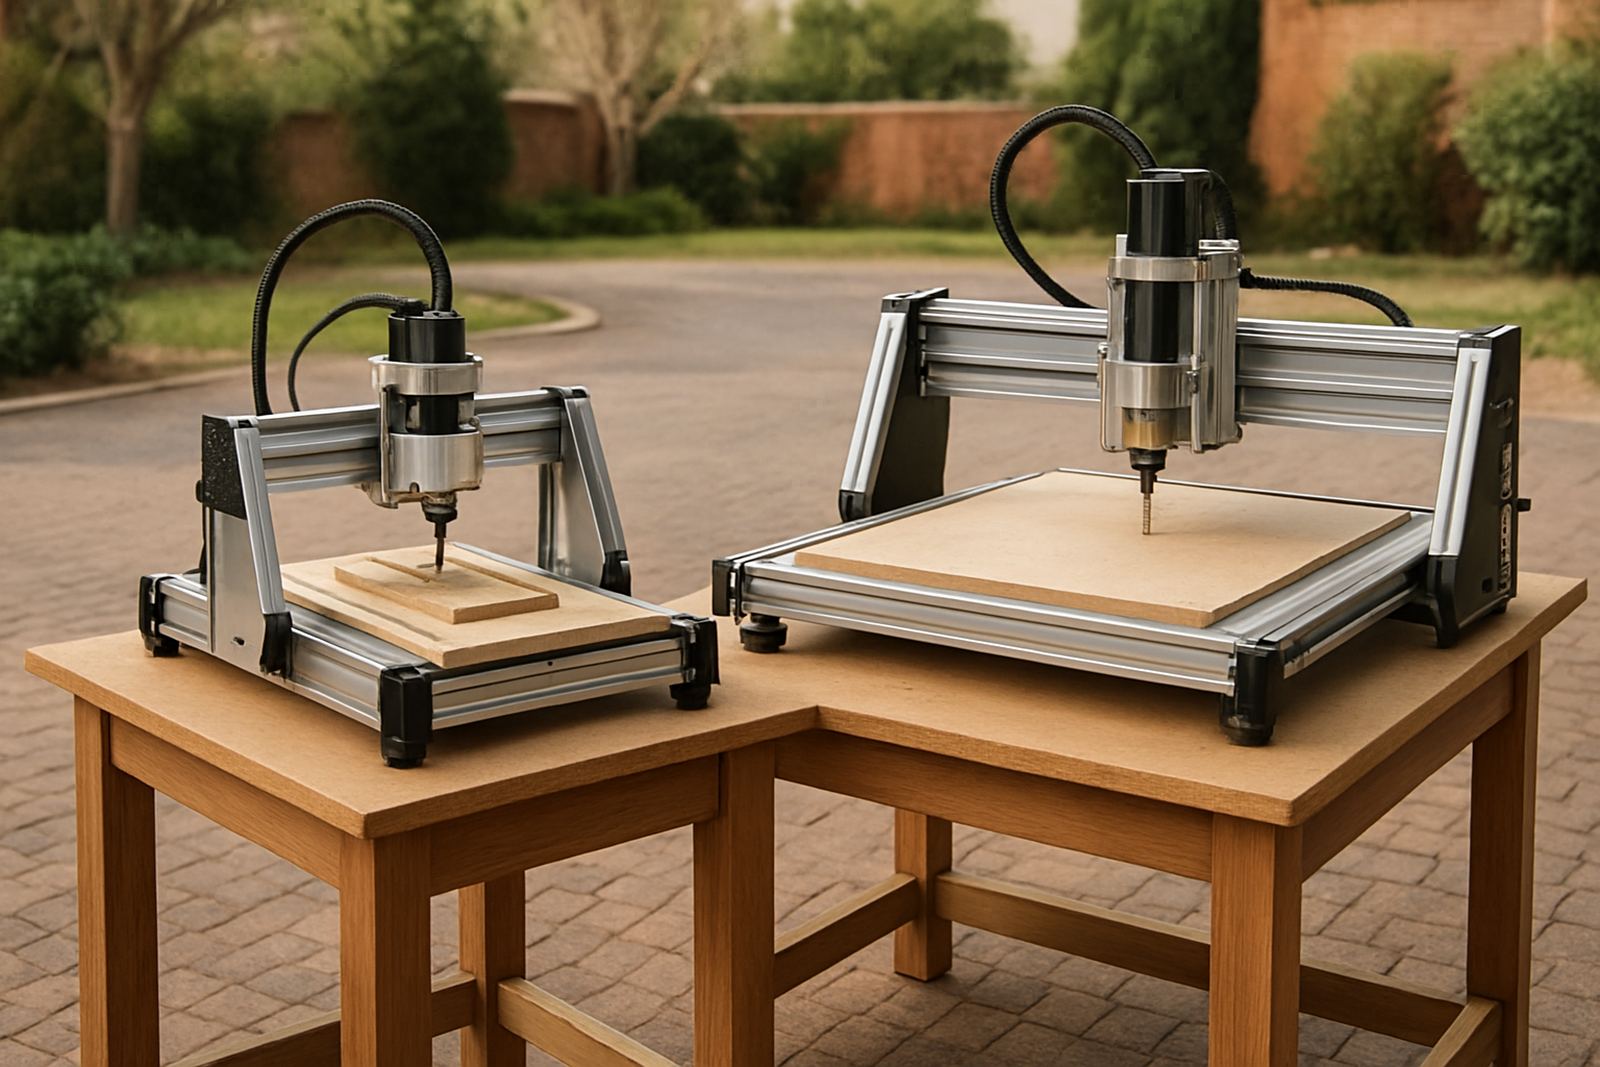
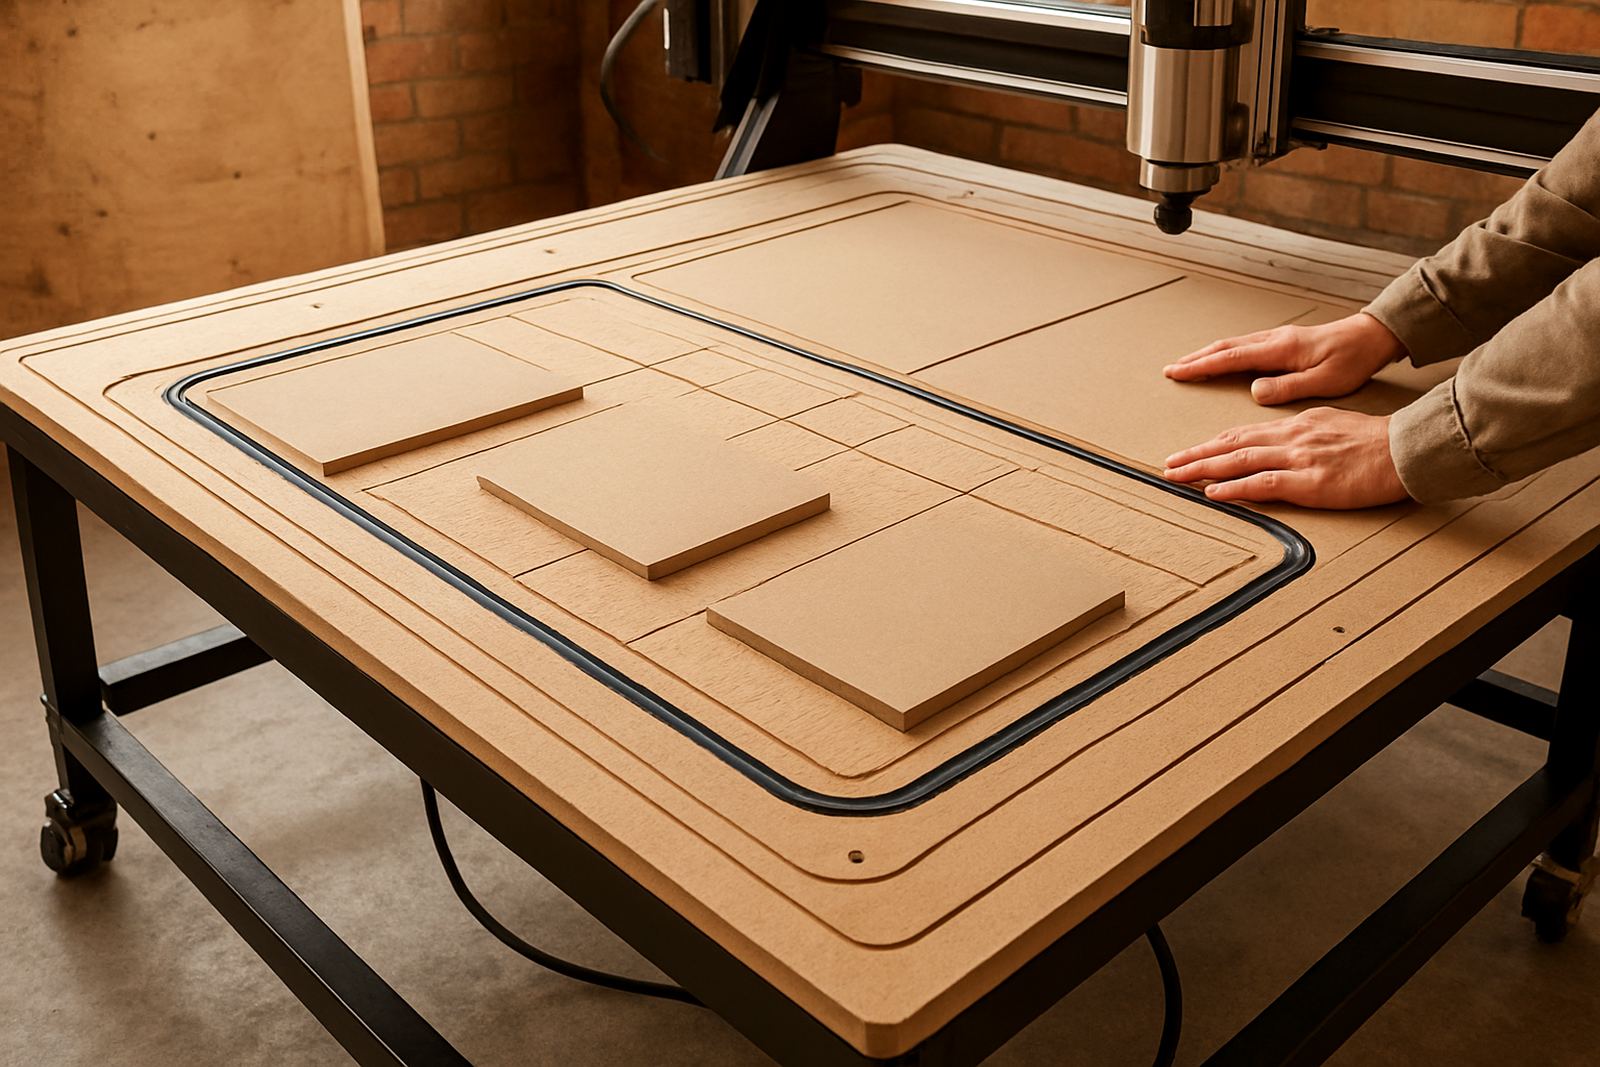
If you are choosing a router for acrylic, think about the normal jobs first. Small letters, cut-outs, edge finishing and pocketing all place different demands on the machine. A hobby router can handle this well if the frame is steady, the spindle runs true and the table supports the sheet properly. If the sheet is lifting or vibrating, the cut edge will show it immediately. A flat spoilboard and good hold-downs matter more than many people expect.
Choose a spindle setup that can hold speed
Acrylic cuts best with a clean, consistent spindle speed and enough torque to keep the cutter moving. For smaller routers, a variable speed spindle is the safer choice because you can match the cut to the sheet thickness and the cutter diameter. On lighter machines, avoid forcing the spindle to do too much work in one pass. That is where melted edges and chatter marks start showing up.
In South African workshops load shedding can interrupt a job mid-cut, so a stable setup helps a lot. Make sure the machine starts cleanly after a power return, and that settings are easy to repeat. If you run a lot of acrylic, it is worth keeping a note of the spindle speed, feed rate and depth of cut for each sheet thickness. That record saves time when the next job comes in.
- Check spindle runout before cutting, even a small wobble shows on clear acrylic.
- Keep collets clean and dry, especially in coastal humidity.
- Use the same start-up routine every time so settings are not guessed.
Pick cutters made for clean edges
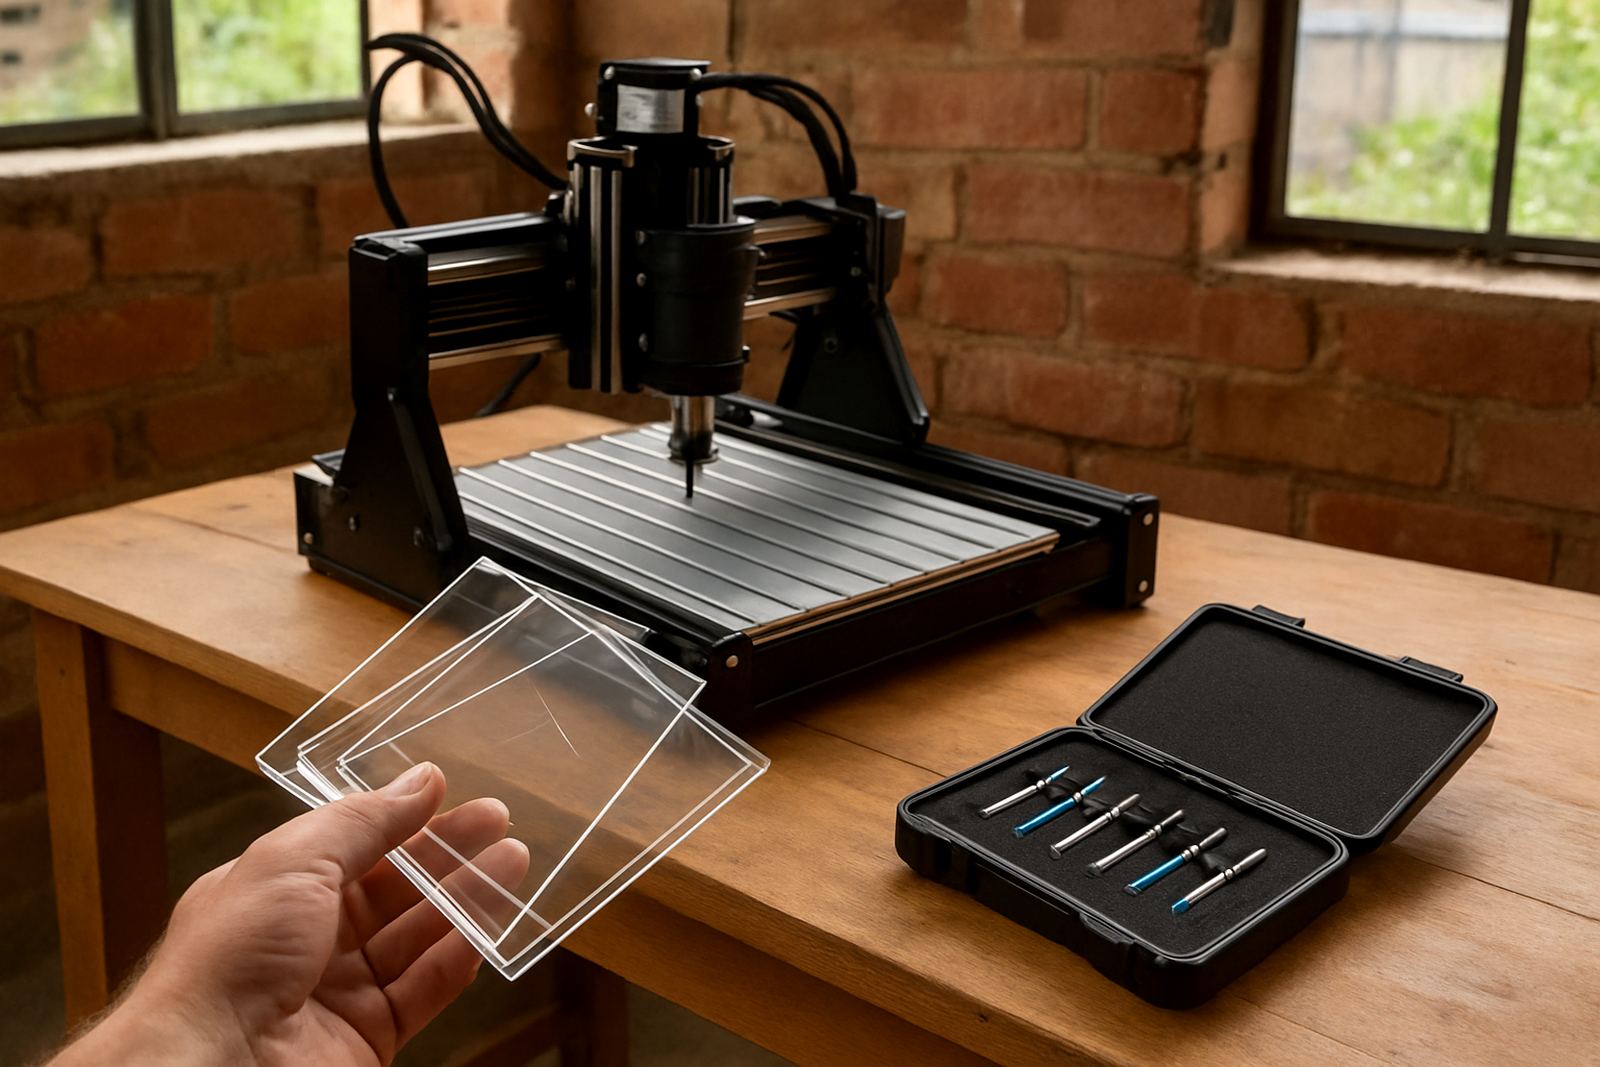
The cutter choice decides whether the edge is glossy, frosted or melted. For acrylic, single-flute cutters are often preferred because they clear chips well and reduce heat build-up. Upcut, downcut and compression cutters each have a place, but the right one depends on whether you want better chip lift, a cleaner top edge, or a balance between the two. For most small workshops, one or two tested cutter types are better than a drawer full of random bits.
Keep cutter diameter in proportion to the job. A 3 mm cutter is useful for fine detail, but it will not clear thick sheet as quickly as a 6 mm cutter. If you are cutting 6 mm acrylic for signage, a sharper cutter with a sensible feed rate will usually give a better result than trying to rush the pass. Dull cutters heat the sheet and leave a rough edge that needs extra finishing.
- Use sharp cutters only, acrylic punishes worn tooling fast.
- Match flute count to chip clearing, not just to what is on hand.
- Test on offcuts before cutting the final piece.
Control chips so the sheet does not melt
Chip control is one of the biggest reasons acrylic jobs fail. If chips stay in the cut, heat rises and the material starts to smear. Good extraction, an air blast and a clean cut path make a real difference. On a small machine, even a simple air line aimed at the cutter can help keep the channel clear. In dusty Pretoria workshops, this also helps keep fine acrylic chips off the rails and bearings.
Plan your cut strategy before you hit start. Use a pass depth that the machine can handle, and avoid taking the full thickness in one go unless the router is built for it. For small hobby routers, several lighter passes usually give a cleaner finish and less stress on the motor. If the machine starts singing or the chips turn sticky, stop and check the setup rather than pushing on.
- Use extraction or air assist to move chips away from the cut.
- Keep the spoilboard clean so sheets sit flat.
- Reduce heat before you try to fix edge quality with sanding.
Use the right feed, depth and hold-down method
The best router for acrylic is one that lets you repeat a good cut. Feed rate, spindle speed and depth of cut all need to work together. If the feed is too slow, the cutter rubs and heats the sheet. If it is too fast, the cutter can grab and leave marks. A moderate feed with shallow passes is usually the safest place to start, then adjust from there after a test cut.
Hold-down matters just as much. Vacuum hold-down is useful if you have it, but many small workshops use tabs, clamps outside the cutting path, or double-sided tape for light sheets. Just make sure the sheet cannot shift when the cutter changes direction. A moving panel will chip at the corners and the job may need to be remade. A simple setup that stays put is better than a fancy one that lifts at the edges.
Set up for daily use in a small workshop
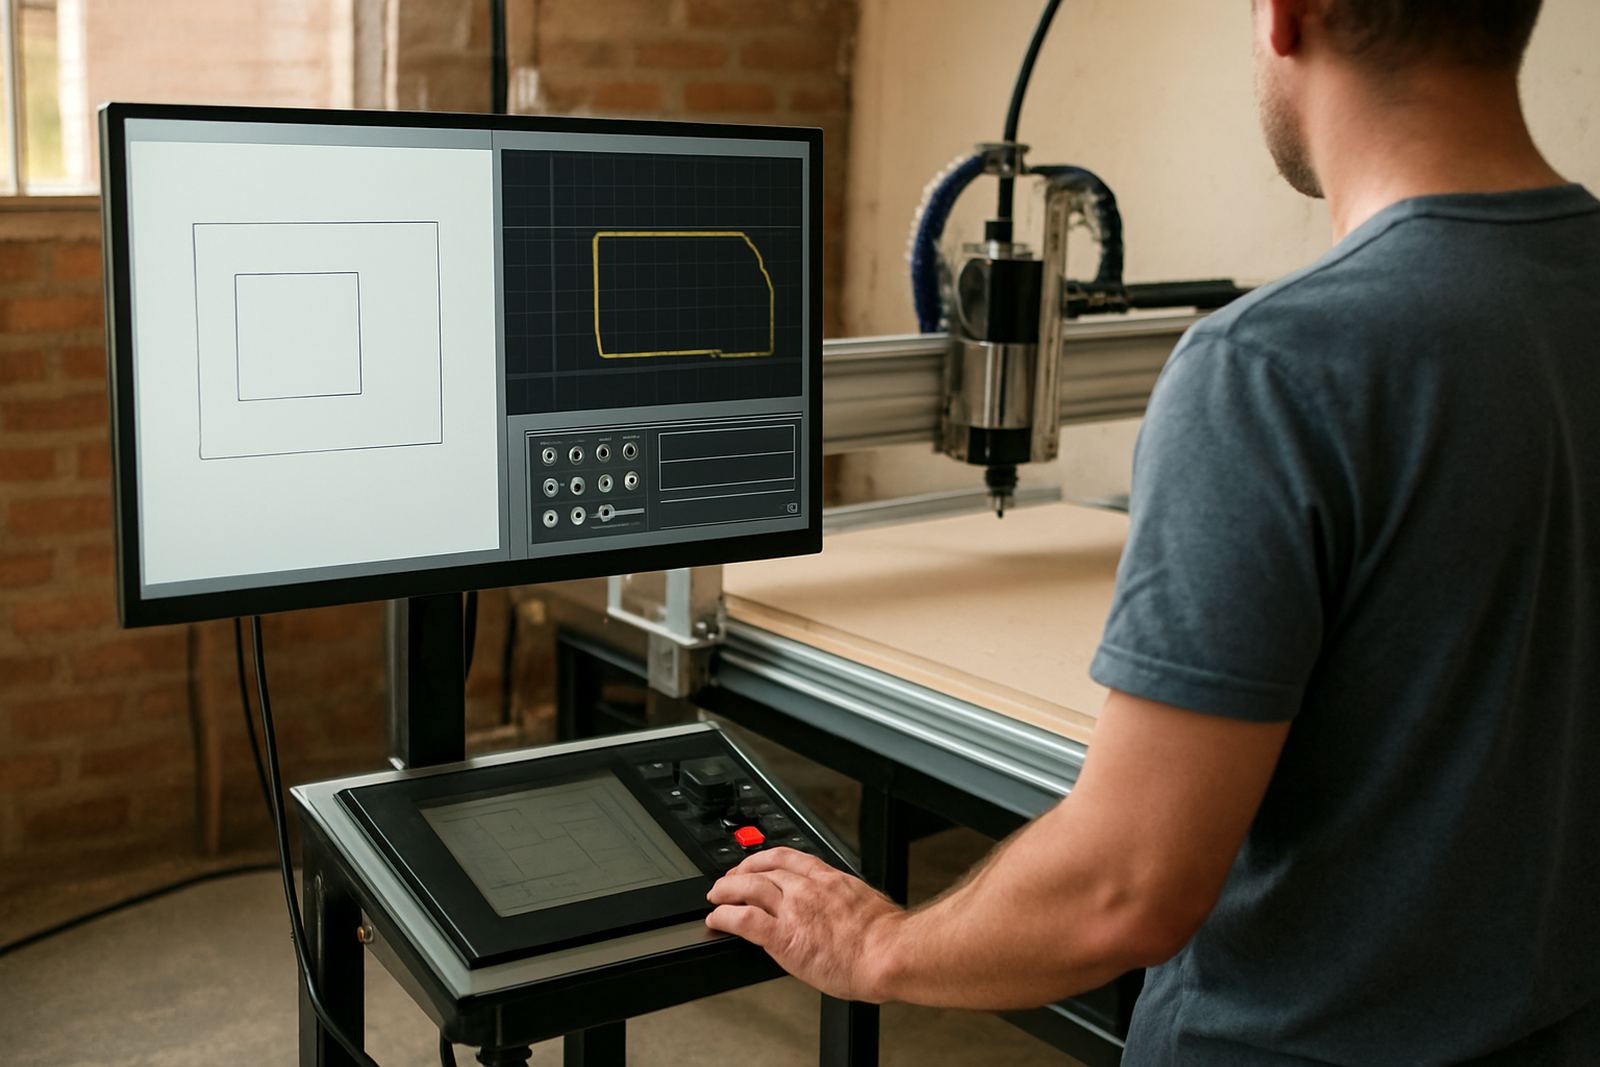
If you are running acrylic jobs regularly, treat the machine like a production tool, even in a home or hobby workshop. Keep a job sheet with cutter type, spindle speed, pass depth and finish notes. That record helps when a repeat order comes in from a shop in Silverton or a signage client in Kempton Park. It also makes training easier for a new operator because they can follow a known routine instead of starting from scratch.
Preventive maintenance should be part of the plan. Check belts, rails, bearings, cable routing and the spindle mount before the machine starts giving trouble. Acrylic chip dust can collect in awkward places and cause drag over time. A quick clean after each session, plus a more detailed check every few weeks, keeps the machine ready for the next job. If something sounds different, sort it early before it becomes a bigger repair.
- Wipe rails and linear guides after acrylic jobs.
- Inspect the cutter and collet before each run.
- Keep spare cutters, collets and common fixings on hand.
A simple acrylic routing checklist
Before you cut, work through a short checklist. It prevents a lot of waste and helps the machine stay consistent across different sheets and operators. This is especially useful where more than one person uses the router and training levels are mixed.
- Confirm the sheet type, thickness and final size.
- Select a cutter suited to acrylic and the detail required.
- Check spindle speed, feed rate and pass depth.
- Arrange extraction or air assist for chip control.
- Secure the sheet flat with no movement allowed.
- Run a test on offcut material first.
- Inspect the finished edge before the next job starts.
For users who want help setting up a new machine, tuning a spindle or planning spares, CNC Router Hub in Silverton, Pretoria supports operators across South Africa with training, starter visits, breakdown support and spares planning. That is useful when you need practical guidance, not guesswork.