
When acrylic work starts causing rework
Acrylic cutting usually starts with a simple need: a shop needs display stands, machine covers, signs, lightbox parts or neat templates and the hand finishing is taking too long. Once a workshop has more than a few sheets a week, the usual pain points show up fast. Edges chip, corners melt, parts shift on the bed and the same job takes different time every run. That is where a CNC router table helps, especially for smaller shops in Silverton, Pretoria East, Centurion and Midrand that want repeatable parts without moving into a large industrial line.
For acrylic, the machine has to cut cleanly at the right speed. Too much heat and the edge turns cloudy or sticky. Too much pressure and the sheet can crack at a mount point or lift on a narrow part. A proper setup also matters for dust extraction, because fine swarf can collect around the cut and spoil the finish. If your work includes 3 mm, 5 mm or 10 mm sheet, the machine choice and tooling plan should match the thickness and the daily volume.
Typical equipment for acrylic jobs
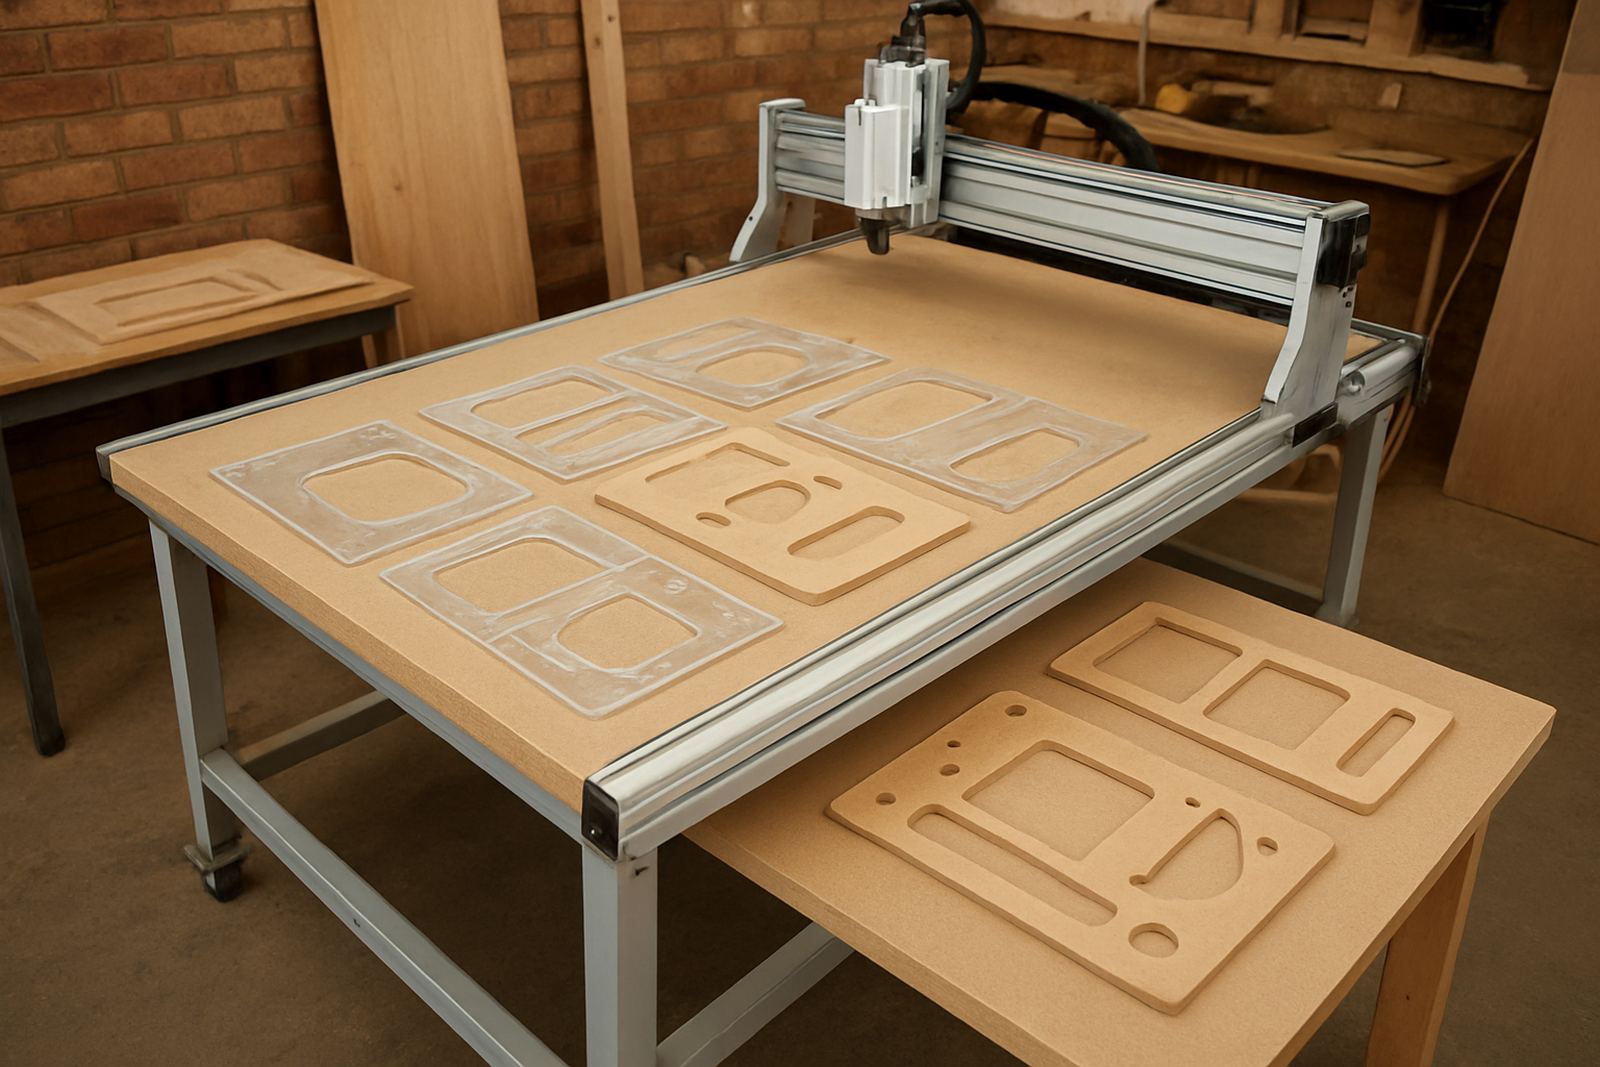
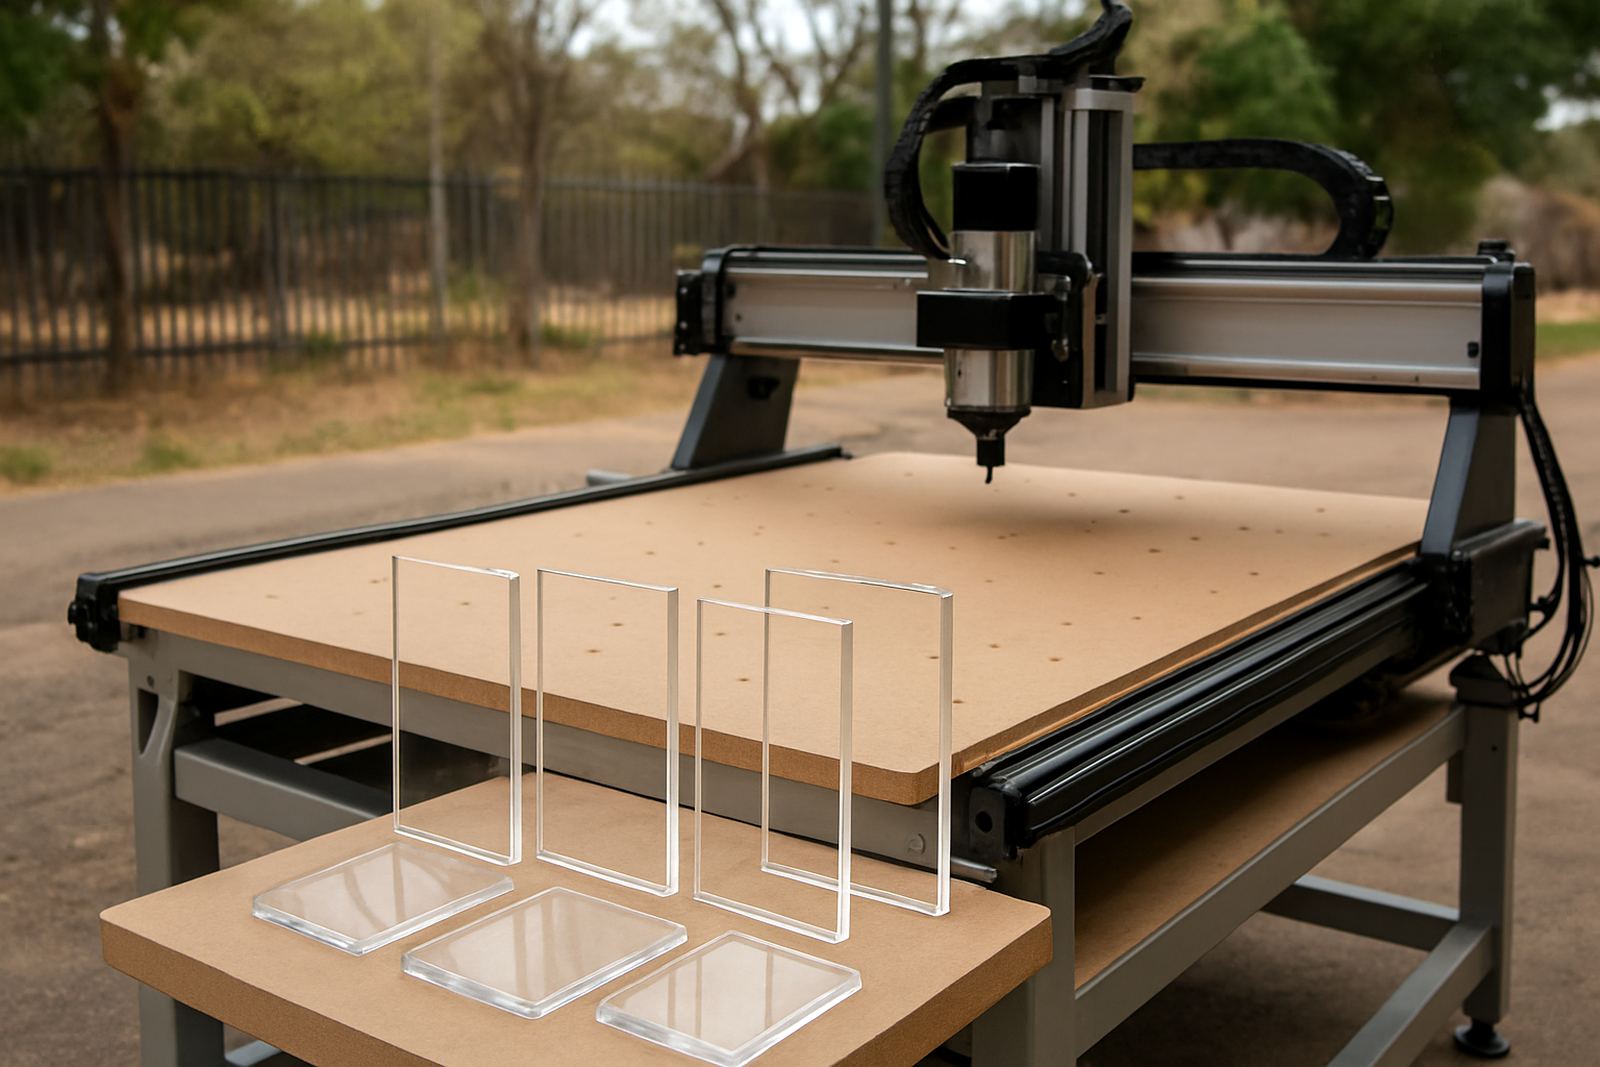
Most acrylic users do not need a huge bed. A compact router table is often enough for sign shops, prototype rooms and small cabinet workshops that add display pieces on the side. The right setup depends on sheet size, nesting needs and whether you are cutting full sheets or smaller blanks. In many Pretoria workshops, a 600 x 900 mm or 900 x 1200 mm table is a practical starting point for hobby and light production work.
- CNC router table with a flat spoilboard and good hold-down options
- High-speed spindle suited to plastics rather than rough timber work
- Vacuum or mechanical clamping for thin acrylic sheet
- Dust extraction to keep the cut line clear
- Basic software for drawing, toolpathing and repeat jobs
- Common spare items like bits, belts, collets and limit switches
For a lot of operators, the best results come from keeping the machine simple and predictable. A smaller table with stable motion often gives cleaner acrylic than a bigger machine that is poorly set up. That is especially true where the workshop is in a shared industrial unit and the power supply is not always ideal during load-shedding or after a municipal interruption.
How to plan the workshop layout
Acrylic dust and sheet handling take up more space than many first-time users expect. Plan for infeed, outfeed and a safe place to store flat sheet so it does not bow in heat or humidity. In coastal areas this matters even more, but inland Pretoria workshops still need a dry, level storage area and enough room to move 2.4 m by 1.2 m sheets without dragging them across a dirty floor.
Leave space for the operator to inspect edges and remove protective film without scratching the part. Keep the controller, computer and power conditioning equipment away from cutting dust. If you run the machine from a small workshop in Silverton or Kempton Park, it is worth setting up one clean bench for setup and another area for trimming, polishing and packing. Good layout cuts breakage and keeps the sheet sequence tidy.
- Store acrylic flat, not leaned against a wall for long periods
- Keep a dry cabinet for cutters, collets and spare electronics
- Separate cutting, finishing and packing areas if possible
- Allow safe access around the table for long sheets and vacuum lines
- Use stable power protection so the machine can resume properly after outages
Common mistakes that spoil clear edges
The biggest acrylic mistake is treating it like wood. Acrylic needs a cleaner cutting approach and a tool that is sharp and balanced. If the cutter is blunt, the edge can look white and rough. If the feed rate is wrong, the sheet can chatter and leave little ripples that are hard to hide. On some jobs the wrong hold-down method causes micro-movement, and that is enough to ruin a batch of covers or display fronts.
Another issue is skipping a trial cut. Small changes in spindle speed, feed rate and depth can change the finish a lot. When a business is rushing a client order for a shop in Centurion or Midrand, it is tempting to run the full sheet at once. That is where a test on offcut saves money. It also helps to check the cutting direction and use proper lead-ins on visible edges so the part comes off the table cleanly and with less post work.
Training makes a major difference here. A short setup session can save hours of scrap later, and many operators benefit from a refresher once the first few jobs are done. That applies whether the user is a hobbyist making custom templates or a shop producing 20 sign panels a week.
Budget ranges in Rand for acrylic cutting
Acrylic cutting budgets vary a lot depending on table size, spindle quality and whether the machine is for personal use or regular work. A small entry-level setup for light acrylic, MDF and plastic sheet can start around R65 000 to R110 000. For a stronger shop setup with better motion control, vacuum hold-down and higher duty cycle parts, budgets often sit between R120 000 and R220 000.
It is also wise to budget for the practical extras, not just the table. Training, starter setup and a first spares pack can make the first months much easier. If the machine is going into a business that depends on turnaround time, plan for a spare cutter set, a few belts, fuses and at least one emergency service visit allowance. A missed week because of a small fault is usually more expensive than the part itself.
- Starter package and basic training: from about R3 500 to R9 500
- Preventive maintenance visit: usually R1 500 to R4 500 depending on travel and machine size
- Replacement spindle or control work: quote based on specification and downtime needs
- Remote support for setup and toolpath checks: useful for first-run jobs and repeat batches
Support for Pretoria and nationwide users
CNC Router Hub works from Silverton, Pretoria and supports customers across Pretoria East, Centurion, Midrand and Kempton Park, with spares supplied nationwide. That matters when a workshop is trying to keep a weekly sign run moving or when a hobby user needs help with one stubborn acrylic template job. We supply machines, practical setup guidance, spares planning and training that suits the actual workshop size, not just the brochure.
Our team includes Mpho Johannes Maseko, Retha Kleynhans, Nhlanhla Majola, Lindelwa Sigcau, Wessel Rabie and Palesa Maluleke. The day-to-day support covers operator training, software basics, starter setup visits, preventive maintenance, breakdown support, spindle replacement, control tuning, remote support, refresher training and spares planning. If your acrylic work needs clearer edges, steadier runs or less waste, it helps to sort the machine and the process together from the start.
Send a message through our contact form for practical advice on sizing the table, matching the tooling and planning the first production run.