
Project brief for a school lab in Pretoria
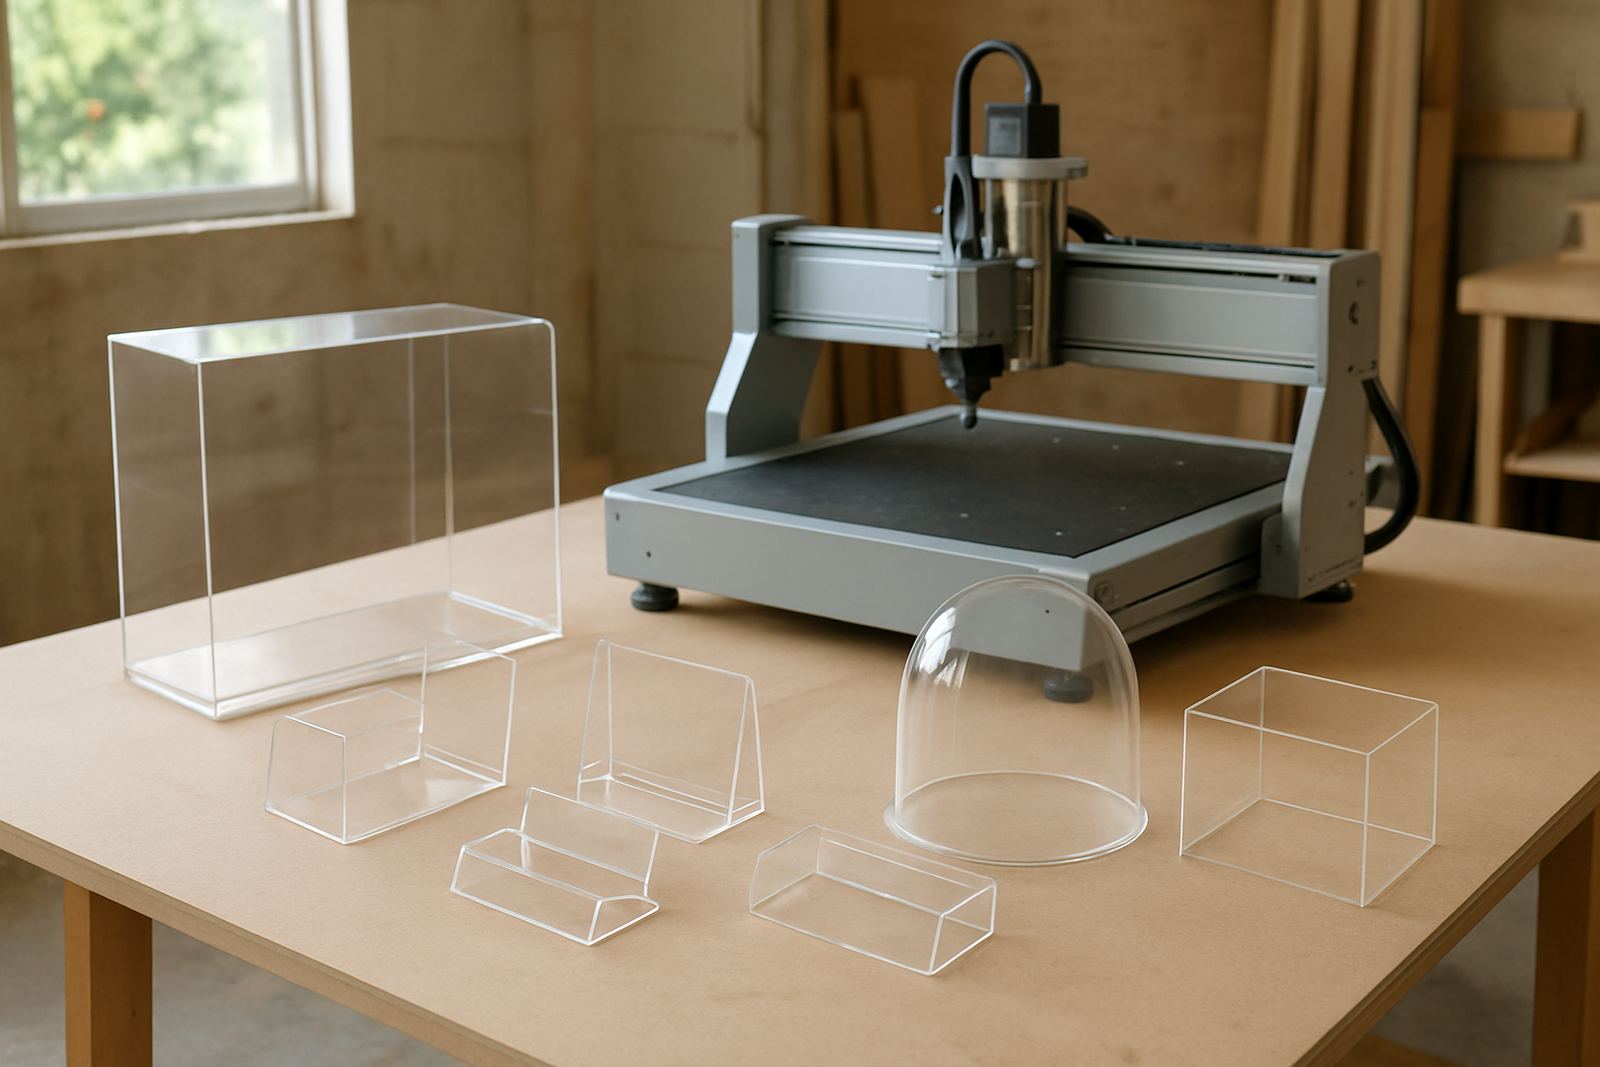
The brief came from a school in the Pretoria area that wanted learners to get proper exposure to CNC routing, not just theory. The lab had to support teacher led demos, supervised student work and repeat use during the school term. The client wanted a setup that could handle wood, MDF and plastic sheets, with enough control for small projects and enough safety features for a classroom environment.
Because this was for learners, the machine choice and the workflow had to be simple to follow. The school also wanted a lab that could cope with limited downtime, power interruptions and the normal dust that comes with panel work. We planned the setup around clear operating steps, easy spare part access and training that teachers could use straight away.
- Client type: school technology lab
- Location: Waverley area, Pretoria
- Main use: student training, demos, small project work
- Materials: wood, MDF, plastics
What the lab needed to handle
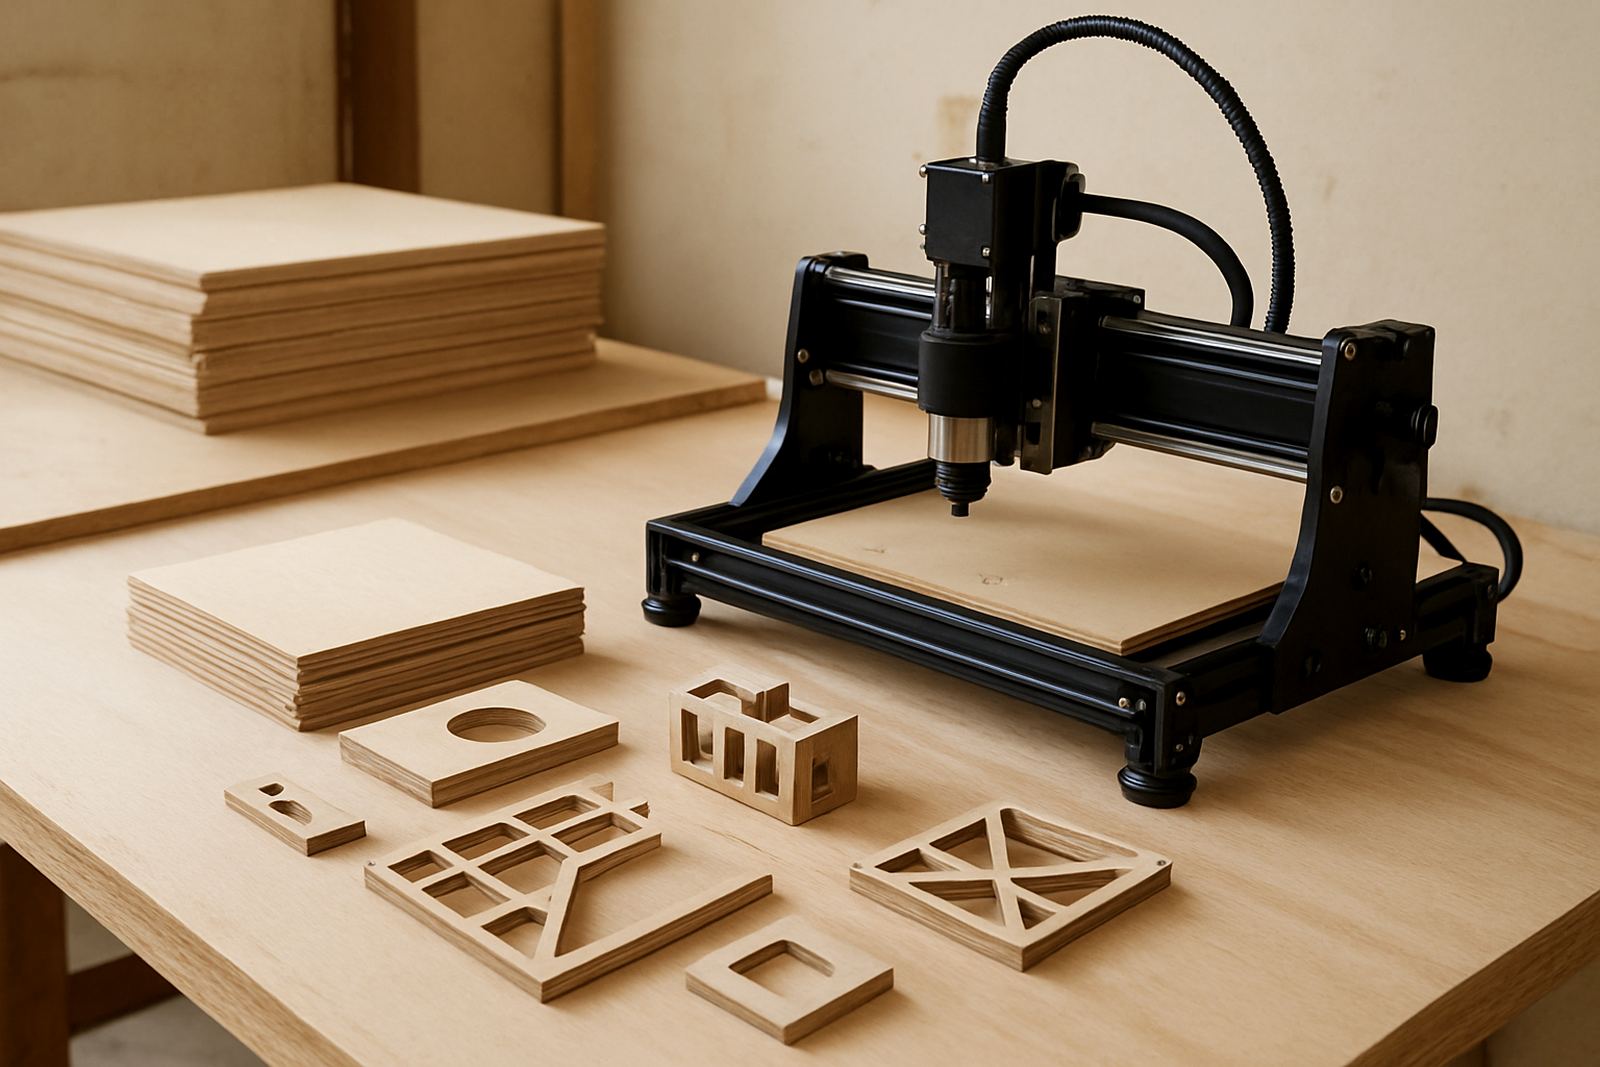
The school needed a machine room that would suit a mix of grades and skill levels. That meant keeping the setup practical rather than oversized. We specified a compact CNC router table with enough working area for learner projects, but still manageable in a classroom sized space. The operating controls had to be easy to explain and the process had to make sense to a first time user.
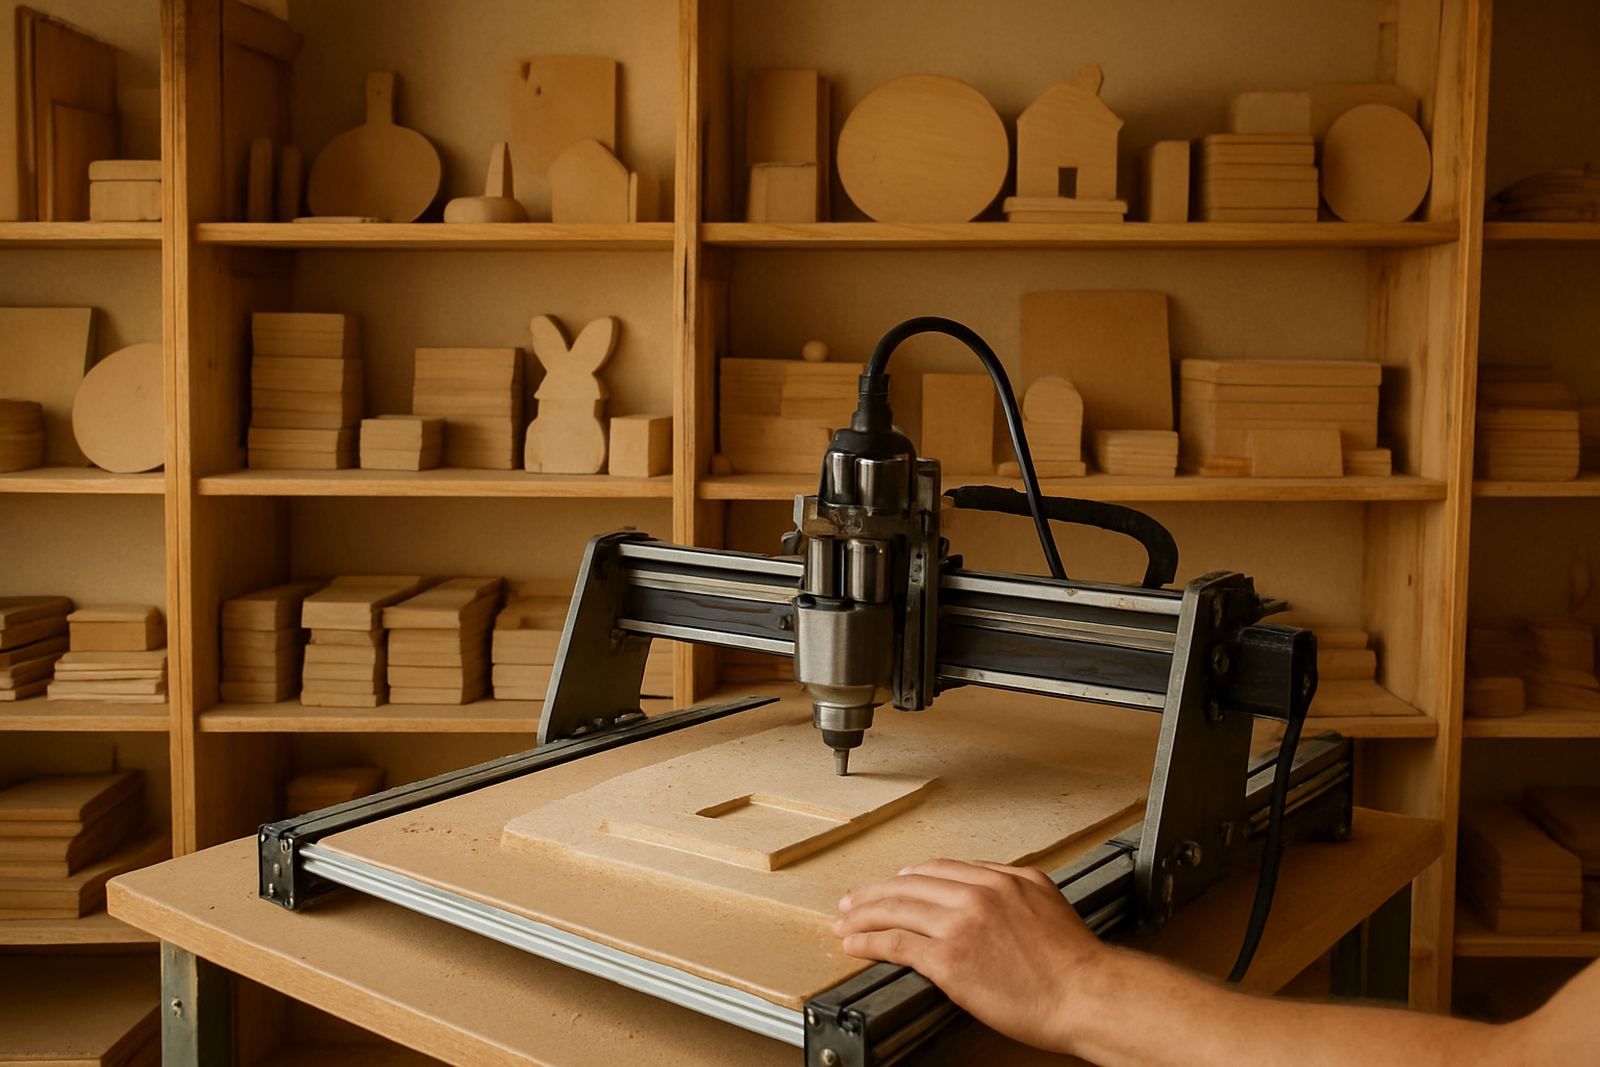
Load shedding was part of the planning from the start. We looked at recovery after interruptions, safe restart steps and how to avoid wasting material if power dropped mid job. Dust control was also important since MDF creates fine dust that gets everywhere, especially in a closed lab. The school wanted something that would stay tidy and teach good habits from day one.
- Table size suited to school project sheets and offcuts
- Suitable for wood, MDF and plastic routing
- Basic operator workflow for supervised use
- Safety and restart procedures built into training
What we supplied and set up
We supplied the CNC router table, control electronics, tooling basics and the supporting items needed to get the room working properly. That included starter spares, replacement cutters for learner use and the consumables needed for early projects. We also set up the machine for school use with clear labels and practical operating steps so staff could keep the routine consistent.
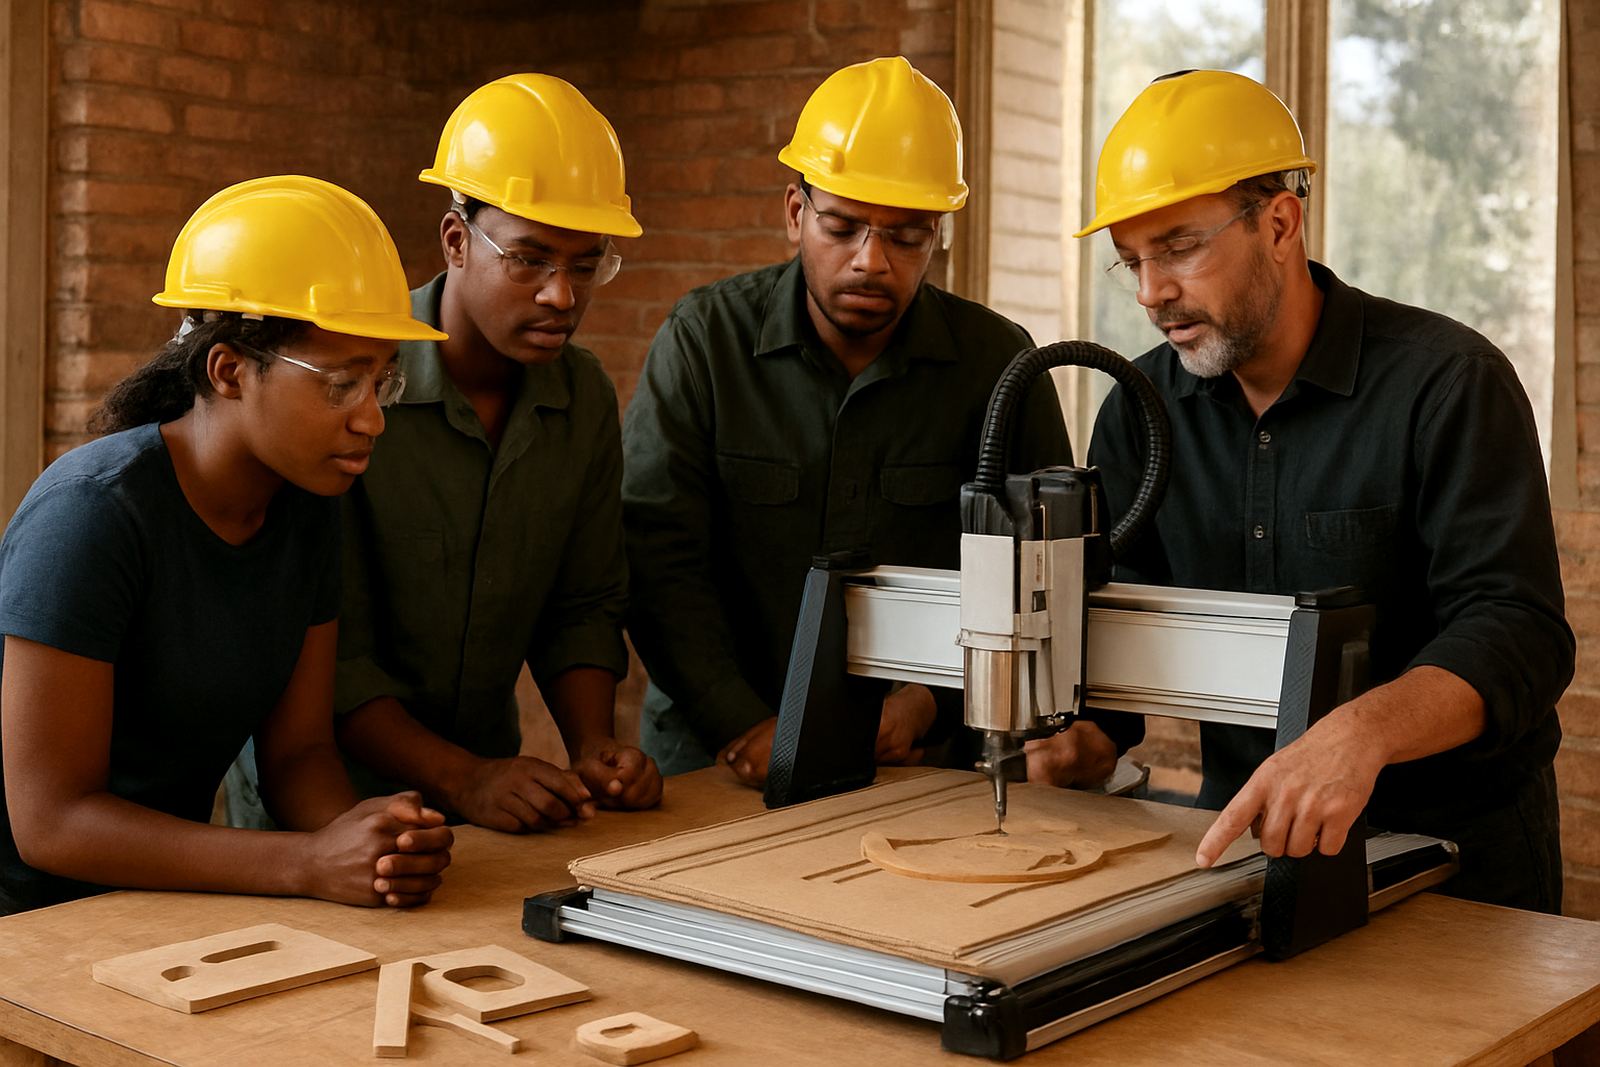
Our team handled the starter setup visit, machine handover and practical training on the day. The training covered safe clamping, zeroing, file loading, basic software use and what to check before pressing go. We also went through routine maintenance, since school equipment takes a fair amount of daily handling and needs regular cleaning. There was a fair bit of stepping through the process slowly, which helped the staff and learners build confidence.
- Machine installation and setup
- Starter tooling and essential spares
- Software basics for file loading and job prep
- Safe clamping, zeroing and startup routine
Training for teachers and learners
The training was a key part of the job. A school lab only works well if the staff can supervise confidently and keep the workflow safe when learners rotate through the room. We ran operator training and refresher guidance for the teachers, then showed how to break the process into short steps that are easy for students to follow. That included basic machine care, clean up between jobs and the correct way to check a tool before use.
We also covered common mistakes such as poor sheet holding, incorrect origin setting and rushing the first cut. The team received remote support details for later questions, plus a simple spares plan so they would know what to keep on hand. The lab was intended to be used regularly, so the training needed to be practical and not overly technical.
- Operator training for teachers and support staff
- Software basics and file preparation
- Refresher training for future term starts
- Remote support for setup questions
Timeline, results and what changed on site
The project ran over three weeks from planning to handover. Week one covered the site discussion, needs assessment and machine specification. Week two was for supply preparation and coordination of the spares and tooling. Week three covered installation, training and a final check of the workflow with the school team. That pace worked well because the school could get ready on its side without rushing the room.
After handover, the school had a lab that could be used for practical digital making with a safer workflow and less uncertainty around machine use. Staff had a clearer process for startup, shutdown and daily cleaning. Learners could see how digital design becomes a real cut part, which made the lab useful for both technical learning and project work. The setup also gave the school a base for future expansion if they wanted to add more machines later on.
If we were to do this again, we would keep the same approach: keep the machine selection practical, train the staff early and plan spares before the first term starts. That way the lab stays active instead of sitting idle while people work out the basics. It is a simple formula but it saves time and keeps the room useful from the start.
Key facts
| Project type | School CNC training lab |
|---|---|
| Location | Waverley area, Pretoria |
| Materials | Wood, MDF and plastics |
| Timeline | 3 weeks from planning to handover |
| Support included | Training, spares planning, remote support |
| Use case | Student learning, teacher demos, supervised project work |